Mavic Pro Observations

What I’m seeing, liking, and not liking — so far.
Mavic Pro
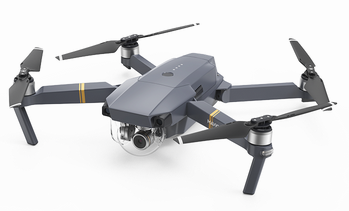
The Mavic Pro, unfolded for flight. Although the manual says to remove the clear protective cover over the gimbal, I suspect it might be usable during flight — if it doesn’t fall off. I remove it.

I’ve had my new DJI Mavic Pro drone in my hot little hands for about four days now and have taken it on a total of five missions so far. (More on my use of the word “mission” shortly.) I’ve developed some definite thoughts about it, from the perspective of a pilot, photographer, videographer, and new drone pilot. I thought I’d take a moment to share them with readers who might be considering the purchase of a drone for photography.

And that’s a big part of what this drone is to me: it’s a tool for making photos and videos. While some people buy drones for the flying aspect of them and actually race them around obstacles, etc., I have no intention of doing that. (At least not yet.) And if you’re thinking of buying a drone for that purpose, I don’t recommend a Mavic, despite what the DJI website shows it capable of doing. I’m sure you can buy a less expensive drone that’ll be better for racing (and crashing). Do your homework. See what the other guys (mostly) and gals are racing and what they have to say about their equipment.

Portability
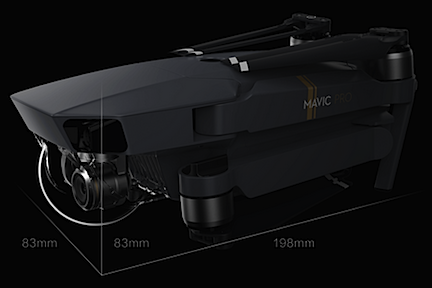
Folded Mavic
It folds up small.

The most obvious benefit to having a drone that folds up into the size of a one-liter bottle of coke is portability — and that’s the main reason I bought the Mavic. Its folded size is less than 4 x 4 x 8 inches.

The truth of the matter is, my friend Jim offered me a smoking deal on his DJI Phantom 4 because he was upgrading to a Phantom 4 Pro. Buying his gently used drone would have saved me a bunch of money. But the reality is that I travel a lot, often without a lot of space for baggage. The Phantom 4 does not fold up at all and although there are carrying cases available for them, they’re not easily brought on a four-month trip in a truck camper or with gear in the back of a helicopter or on a motorcycle. And don’t even think about taking a hike with one.

Although I bought the Mavic package that included a carry bag smaller than a shoebox that can fit the drone, the controller, at least two spare batteries, and a battery charger, I stopped using the bag on Day Three, switching instead to a very small backpack I’d bought around Christmas time for hiking. The DJI bag was a snug fit for the drone and I worried about damaging it as I crammed it in and dragged it out. The bag is surprisingly bad design for a drone that has an amazingly good design. If you are considering the purchase of this bag, I recommend you skip it. If you want a padded bag, look for a small camera bag. (Or buy mine. It’ll likely go on eBay next week.)

With portability comes the question of durability. A Twitter friend asked me if it was durable. Are any of these things durable? I said no. But I also said it isn’t fragile. Later, in my mind, I equated it with the difference between those standard green David Clark aviation headsets (durable but kind of clunky) and Bose ANR headsets (not durable but lighter and sleeker). Neither will break if you handle them with care, but the Bose headsets are more likely to break if you don’t. The Mavic, of course, would be the Bose in this analogy.

And yes, it’s light. The drone, onboard battery, controller, and two spare batteries weigh in at under 2-1/2 pounds.

Design

I am completely blown away by the drone’s design. The way it folds up so neatly, the way the blades fold to make it even smaller, the way the micro SD card fits into the side, the way the battery is so well integrated with the drone’s body, the way the tiny camera lens and gimbal hang from the front — it’s all extremely well thought out and executed.

That’s the design for portability and flight. The design for actual use is a bit less rosy.

As a regular commenter on this blog pointed out in comments for a previous post this week, the Mavic sits very close to the ground. It only has two legs (on the front) and two little stubs on the back. That puts the gimbal mounted camera just inches off the ground. If you’re flying it from grass or from rocky terrain, that camera is going to be in the grass or bumped by rocks. And if there’s dust, that dust is going to fly on landing and take off (just like with a helicopter) and possibly get into rotor heads or gimbal parts. I had the foresight to order a foldable landing pad to operate from — this helps ensure a safe, clean environment for operations. But I also have to take care on landing to make sure it lands on the pad. Later, I picked up a 3 x 4 rubber-backed mat that I’ll likely wind up using in my garage when I get home. Until then, it’s an expanded landing zone when I travel with my truck.

The only real complaint I have about the design is related to the plastic clamp that holds the gimbal immobile during transport: I have a heck of a time getting that damn thing on. I assume I’ll better at it one of these days; I sure hope it’s soon.

Controller

The Mavic’s controller also folds up into a smaller package. It has a screen with general information about the drone’s status and the usual buttons and joysticks to control it. But it has no video monitor. Instead, you affix a smart phone running the DJI Go app (or another app; more on that later), to the controller. It has a moveable plug preconfigured for iPhone users, but also comes with other plugs for other smartphones. You plug in your phone and then clamp it into the controller. The clamp is tight and, miraculously, lets me keep the bumper cover I have for my phone on the phone. The phone is definitely not going to fall out. My only complaint, which is minor, is that I have difficulty tapping the home button since it’s partially covered by the clamp. I think that if I fiddle with it enough and experiment with different positions, I might be able to make that problem go away.

The controller and a smart phone work together to control the drone. I’m pretty sure you can control it without a smart phone, but I suspect it would be a lot more difficult, especially since you would not be able to see what the camera sees without the camera as a monitor.

There is a lot to learn about the controller and the DJI Go app. Yes, you can pick it up and fly it almost immediately with just a few pointers from a friend or a quick glance through the manual, but you will never master either flying or photography — which really do need to be considered separately — without reading the manual and trying various features until you learn what works for you.

My only gripe about the controller setup is age related: my older eyes simply can’t see the video feed on my phone as well as I’d like them to. Yes, I wear readers. And yes, I stand with my back to the sun to shield the screen from direct sunlight. But still, in monotonous terrain — like the desert where I’ve been flying lately — it’s sometimes hard to figure out what the camera is looking at. More than a few times, I sent the drone forward only to discover that it was pointing in a different direction than I thought it was. Oops.

User Guides

The User Manual — which is only available online as a PDF — sucks, plain and simple.

At 59 pages long, which includes the cover and a lot of pages that simply don’t provide any real instructions, it provides just enough information for someone knowledgeable about flying or photography to figure out what they need to do to fly and shoot photos/video. But if you’re a complete newcomer to either one and think you’re going to race around trees in a forest while filming exciting video sequences on Day One, you’re only fooling yourself. I’m constantly going back to it, looking up features I think should be available, finding bits and pieces of information, and then putting it all together to learn a new task. I’m thinking I might write up some task-based tutorials for myself and others who might need them.

The Quick Start Guide, which comes in a tiny booklet, has only 10 pages of information between front and back covers. The printed version has multiple languages in it, which makes it seem a lot larger than it is. It’s also available as a PDF with just one language. Again, if this isn’t your first drone, it’ll definitely have enough information to get you started. Otherwise, good luck.

Flight

Okay, this is where I’m completely blown away: the automatic features for flight are amazing.

While it is possible to manually take off using the joysticks — and my friend Jim taught me how to do this on his Phantom 4 — it also has an automatic takeoff feature. Tap a button and slide your finger across a confirmation screen, and the Mavic powers up and climbs to a four-foot, rock solid hover. It’s just amazing to watch, especially if you’re a helicopter pilot and understand what it takes to make such a smooth, solid takeoff in a helicopter. And yes, I understand that the aerodynamics of a four-rotor drone is different from that of a single main rotor helicopter.

Push the left (pitch/yaw) stick forward and the drone can climb straight up like a rocket at a maximum speed of 16.4 feet per second — that’s 984 feet per minute for us pilot types. Push the left stick right or left and the drone rotates. Pull the left stick backwards, and the drone descends at up to 9.8 fps (588 fpm). Helicopter pilots can equate the operation of the left stick to the collective (forward/back = pitch) and tail rotor pedals (left/right = yaw) on a helicopter, even though the stick controls different mechanical operations on the drone.

Push the right stick in any direction and the drone flies in that direction without changing the direction in which the nose (camera) is pointing. This is like a helicopter’s cyclic, although again, it controls different mechanical operations on a drone.

As you might expect, the farther you push a stick, the faster the drone moves.

Getting it airborne and actually flying it is remarkably easy — to a point. It’s precision flying that takes a lot of effort and practice. The drone acts immediately and rather abruptly to most control inputs, so if the video camera is turned on while rotating it or adjusting the angle of the gimbal, you can clearly see a sort of jerky response. Like learning to hover a helicopter, you need gentle control inputs. And that takes practice.

The Mavic has three modes for flying: Positioning (P), Sport (S), and Tripod. Most regular flying is done in P mode, which also has obstacle avoiding features enabled. If you want to fly faster and aren’t worried about obstacles, S mode is available with the flick of a switch on the controller. The difference in speed is about 20 miles per hour for P mode vs. 40 miles per hour in S mode. Tripod mode, which I hope to explore today if the wind isn’t as bad as forecasted, slows everything down, making it easier to get smooth video shots.

DJI Go app options make it easy to keep the drone from wandering off where it shouldn’t be. The very first thing I set was the maximum altitude — in the U.S. drones are limited to 400 feet AGL unless an FAA waiver is obtained. I also limited its distance, at least at first. While the Mavic’s dark color makes it easy to spot in the sky, it’s easy to lose sight of it if you take your eyes off of it while it’s moving. I recommend operating with a spotter whenever possible. I usually hear it better than I see it, unless I’m in a noisy environment. I do believe, however, that it’s a little quieter than Jim’s Phantom 4. They both sound like angry bees — and believe me, as a beekeeper I know exactly what angry bees sound like — but Jim’s drone sounds like more angry bees than mine.

I believe there are limitations built into the software that prevent operation near airports, but I haven’t been close enough to an airport yet to test that. If so, it’s a good feature that pilots should be happy about. (Now if only they’d limit climb to 400 in the software instead of making it an option. Out of the box, the Mavic has an operating ceiling of more than 18,000 feet, which is absurd.)

Landing the Mavic couldn’t be easier. Really. I use the automatic landing feature almost all the time. It eliminates the need to navigate back to the home base. Just tap a button and use a slider to confirm you want the drone to return to home. It immediately turns back to its starting point, climbs if necessary, and heads back at top speed (for its mode). You can watch the distance change on the controller. When it’s overhead, it might look as if it has passed the landing zone, but it hasn’t. It turns to the direction it was facing when it took off, then descends straight down. When it’s less than 10 feet from the ground, it might make some adjustments. At about three feet up, it pauses and then comes right down to the ground and shuts its engines. The whole time it’s doing this, the controller is letting out an annoying beep-beep-beep, displaying an option that enables you to take over. That’s because obstacle avoidance is disabled while landing and you might need to stop the auto land feature. I’ve found, however, that in good conditions with precision landing enabled, the Mavic lands exactly where it took off from. To me, that’s the coolest thing of all.

Photography
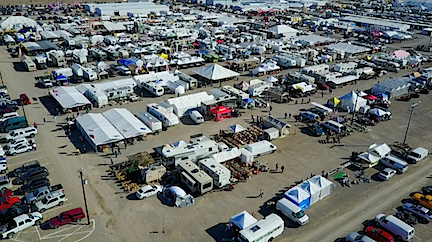
Tyson Wells from the Air
A view of Tyson Wells from the air, looking southeast.

The thing that changed my mind about drones, as I discuss in a blog post from December, is the quality of photographs and video — especially video — from drones. I’d seen videos from my friend Jim’s and I was hooked. They were, by far, clearer and steadier than most video shot from my helicopter. It was no wonder videographers were turning to drones. They could get better results for less money.

(I do need to point out again here that for aerial photo jobs covering a large area, you’ll definitely get the job done faster in a helicopter. As I mentioned in my December 23 blog post:

But another client needed aerial video and still images all along the Columbia River from Wenatchee to Chelan, then up the Wenatchee River to Leavenworth and up Lake Chelan to Stehekin. This was well over a hundred miles to cover and some of it was inaccessible by car. We got all of the shots in less than three hours of flight time. It would have taken weeks to get that footage with a drone — and even then, some of it would have been impossible to get.

So don’t give up completely on helicopters. Think about the mission before deciding on the tool.)

I’ll admit that it sort of broke my heart when I realized that the GoPro “nosecam” videos I’d been sharing were absolute crap compared to what I could get with a drone. If you can’t beat them…

So here I am with my own aerial camera — which is what the Mavic really is. It can do video with resolutions up to 4K, which is the default setting. I actually thought there was a problem with the camera when I tried to play back the video on my 5-year-old MacBook Air. The reality was that the computer simply couldn’t handle the amount of data in the video file. I’ve since set it down to 1090p, which is all I need, at least for now. The video is amazing: smooth and clear. I’ll let you see for yourself; if you can, view these in full screen at the highest resolution YouTube offers:


In this example, I’ve put the Mavic into a 200-foot hover at the edge of an outdoor sale event in Quartzsite, AZ. Hands off on the controls and it’s rock steady. I couldn’t do that in a helicopter.


I shot this video yesterday morning. I flew out at 150 feet and back at 200 feet. This is the return flight, which seemed to have a better angle, using Return-to-Home mode. At the end, you’ll see me standing with a retired guy I met who used to program robots for airplane manufacturing. Keep in mind that this is only a small portion of the thousands of people camped out in the BLM land around Quartzsite right now.

I have not experimented much with still photos. I get so caught up in the flying and video that I forget to snap photos once in a while. It can save JPEGs at 12 megapixel resolutions. I’m not sure if it can save photos while it’s shooting video.

The camera is completely adjustable for automatic and manual settings. Again, I haven’t experimented much with this yet. Just getting it to fly where I want has been enough of a challenge for the first three days of flying. And the manual leaves out too many details; it’s hard enough just to find the settings.

Missions

Part 107 Explained
Want to become a commercial drone pilot? Start by learning all about the FAA’s Part 107. This book will help. Buy the ebook edition on Amazon or from Apple. Or buy the paperback edition on Amazon.

I’m teaching myself how to use the Mavic by creating “missions” for myself. A mission is a task I need/want to complete. Yesterday’s mission was to get video footage of the long stretch of desert near where I’m camped where so many other people are camped (see second video above). I wanted a nice record of the sheer volume of people dry camping here. I can repeat this mission in about a half dozen other places to get an even bigger picture of the weird situation in Quartzsite during the big RV show, but time is running out. The forecast calls for high winds today and the campers will start rolling out of here on Sunday.

Another mission is to video the activity around the RV show. That would entail setting up a point of interest in the middle of the show area and then flying the drone around it at a safe distance from participants with the camera continuously focused on the middle of the action. I’m hoping to do that on Saturday when the show is busiest. I might practice on a smaller scale with some of the camps around here first.

My goal is to understand what controls and settings to use to accomplish missions like these. I can then call upon what I’ve learned to complete missions for paying clients once I finish getting my commercial UAS pilot rating. I see drone photography as a component of the services Flying M Air can offer.

Ready to Buy a Drone?

My interest in drones seems to have sparked an interest in other people. I hope this blog posts helps them decide, one way or the other. In any case, I’m sure this isn’t the last you’ve heard from me about my Mavic Pro.

I do have a favor to ask, though. If you do decide to buy a drone and you want to buy from Amazon — which offers great prices and free shipping — please use one of my links. I get a tiny commission from sales that originate with a link from this site and I sure would appreciate the income to help cover my hosting fees.

How many mostly ad-free sites have you visited lately? Very few, I’ll bet. I guarantee that the folks who build and maintain them would similarly appreciate your support.

And if you’re interested in buying a gently used DJI Phantom 4, my friend Jim has one for sale — as soon as his Phantom 4 Pro arrives, anyway. I can put you in touch with him — but please, only if you’re serious. It’ll be a good deal, but he isn’t giving it away.
Snowbirding 2017 Postcards: A Crazy Day

This one is actually worthy of a full blog post, but I’m too lazy to go out in the rain to fetch my laptop right now, so I’ll use the WordPress app on my iPad and let the photos do some of the talking.

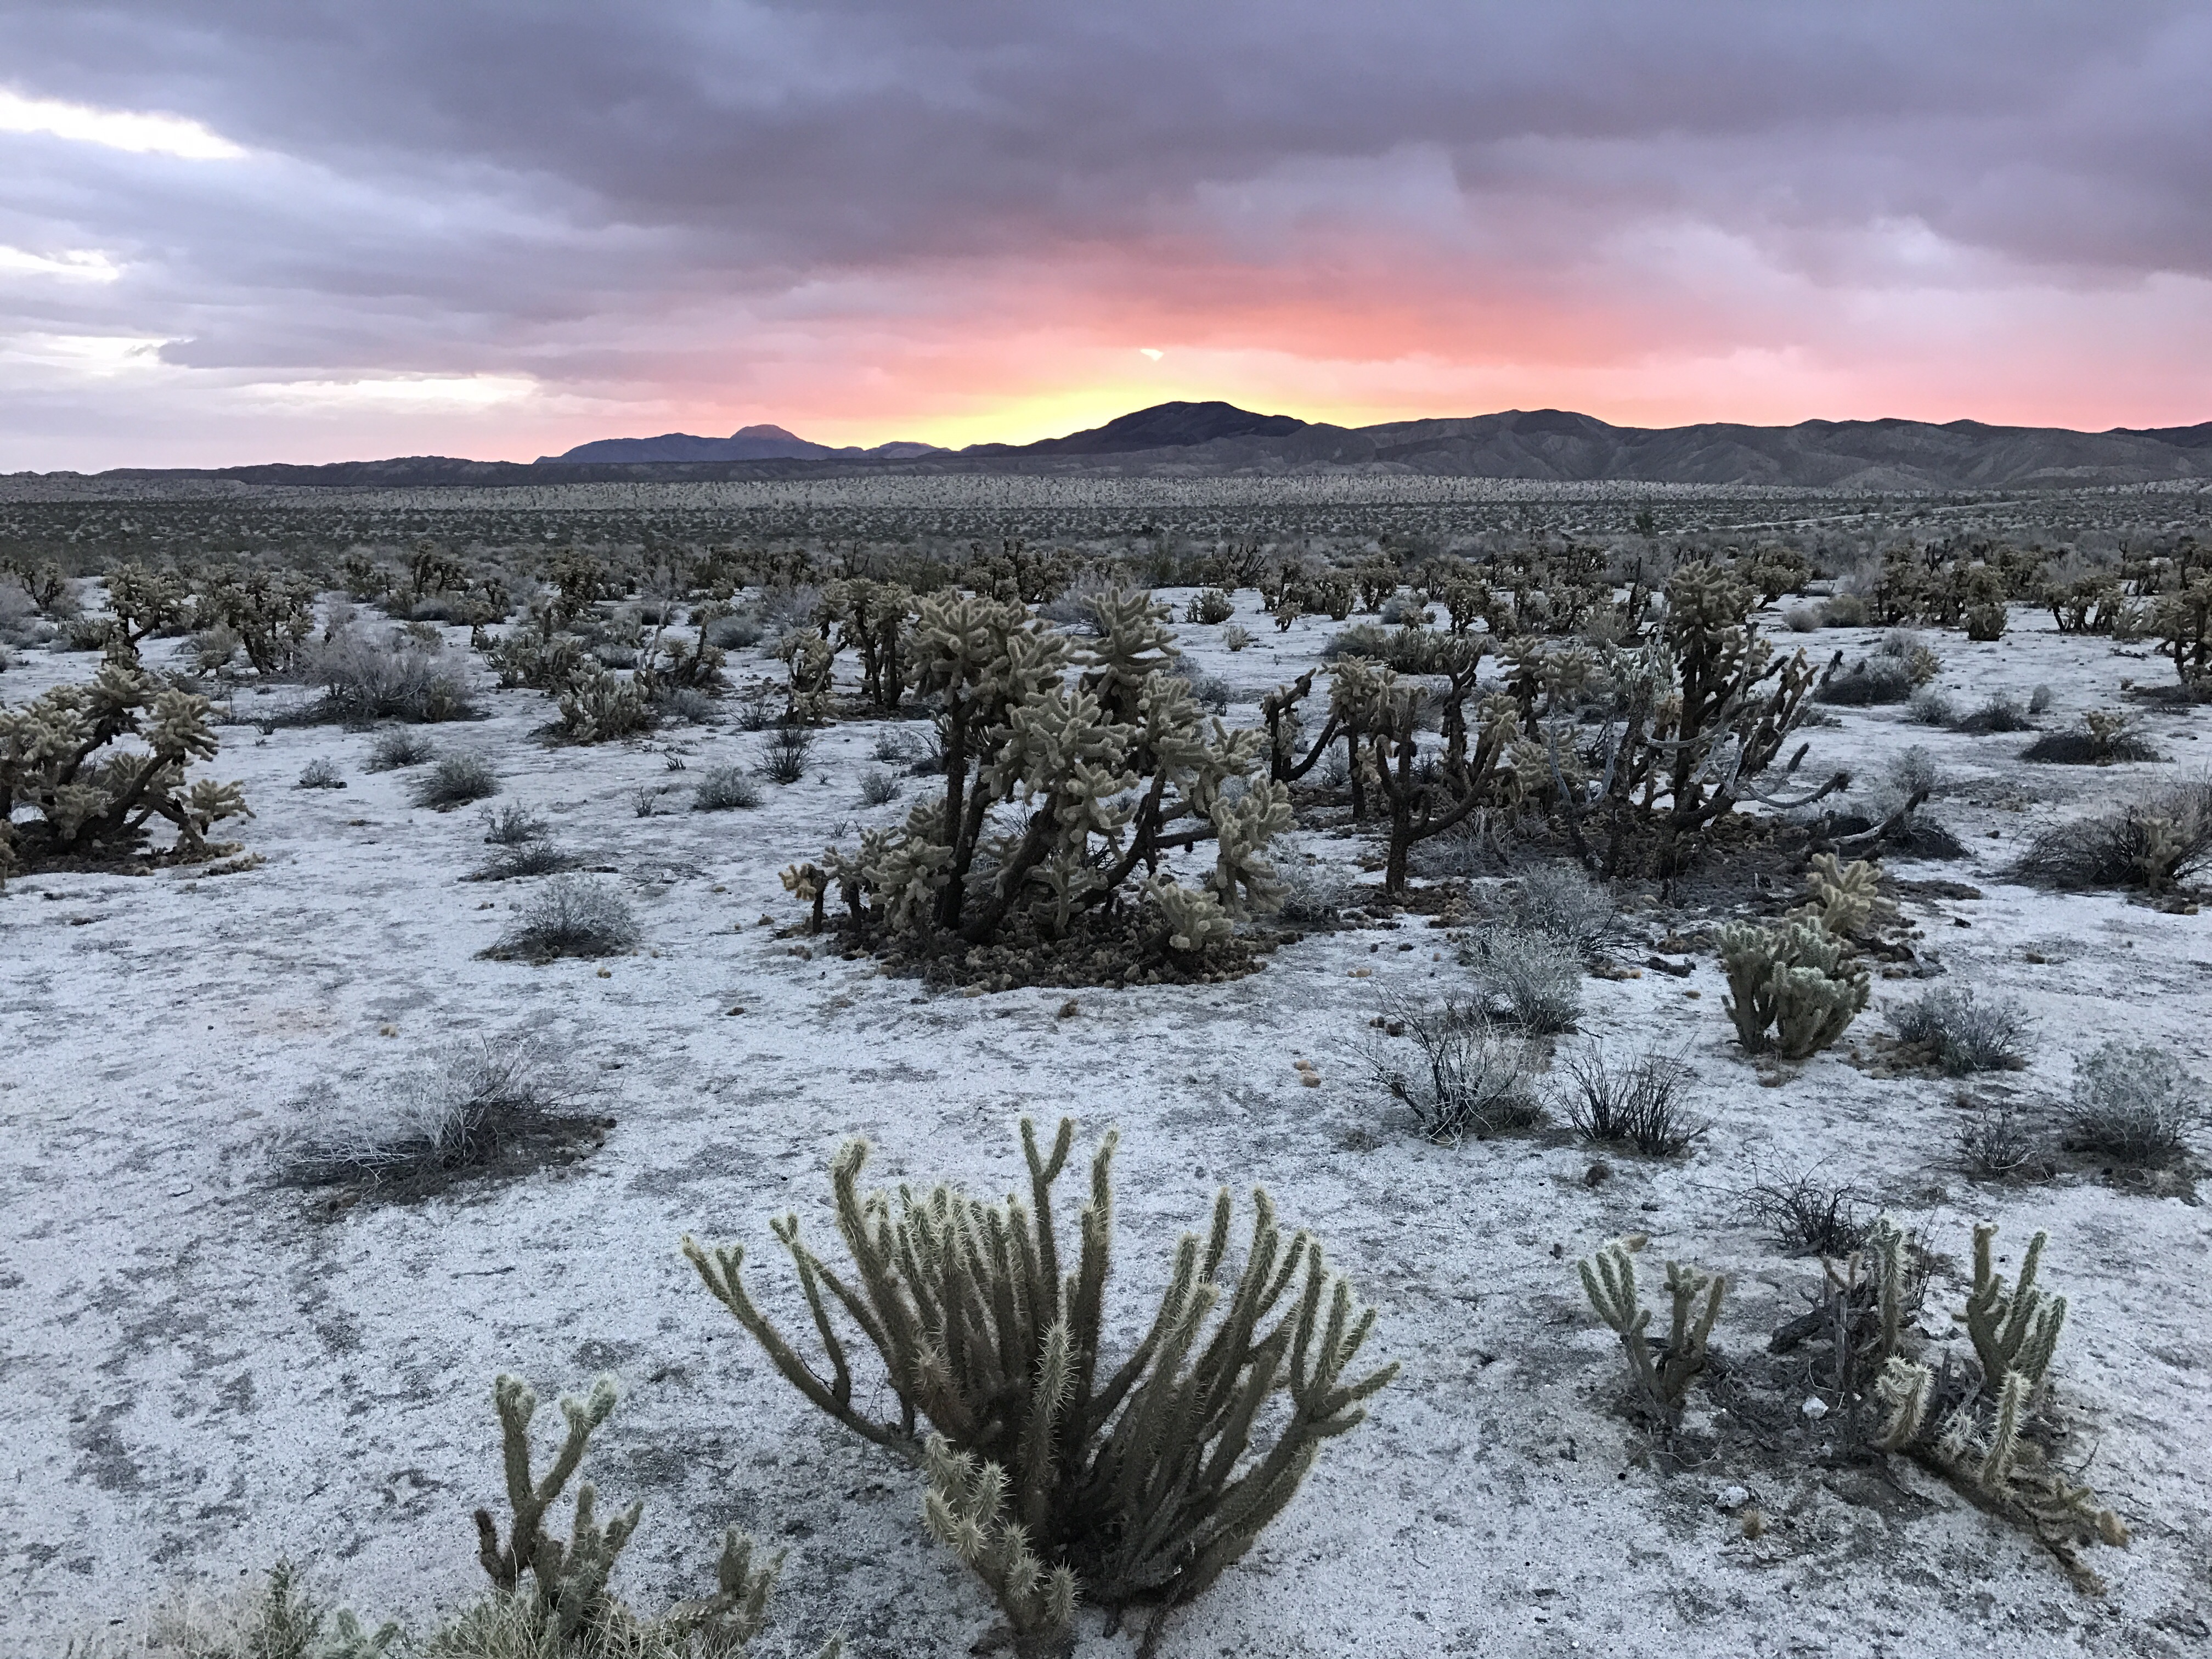
Camped out at the Anzio-Borrego Desert State Park’s Palm Mountain Spring primitive Campground last night. Great, quiet site among cholla cacti and ocotillo. Expecting rain that never came.

After a beautiful sunrise


I made a plan to visit a scenic overlook farther down the road and then head back to Borrego Springs with a few hikes along the way.

I had breakfast, packed up, put on my new hiking pants and hiking shoes, and put Penny, my camera bag, and my rain jacket into the truck. Put the key in the ignition, waited for the seat to move and the chimes to stop, turned the key to get the glow plug thingie working, and then turned the key to start the engine.

Click.

No hearty vroom of a starting Diesel engine.

I did some troubleshooting for a while. No success. I was pretty sure it wasn’t the batteries, both of which are less than a year old.

I had no Internet connection. This was actually my first campsite all month that had absolutely no Internet.

Barely a cell signal at all. 

I texted my friend Jim and asked him to look up the phone number for the Ford dealer in El Centro, CA, which was the closest big city to where I was. I was actually able to talk to him by placing my phone in a specific spot on my windowsill and not touching it. I had to use the speaker. He sent the phone number and I called. I chatted with a service guy. He confirmed what I suspected: it sounded like an electrical issue. He told me to have it towed in.

I managed to call AAA. I also managed to describe my exact location for a tow truck to come get me. I explained that I had a camper on the back and if the tow truck was a flatbed, the rig would likely be too tall to fit under overpasses and traffic lights. I knew that in a pinch, I could take the camper off the truck and leave it behind.

And then I waited.

A volunteer ranger came by and I flagged him down to tell him that I might need to leave the camper overnight. He had a beard like Santa Claus. He asked me if I knew what Ford  stood for. We said in unison “found on road dead.”

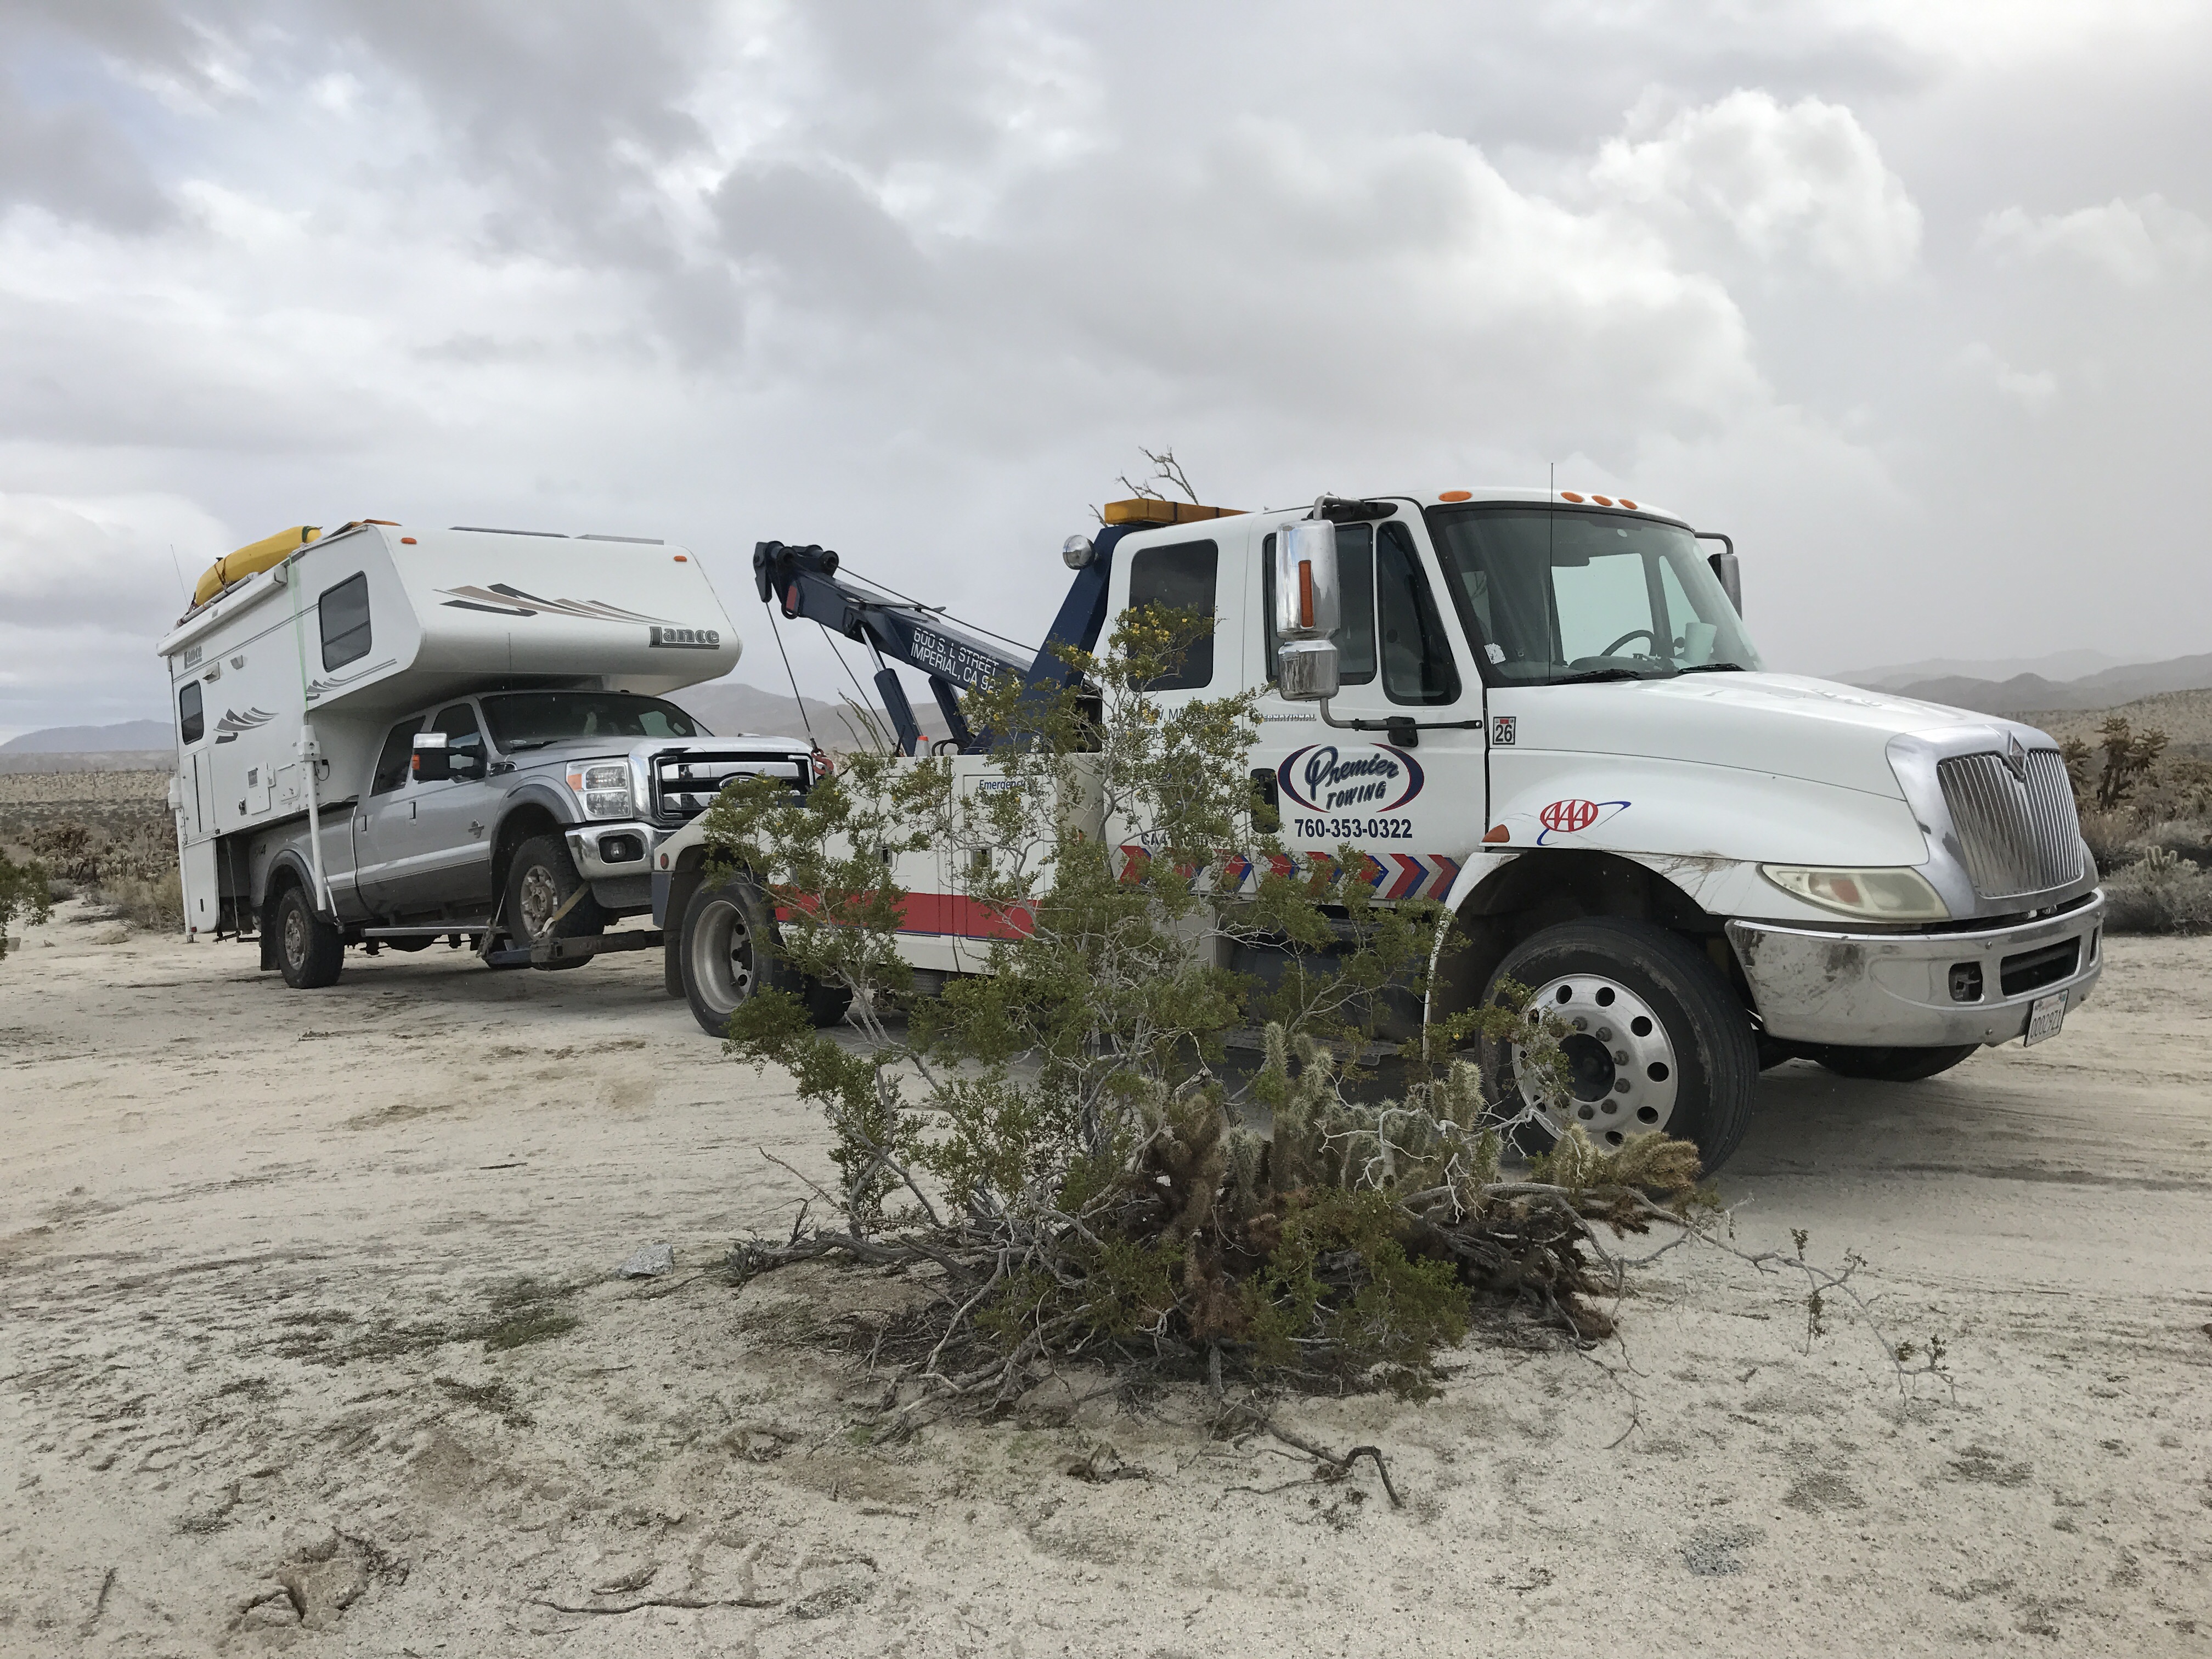
I saw the tow truck pass by on the paved road. I figured he’d realize he gone too far and would turn around so I decided to walk down to the road with Penny. We were about halfway there when he saw me waving and pulled in.

Fortunately, he didn’t come with a flatbed. He hooked up my truck, lifted it, and then disconnected the driveshaft — it’s a four-wheel-drive and apparently that’s necessary. He moved it far enough forward for me to retrieve the plastic Lego like blocks that I used to level it overnight. Then we both took pictures, 


climbed aboard, and headed out.

Along the way, we discussed how fortunate it was that I’d backed into the spot.

He took us to the Ford dealer, which was about 50 miles away. I was prepared for this tow — I had AAA membership that entitled me to up to 100 miles of towing per incident for free. And because I also paid for the RV coverage, I wouldn’t have to pay anything extra for having the camper on board. The driver told me that the tow would probably have cost around $900 – $1,000. So once again, my AAA membership has paid for itself. All it cost me today was the $20 tip I gave the tow truck driver.

The service center was short handed, but they promised to look at it today. They made me sign off on a $120 diagnostic fee. I signed. Did I have a choice?

Meanwhile, I knew I had the extended warranty I’d bought with the truck. I didn’t have the information about it that I needed, however. So I looked up the phone number for the dealer in Oregon where I bought the truck, called them, and left a message for the finance guy. He called back a little while later with the information. I passed it on to the service guy who was helping me. By that time, they had the verdict: I needed a new starter. It would cost $770.

The service guy called the warranty people. The starter was covered. They could pay the same day. The part was in stock. The service guy told me they’d be done by 4:30.

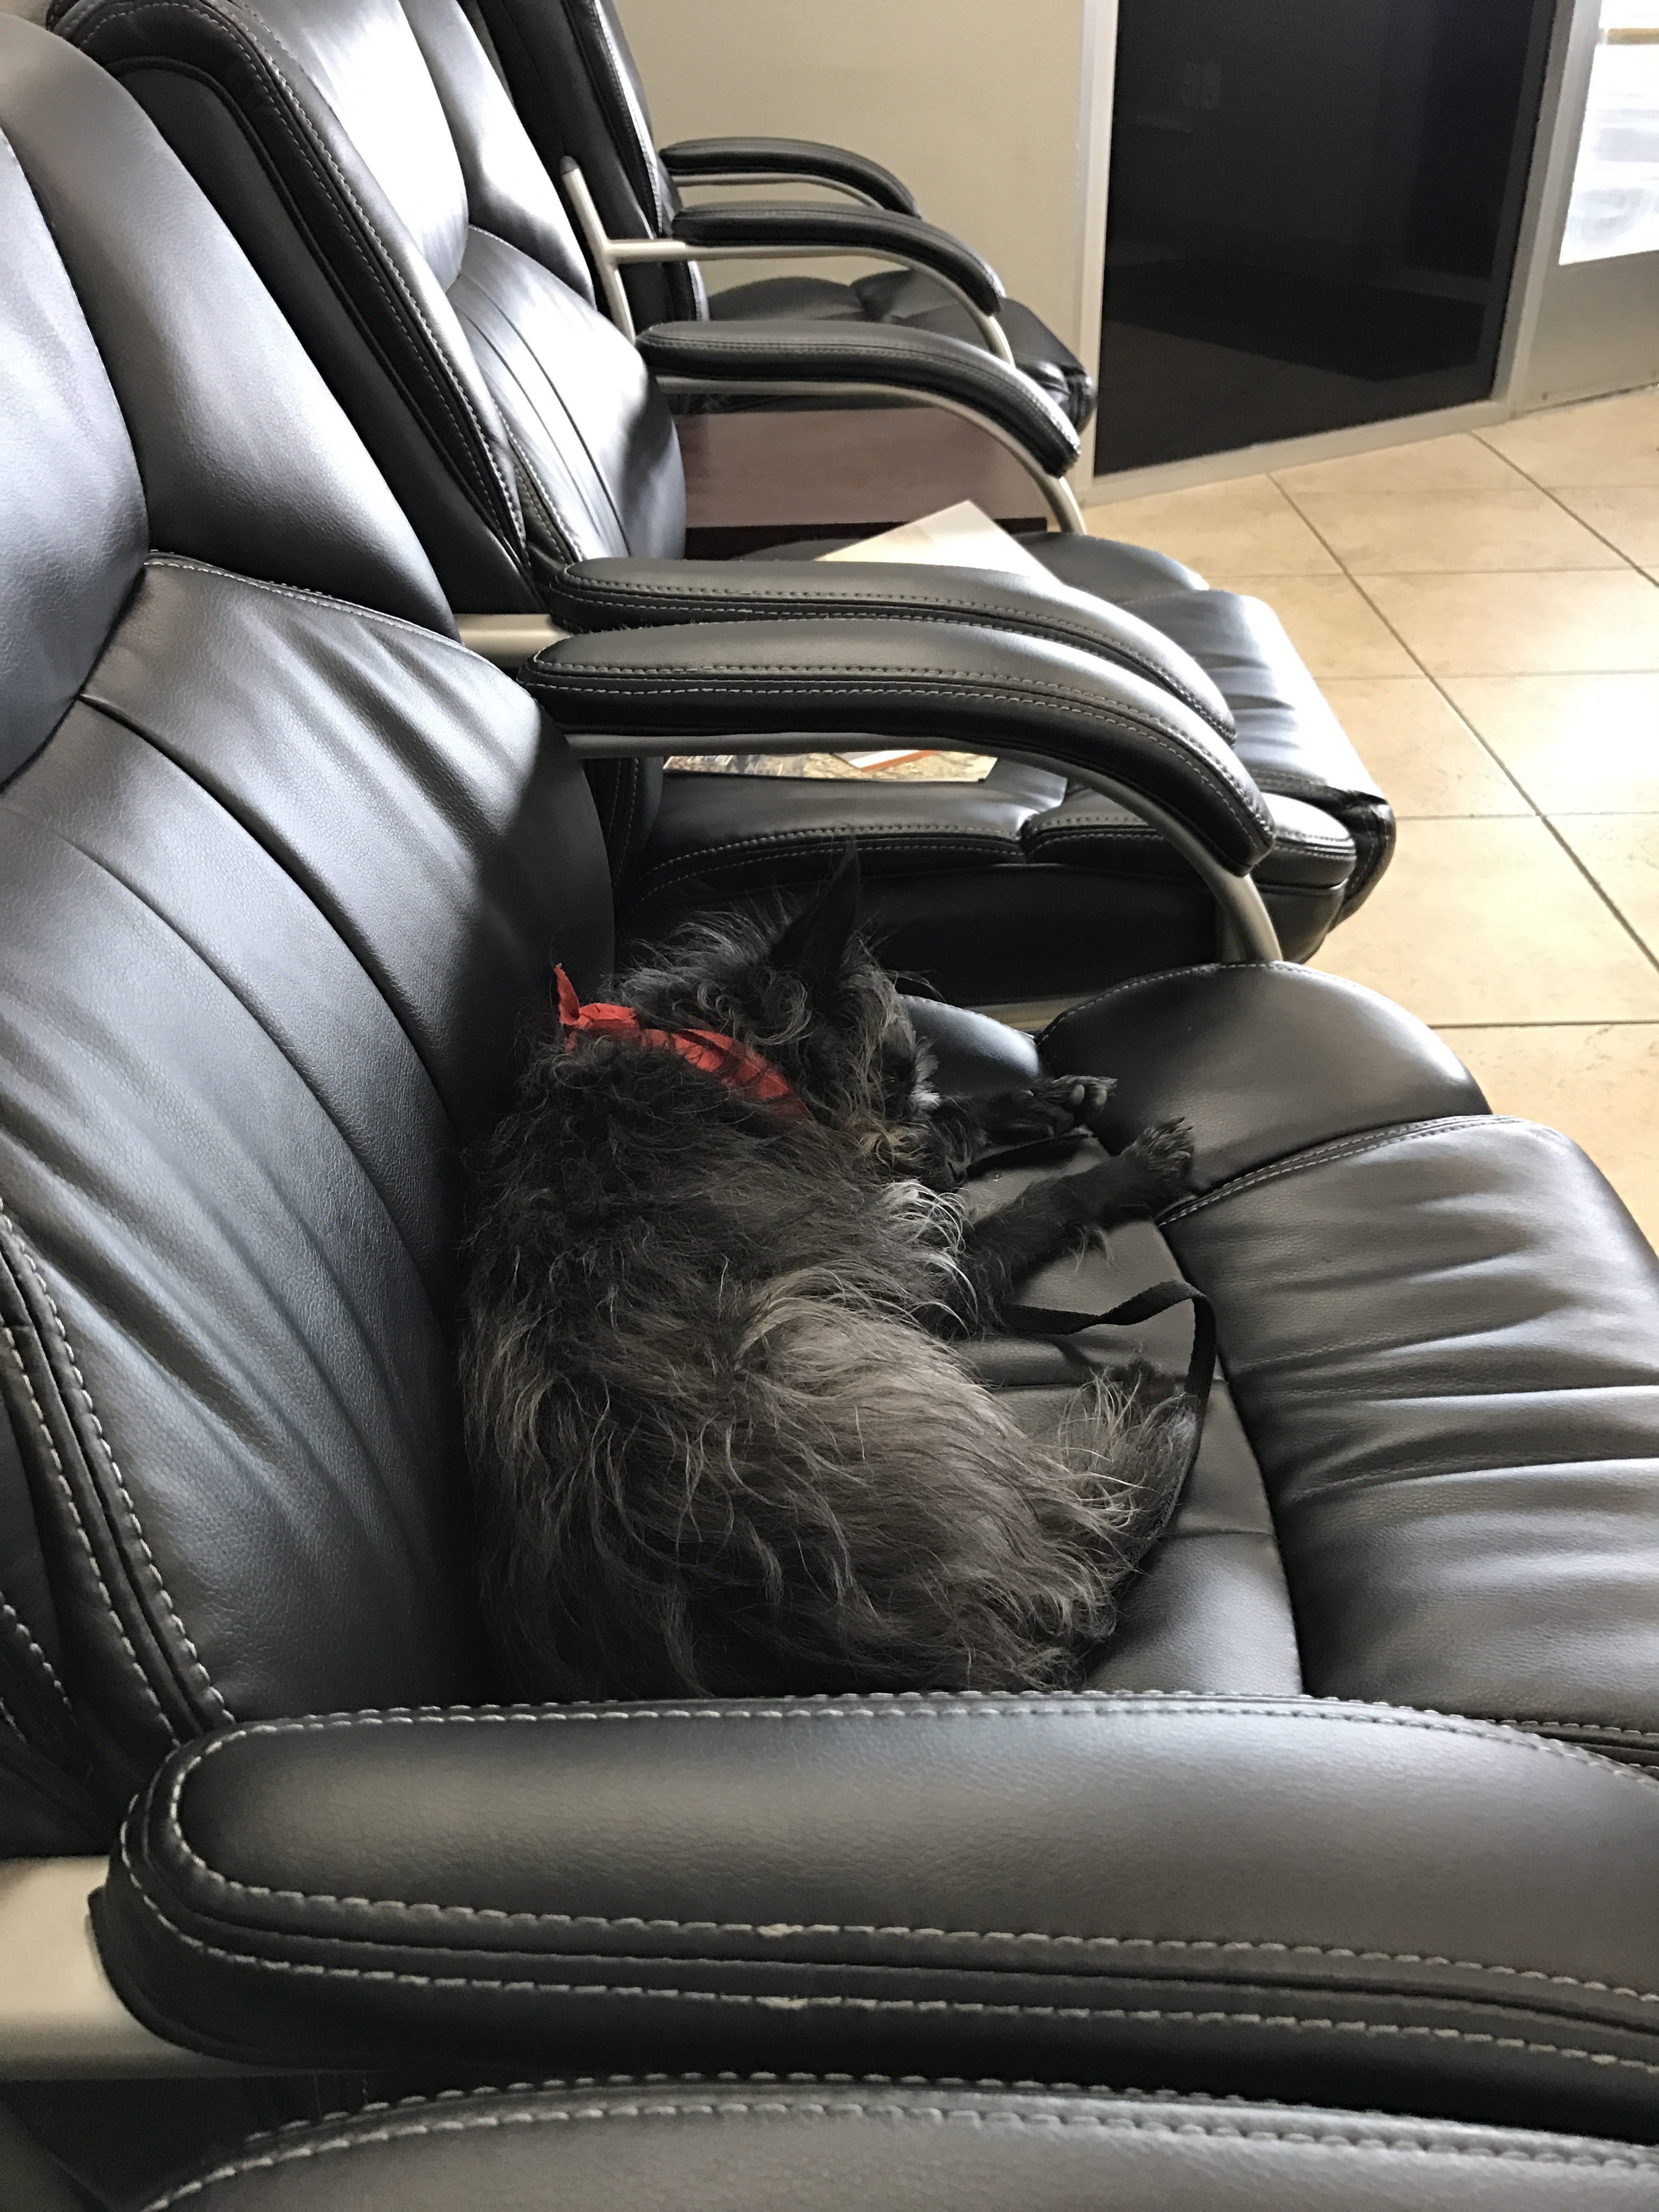
I waited with Penny.


They were done before 3 PM. I signed some papers. The total cost was $750.18 but I didn’t have to pay any of it. 

So yes, today I got a brand-new starter for my Ford pickup truck for a total out-of-pocket cost of $20.

Of course, I had lost most of the day. My plans were pretty much shot to hell and I had to come up with a new plan. I decided to spend the night at a primitive campsite on the east shore of the Salton Sea, a large inland body of salt water that’s about 275 feet below sea level. (I can’t make this stuff up.) I programmed the location into Google maps and headed north.

When I reach the campground an hour later, it was raining and the campground was closed.

Undaunted and knowing that there were more campgrounds farther up the shore, I kept going. I found one less than 5 miles away that was open. By this time, it was raining pretty hard. I backed into a spot along the shore so that I could see the lake through my back and dining area windows and parked.

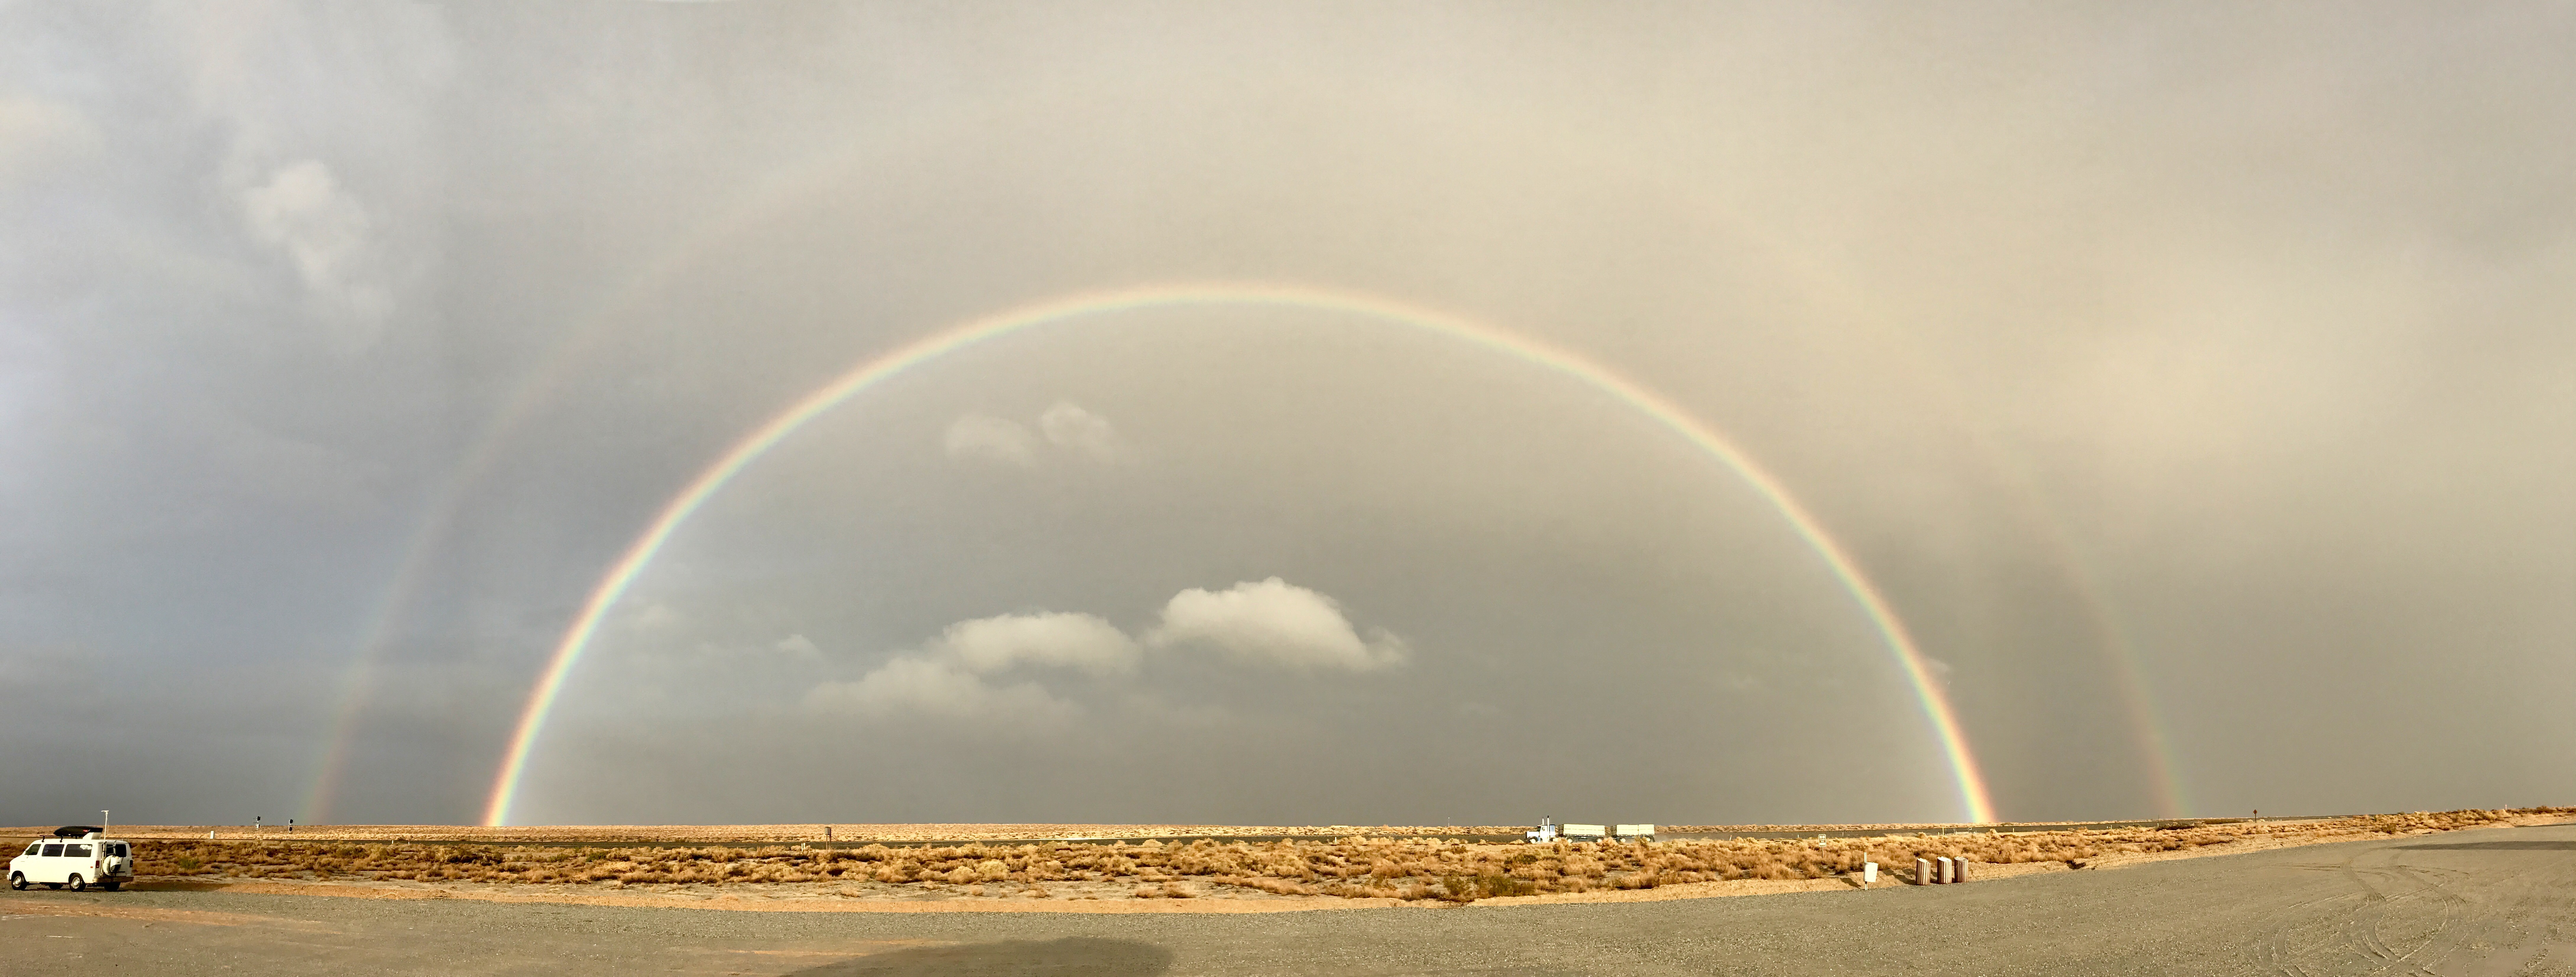
The sun, which was now quite low in the western sky, poked through the clouds. A magnificent double rainbow appeared to the east. I took a picture, of course. It was so big that I had to use the panorama feature on my iPhone.


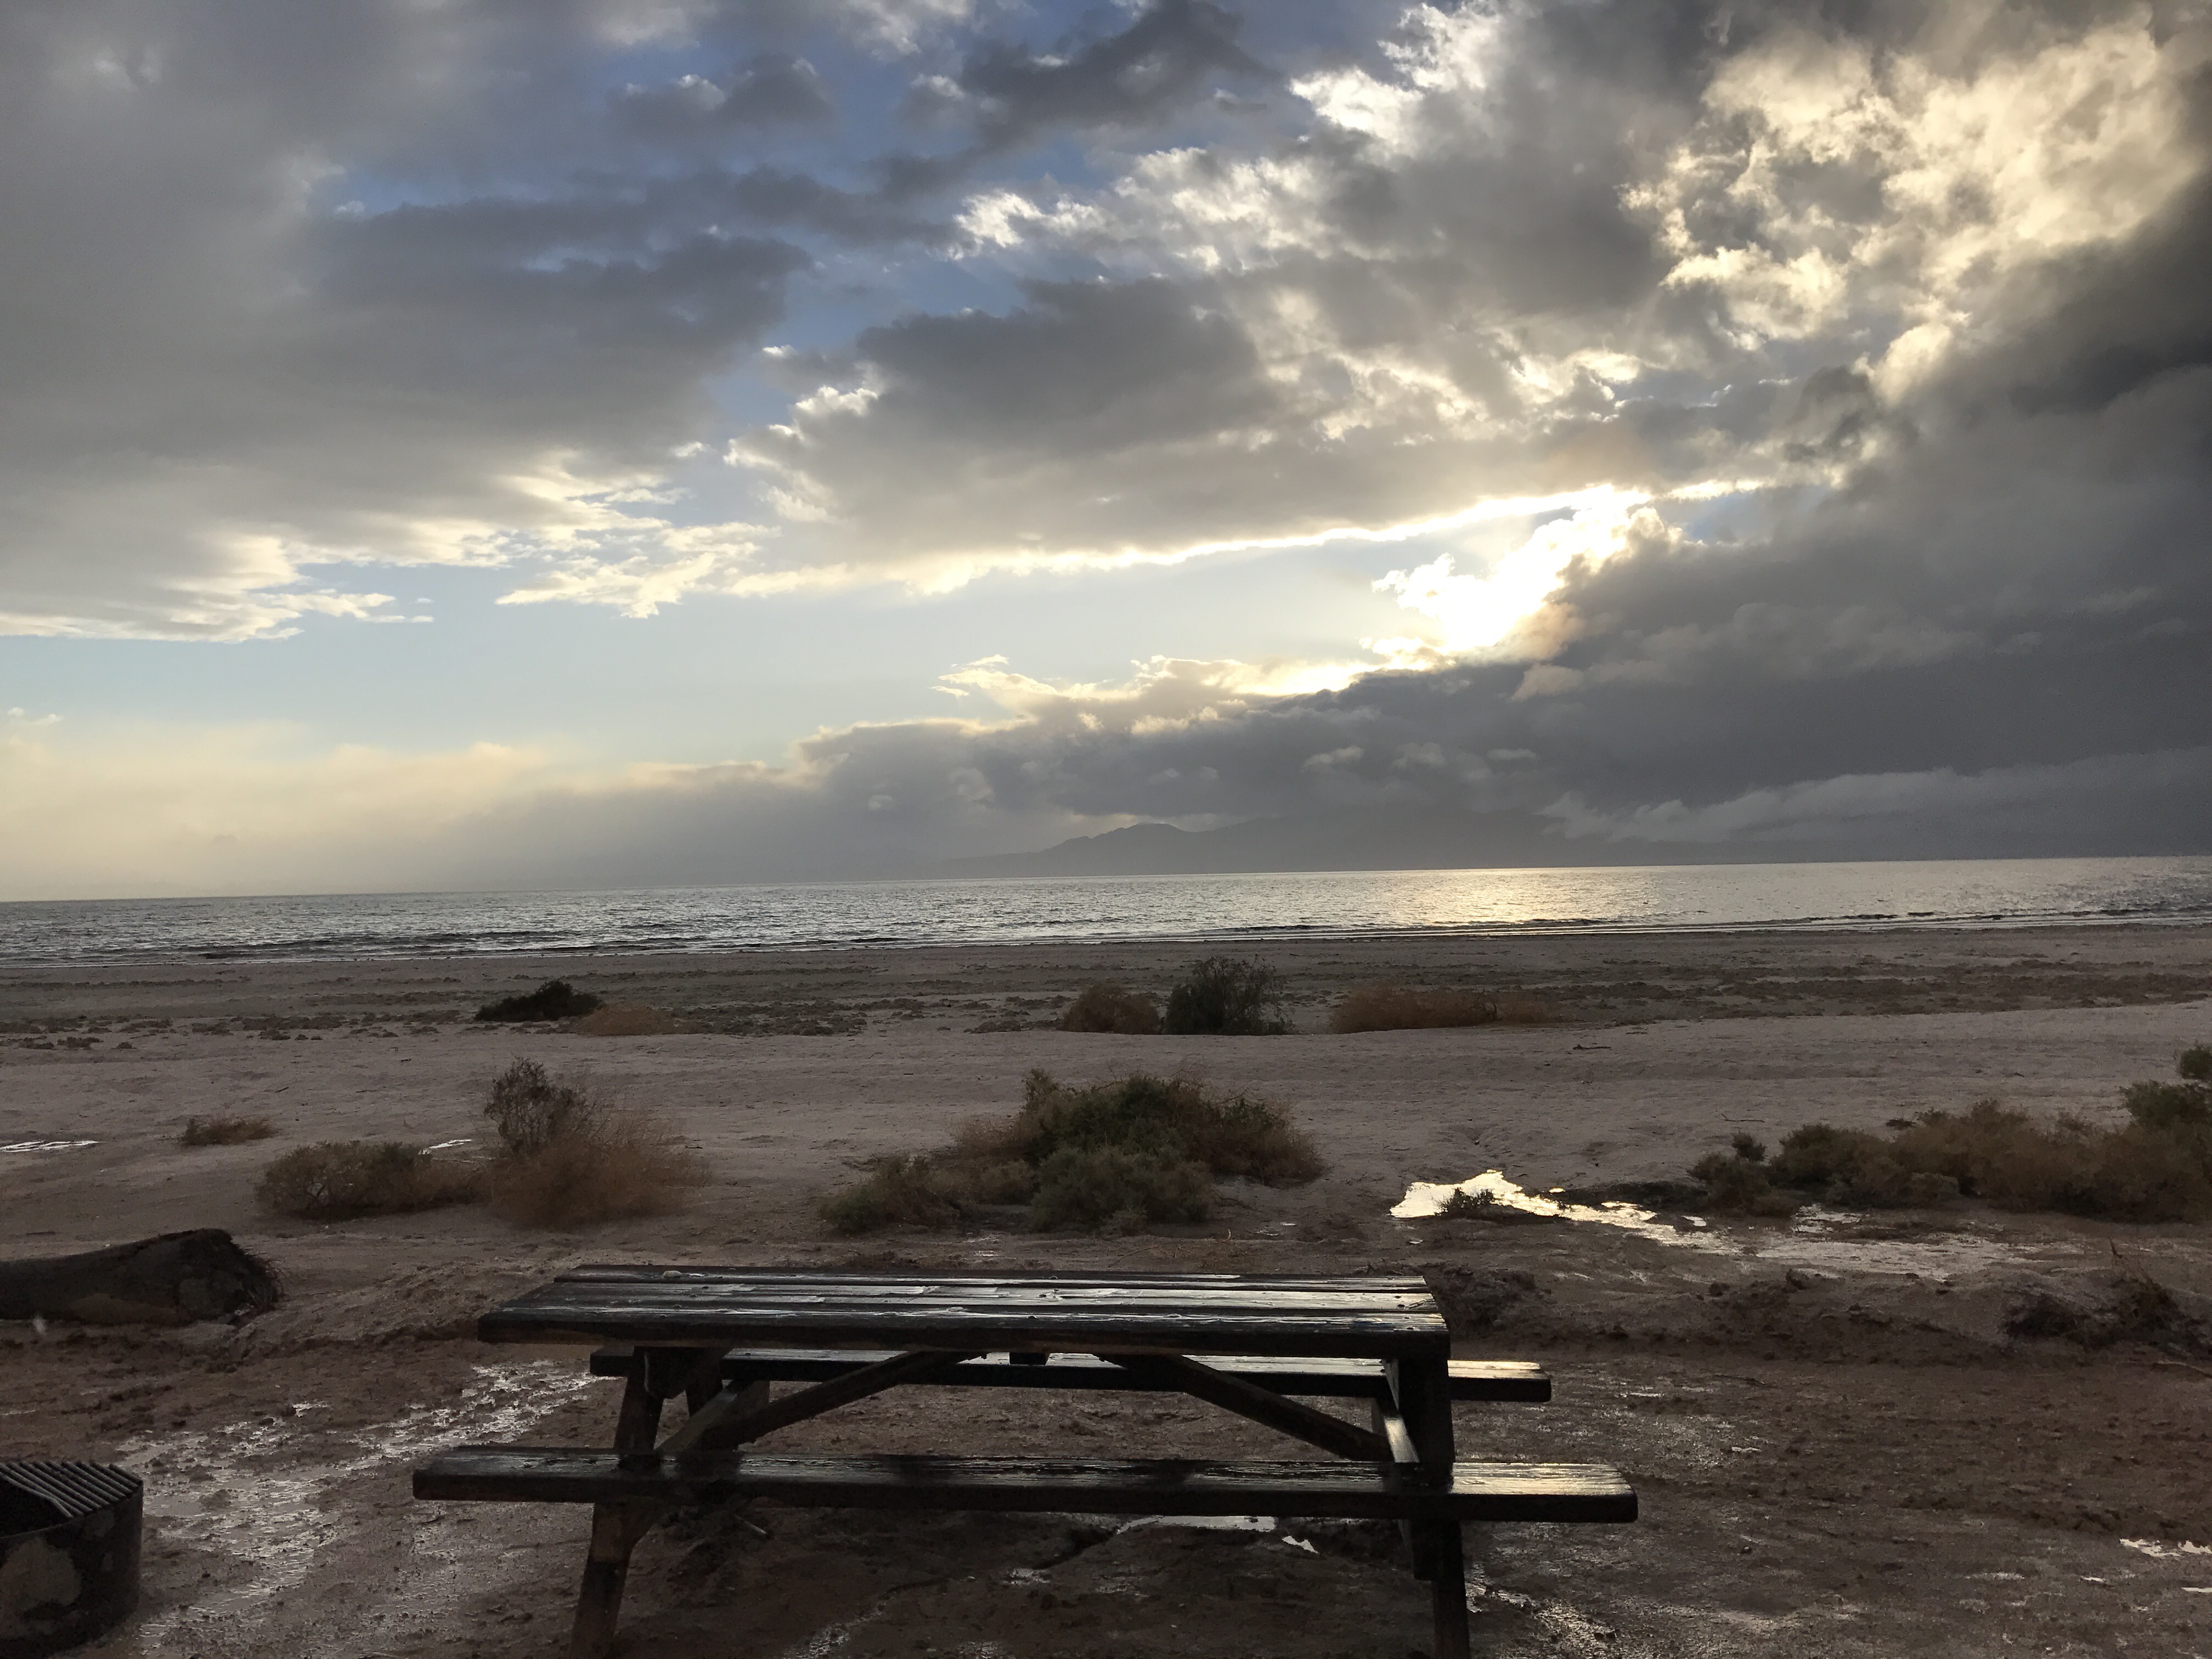
Outside my back door, the wooden picnic table gleamed in the sun. Waves were breaking on the shore of the lake as seagulls flew by. I took a picture, of course.


And that’s with Penny and I are right now. I had dinner, the sun has set, and now I’ve managed to write a very lengthy blog post about my very unusual day. Rain is pattering on the roof of the Turtleback but Penny and I are warm inside. 

Let’s just hope tomorrow’s adventure is a little more predictable.

Snowbirding 2017: About the Campsites

And how I find them.

Adventure Truck
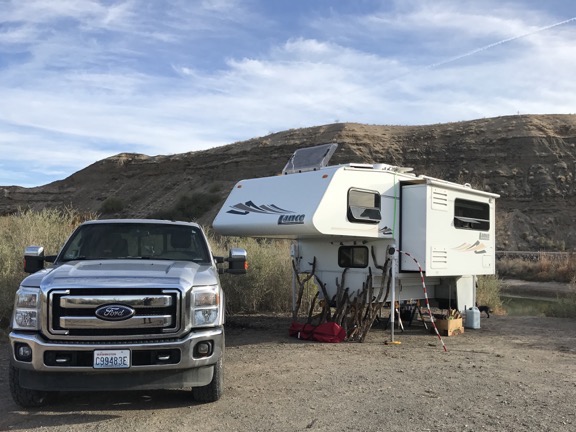
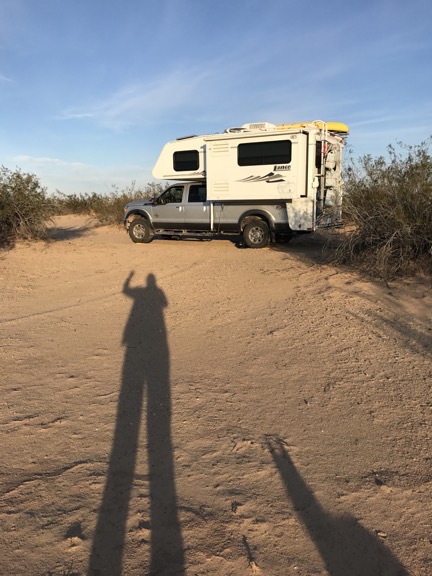
Adventure Truck and the Turtleback off road near Cibola Lake on the Colorado River.

I’ve been on the road since the day before Thanksgiving — an early start to my annual snowbird migration to points south. Other than a little over a month spent at a friend’s guest house in Wickenburg, AZ and three days spent in another friend’s guest house in Phoenix, I’m been camping out in my truck camper, the Turtleback. It’s a fully-contained RV with a queen size bed, refrigerator, stove, convection microwave, sink, and bathroom. It can carry 14 gallons of propane, 40 gallons of fresh water, and a total of 60 gallons of wastewater (in two tanks, black and gray). There’s a propane furnace for cold nights and an AC air conditioner for hot days. The two batteries have plenty of juice for overnight stays, are charged by a solar panel during the day, and can be supplemented by an onboard propane generator with the flick of a switch. With its dinette and refrigerator on a slide out, it has plenty of room for one (or two who like each other a whole lot). Best of all, it can go just about anywhere my truck can go and since my truck is a 1-ton 4WD diesel with high clearance, it can go pretty much anywhere it wants to go.

This ain’t no KOA parking lot rig.

Now that I’m back on the road again after my Wickenburg stay, I’ve been sharing photos of my campsites with friends on Twitter and Facebook. The other day one of them asked how I find my campsites. I thought that might make a good blog post.

What I look for

First let me start by explaining what I look for in a campsite.

I want something quiet, private, and safe. I don’t like to listen to generators and I don’t like to close my blinds.

I like a view, but don’t need one. I love camping near moving water or a body of water that’s smooth and reflects the sky.

I must have relatively level ground, although I do have leveling blocks to make minor adjustments if a site has a slope to it. (The camper does not need to be perfectly level.)

I also want something free or cheap or at least worth what I’m paying for it. So far, of the 23 days I’ve spent camping, I’ve only paid for 5 nights. Prices for those campsites — one state park campground, two BLM campgrounds, and two nights at a Las Vegas campground (yes, they have them) — ranged from $5 to $23 per night.

Colorado River
I spent about 10 nights at this free BLM campsite along the Colorado River south of Ehrenberg with some friends. We were on a peninsula and surrounded by water, so I got some fishing and paddling in while I was there.

Because I’m self-contained, I don’t need any hookups or even access to water or a dump station. (This, by the way, is often called “dry camping.”) Picnic tables are nice to have, but I don’t need a fire pit because I don’t usually have a campfire when I’m traveling alone and I have a portable BBQ grill if I want to grill something up. Although these things are nice for long-term stays, they usually come with neighbors so I lose any possibility of quiet or privacy. Those are actually more important to me than the convenience of being hooked up to utilities.

Las Vegas Camping
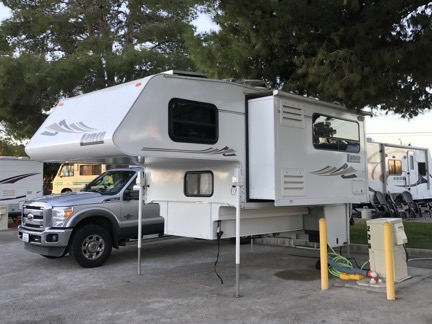
I spent two nights at a Las Vegas campground so I could take in two shows. At $23/night, it was the most expensive overnight stay, but it had clean, hot, private showers.

I’m not opposed to staying in a regular campground with a full hookup once in a while. It’s a good opportunity to dump my tanks, take a long hot shower, top off the charge on my batteries (if needed), and refill my fresh water tank. But as I recently learned after 10 days of dry camping south of Ehrenberg, my black water tank can hold at least 10 days of waste and I don’t use much fresh water. (It probably would have been a perfect stay if it weren’t for battery issues that were resolved when I left by simply replacing two bad batteries.) But the parking lot atmosphere of most RV parks is a real turn off to me and it irks the hell out of me to pay $30, $40, or even $50 to spend a night there.

Where I look

First, I’ve learned over time where the kind of campsites I want can be found.

When Free isn’t Free
Keep in mind that some areas — including the Icicle Creek area I discuss here — require an access pass for parking. I buy my passes annually and keep them in my truck for hiking and camping, which I do three seasons out of the year. It’s worth it to me and I like supporting the park system.

Public land, including National Forest (NF) and Bureau of Land Management (BLM) and sometimes even State Forest (SF) land almost always has some free “distributed” camping. Distributed camping is camping allowed off forest or desert roads in established campsites that are not necessarily in campgrounds. For example, a drive up Icicle Creek in the Leavenworth, WA, area will take you into National Forest with several established campgrounds. Those campgrounds have level parking space, picnic tables, fire rings, and access to toilets and sometimes even water and you’ll pay a fee to use them. But off the main road are side roads with campsites scattered here and there. Those campsites are usually free.

Did you know that you can camp in the NF just outside Grand Canyon National Park for free? And if you know where to look, you can even find back roads into the park that can help you avoid entrance lines? It’s like camping near your own private entrance to the park.

Near John Day
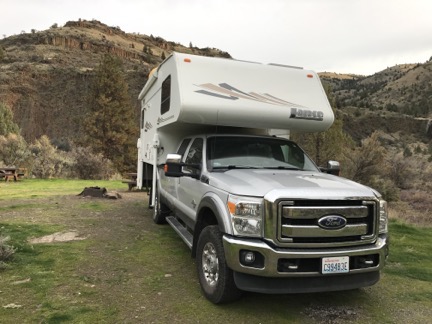
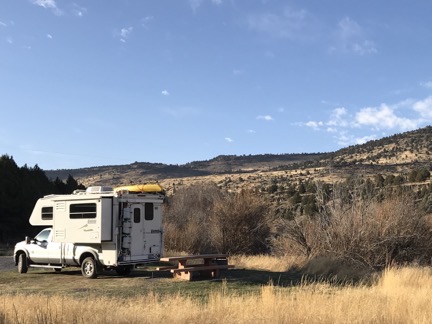
My Thanksgiving dinner campsite on a tributary creek to the John Day River in Oregon.

Even the campgrounds in NF, BLM, and SF areas can be quite a bargain. On Thanksgiving night, for example, I had an entire campground on a creek in Oregon to myself. My back door looked out over the creek, it was dead quiet and completely private, and I had a picnic table and fire ring if I wanted to use them. There was even a very clean pit toilet a 250 feet from my site. All for $5. I can’t complain, can I?

State and county park campgrounds can also be nice, although they can be spendy and are usually crowded on weekends. Washington state campgrounds can be outrageously priced so I generally avoid them unless they have features I can’t get elsewhere.

How I find them

This is where experience is a good teacher. The more I look for and find sites, the better I become at doing it. And getting a feel for an area is also extremely helpful.

I use a few online tools to get started. I start with Google Maps to get a general feel for the area I want to spend the night. What’s there? Towns? Parks? Points of interest? NFs appear on Google Maps; when I get the name of a NF, I can Google it and get details, including detailed maps that show parking areas and forest roads.

I can also go to the BLM website and search its maps for nearby BLM land. Then I can get details about possible camping areas or campgrounds.

At Walker Lake
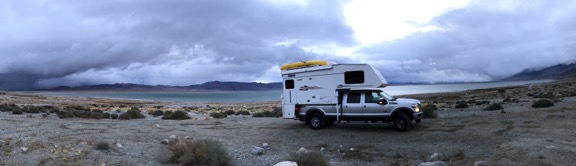
I needed a place to stay near Hawthorne, NV, where I planned to meet up with a friend of a friend. No problem: free camping on the lake on BLM land. Too bad the weather was so stormy!

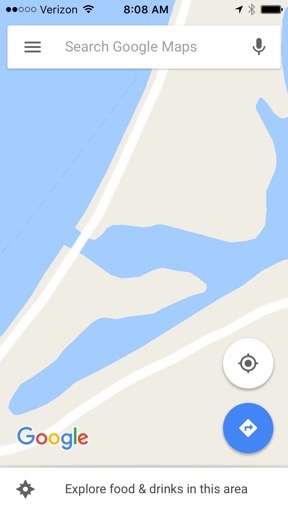
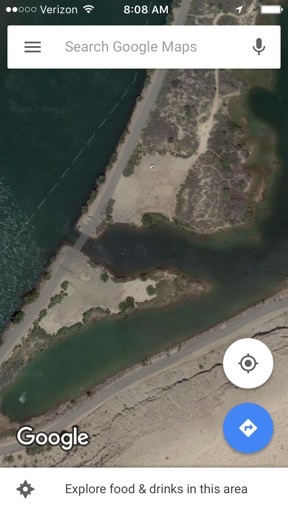
Once I know for sure that camping is allowed in an area, I can use Google’s satellite view to get a look at potential sites. Keep in mind that map view isn’t always accurate — for example, Google maps shows a through road along the levee where we camped in early January; in reality, there’s an inlet cut through the road that clearly shows in satellite view. Satellite view will also show clearings in forested areas, side roads, and even fire pits that indicate an established campsite.

Map View Satellite View
In map view, it looks like the road crosses right over inlet (left) but satellite view tells the real story (right). We camped in the clearing just to the east of where the north side road ends.

Oregon Camping
I had a streamside campsite in central Oregon. There were about two dozen deer roaming the campground when I arrived late in the afternoon. Only five of the 30 or so sites were occupied.

Another somewhat obvious trick is to simply ask around. For example, when I was near Burns in Oregon looking for a place to stay on my way south, I saw some BLM land that showed a campground. It was pretty remote and it was late in the day; I worried that it might not be suitable for me and then I’d be stuck driving at night, which I hate to do. I Googled BLM and found a BLM field office. (The same one that was in the news a lot last year.) I was close enough to drop by and chat with a ranger. He assured me that the campground was open and would accommodate my rig. I made the hour-long drive south and found what might have been the nicest campground so far. I picked a site along the creek and paid only $8/night.

Cibola
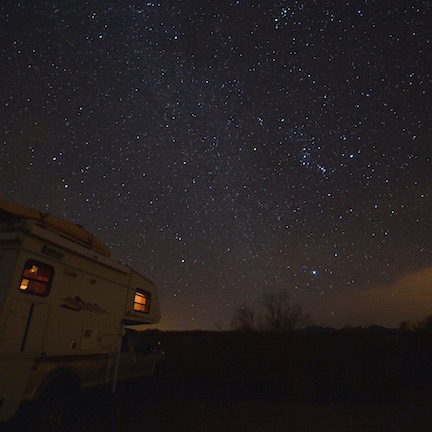
A bonus to this campsite along the Colorado River just outside of the Cibola Wildlife Refuge was the incredibly dark night sky. I got to practice my astrophotography skills not long after sunset.

I also ask friends. The campsites I stayed in last year and this year south of Ehrenberg on the Colorado River were sites my friends knew well, having camped there for many years. My friend Janet showed me other sites. I found still more just wandering around on my own, like a campsite father down the river near a wildlife refuge.

Near the Hot Spring
Greetings from somewhere south of Holtville, CA!

I found the site I was in the last night before my side trip to San Diego (where I am now) by a combination of methods. A friend told me about the hot springs along I-8, although he was pretty sketchy about the name and location. Google maps found the place and directed me to it. A review on Google told me it was BLM with camping available and the reviews were pretty good. The campground host at the long-term (i.e., fee) camping area directed me to free 14-day limit camping about 2 miles south of the hot spring. I drove in, found a level spot, and parked for the night. Only two cars drove past during the 16 or so hours I was there so it was plenty quiet. I got a great night’s sleep — with the bonus of a good hot tub soak in the morning before I hit the road.

I’ll leave San Diego later today and head back east toward Arizona. I’ll spend a night or two in Borrego Springs, following up leads for free campsites with good hiking on BLM and NF land. Then the plan is a side trip to the Salton Sea where I should be able to find a site in the state park there. Then back to Quartzsite for a few days; there’s plenty of free camping out in the desert. After that, who knows? I’m making it up as I go along and only tentatively plan things out a week or so in advance.

I love the flexibility I have on this trip with my smaller rig. I also really love the freedom to make things up as I go along, without having to get approval from (or listen to complaints from) a travel companion. So far, most of my sites have been better than I expected and, as you can imagine, I’m very pleased about that.

I do admit that things can get a bit stressful late in the day when I still don’t know where I’m going to park for the night. But there’s aways plan B: a truck stop or Walmart parking lot. (Fortunately, I haven’t had to resort to either one so far on this trip.) Or a KOA.

Do you have any campsite tips you’d like to share with readers? Please do use the comments link or form to let us know. I’d certainly love to get some new ideas. You can never know too much.

Snowbirding 2017 Postcards: The Hot Springs

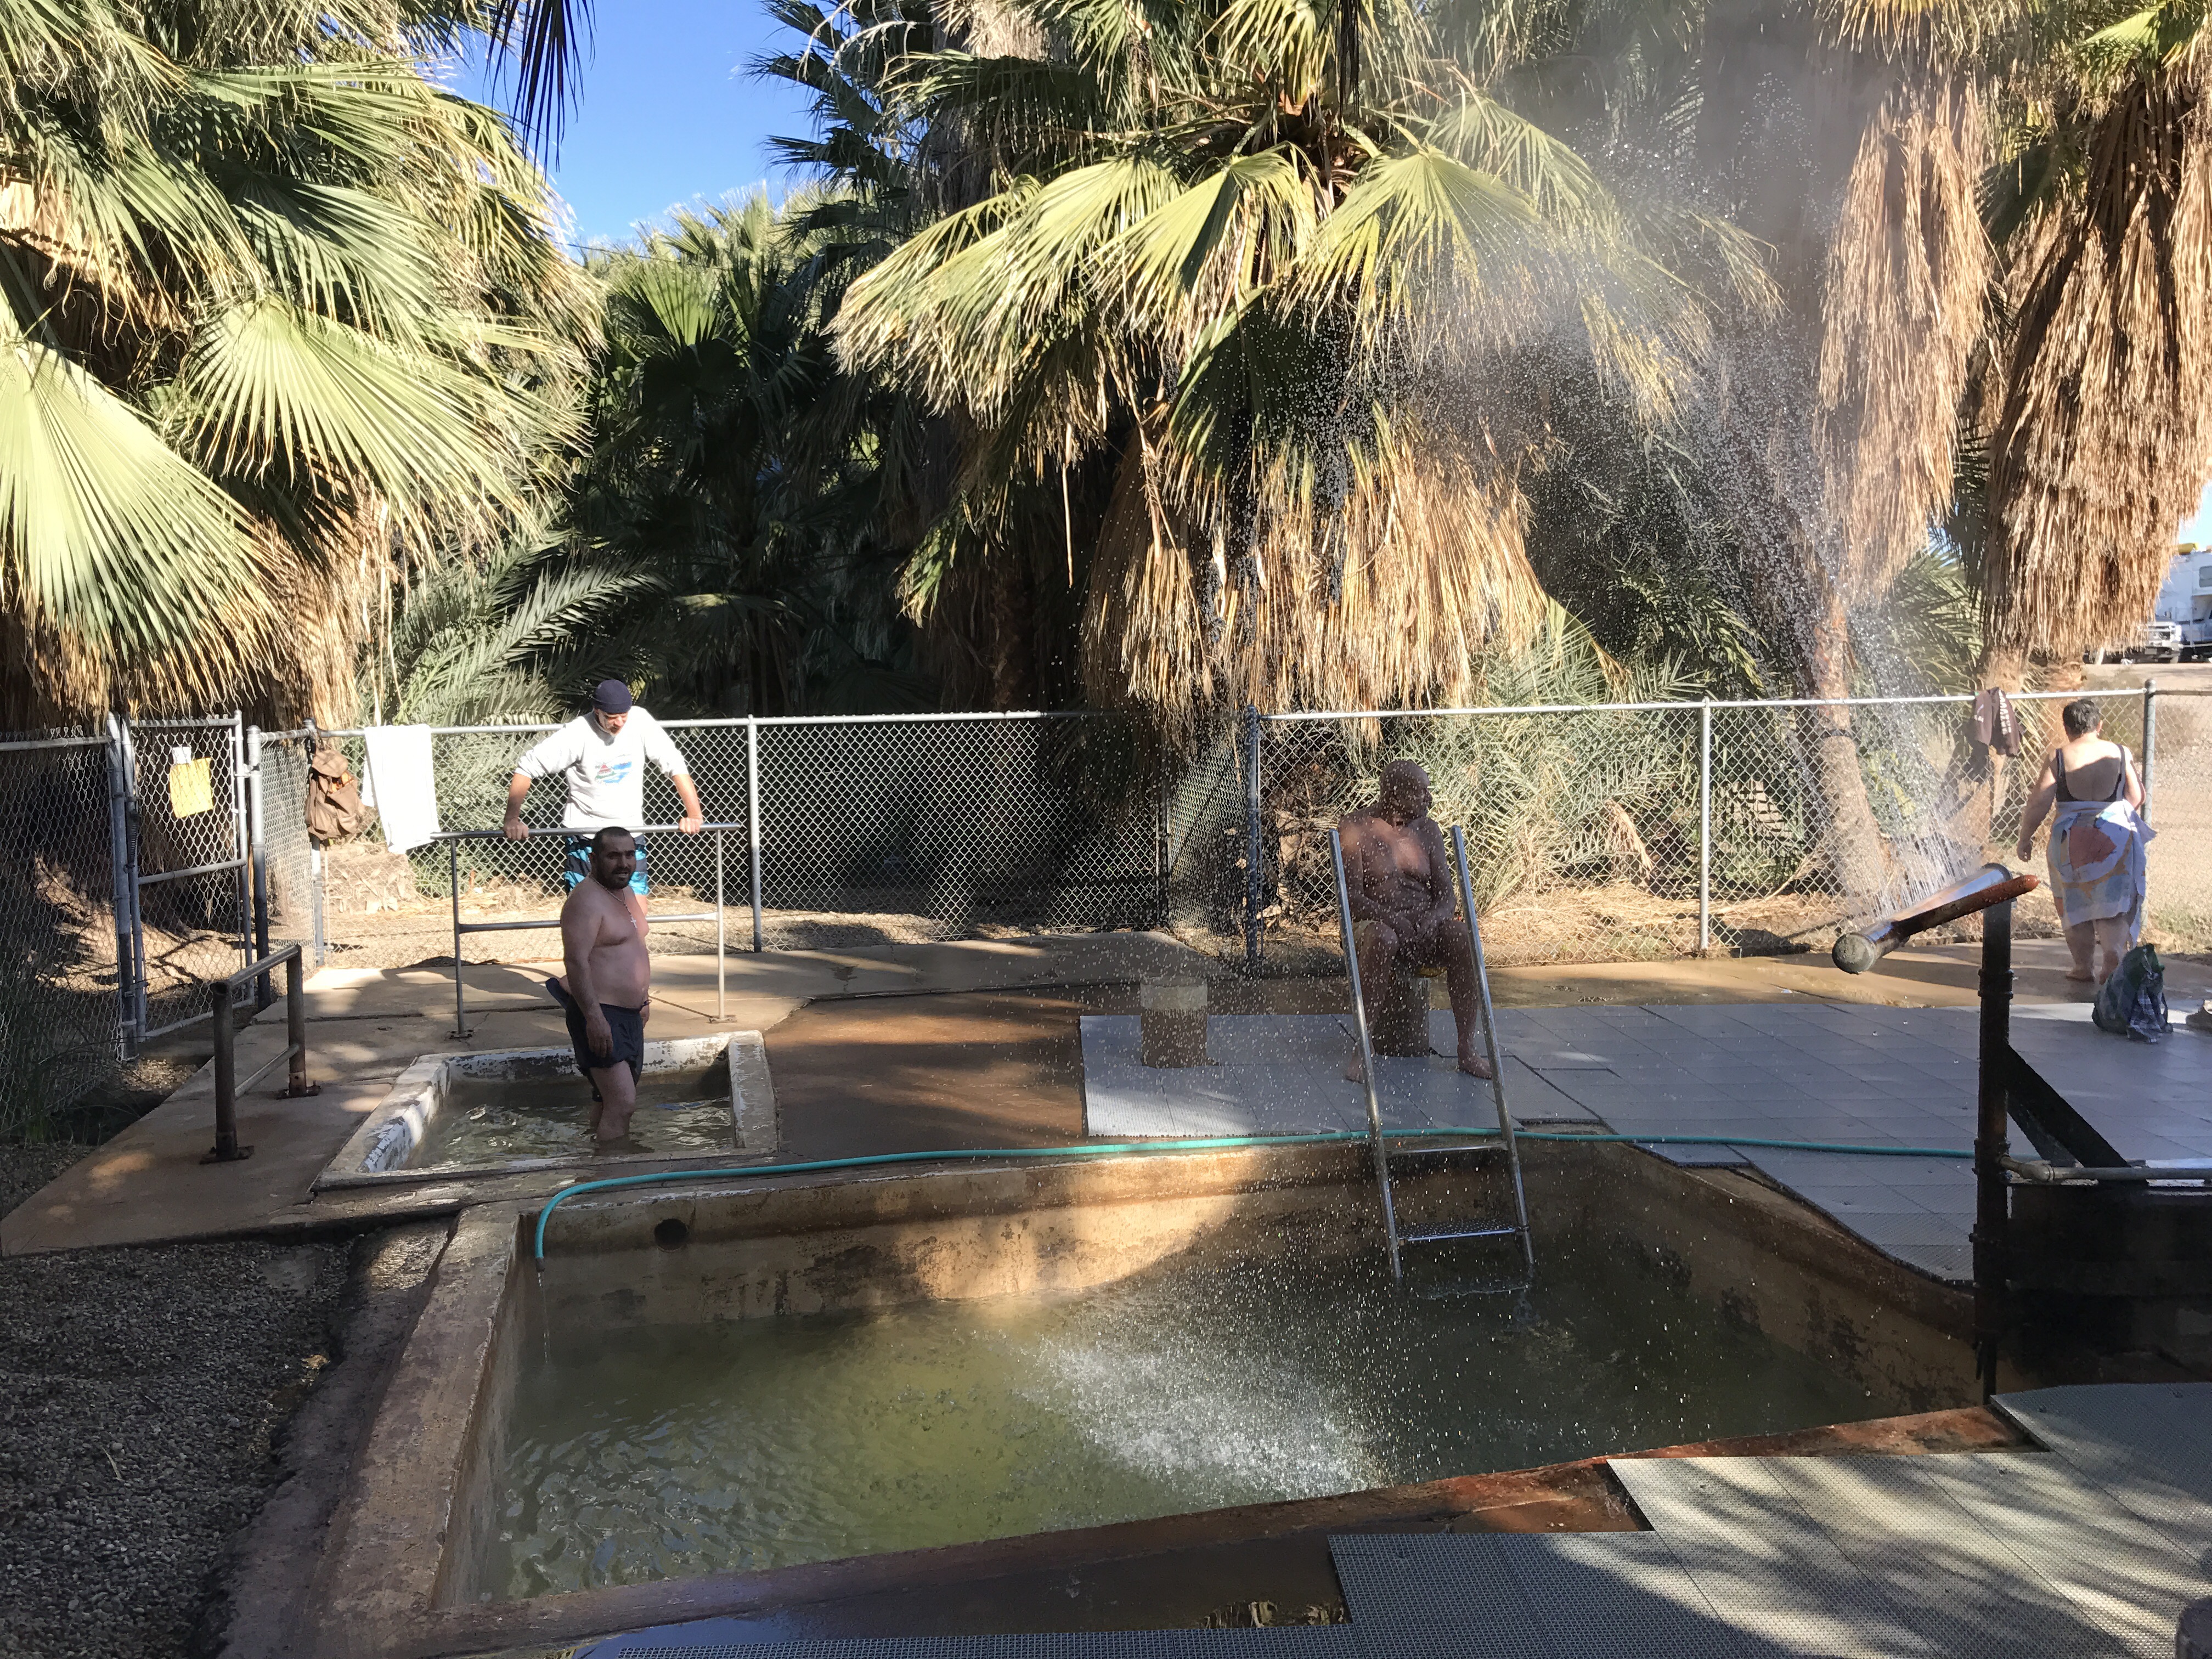
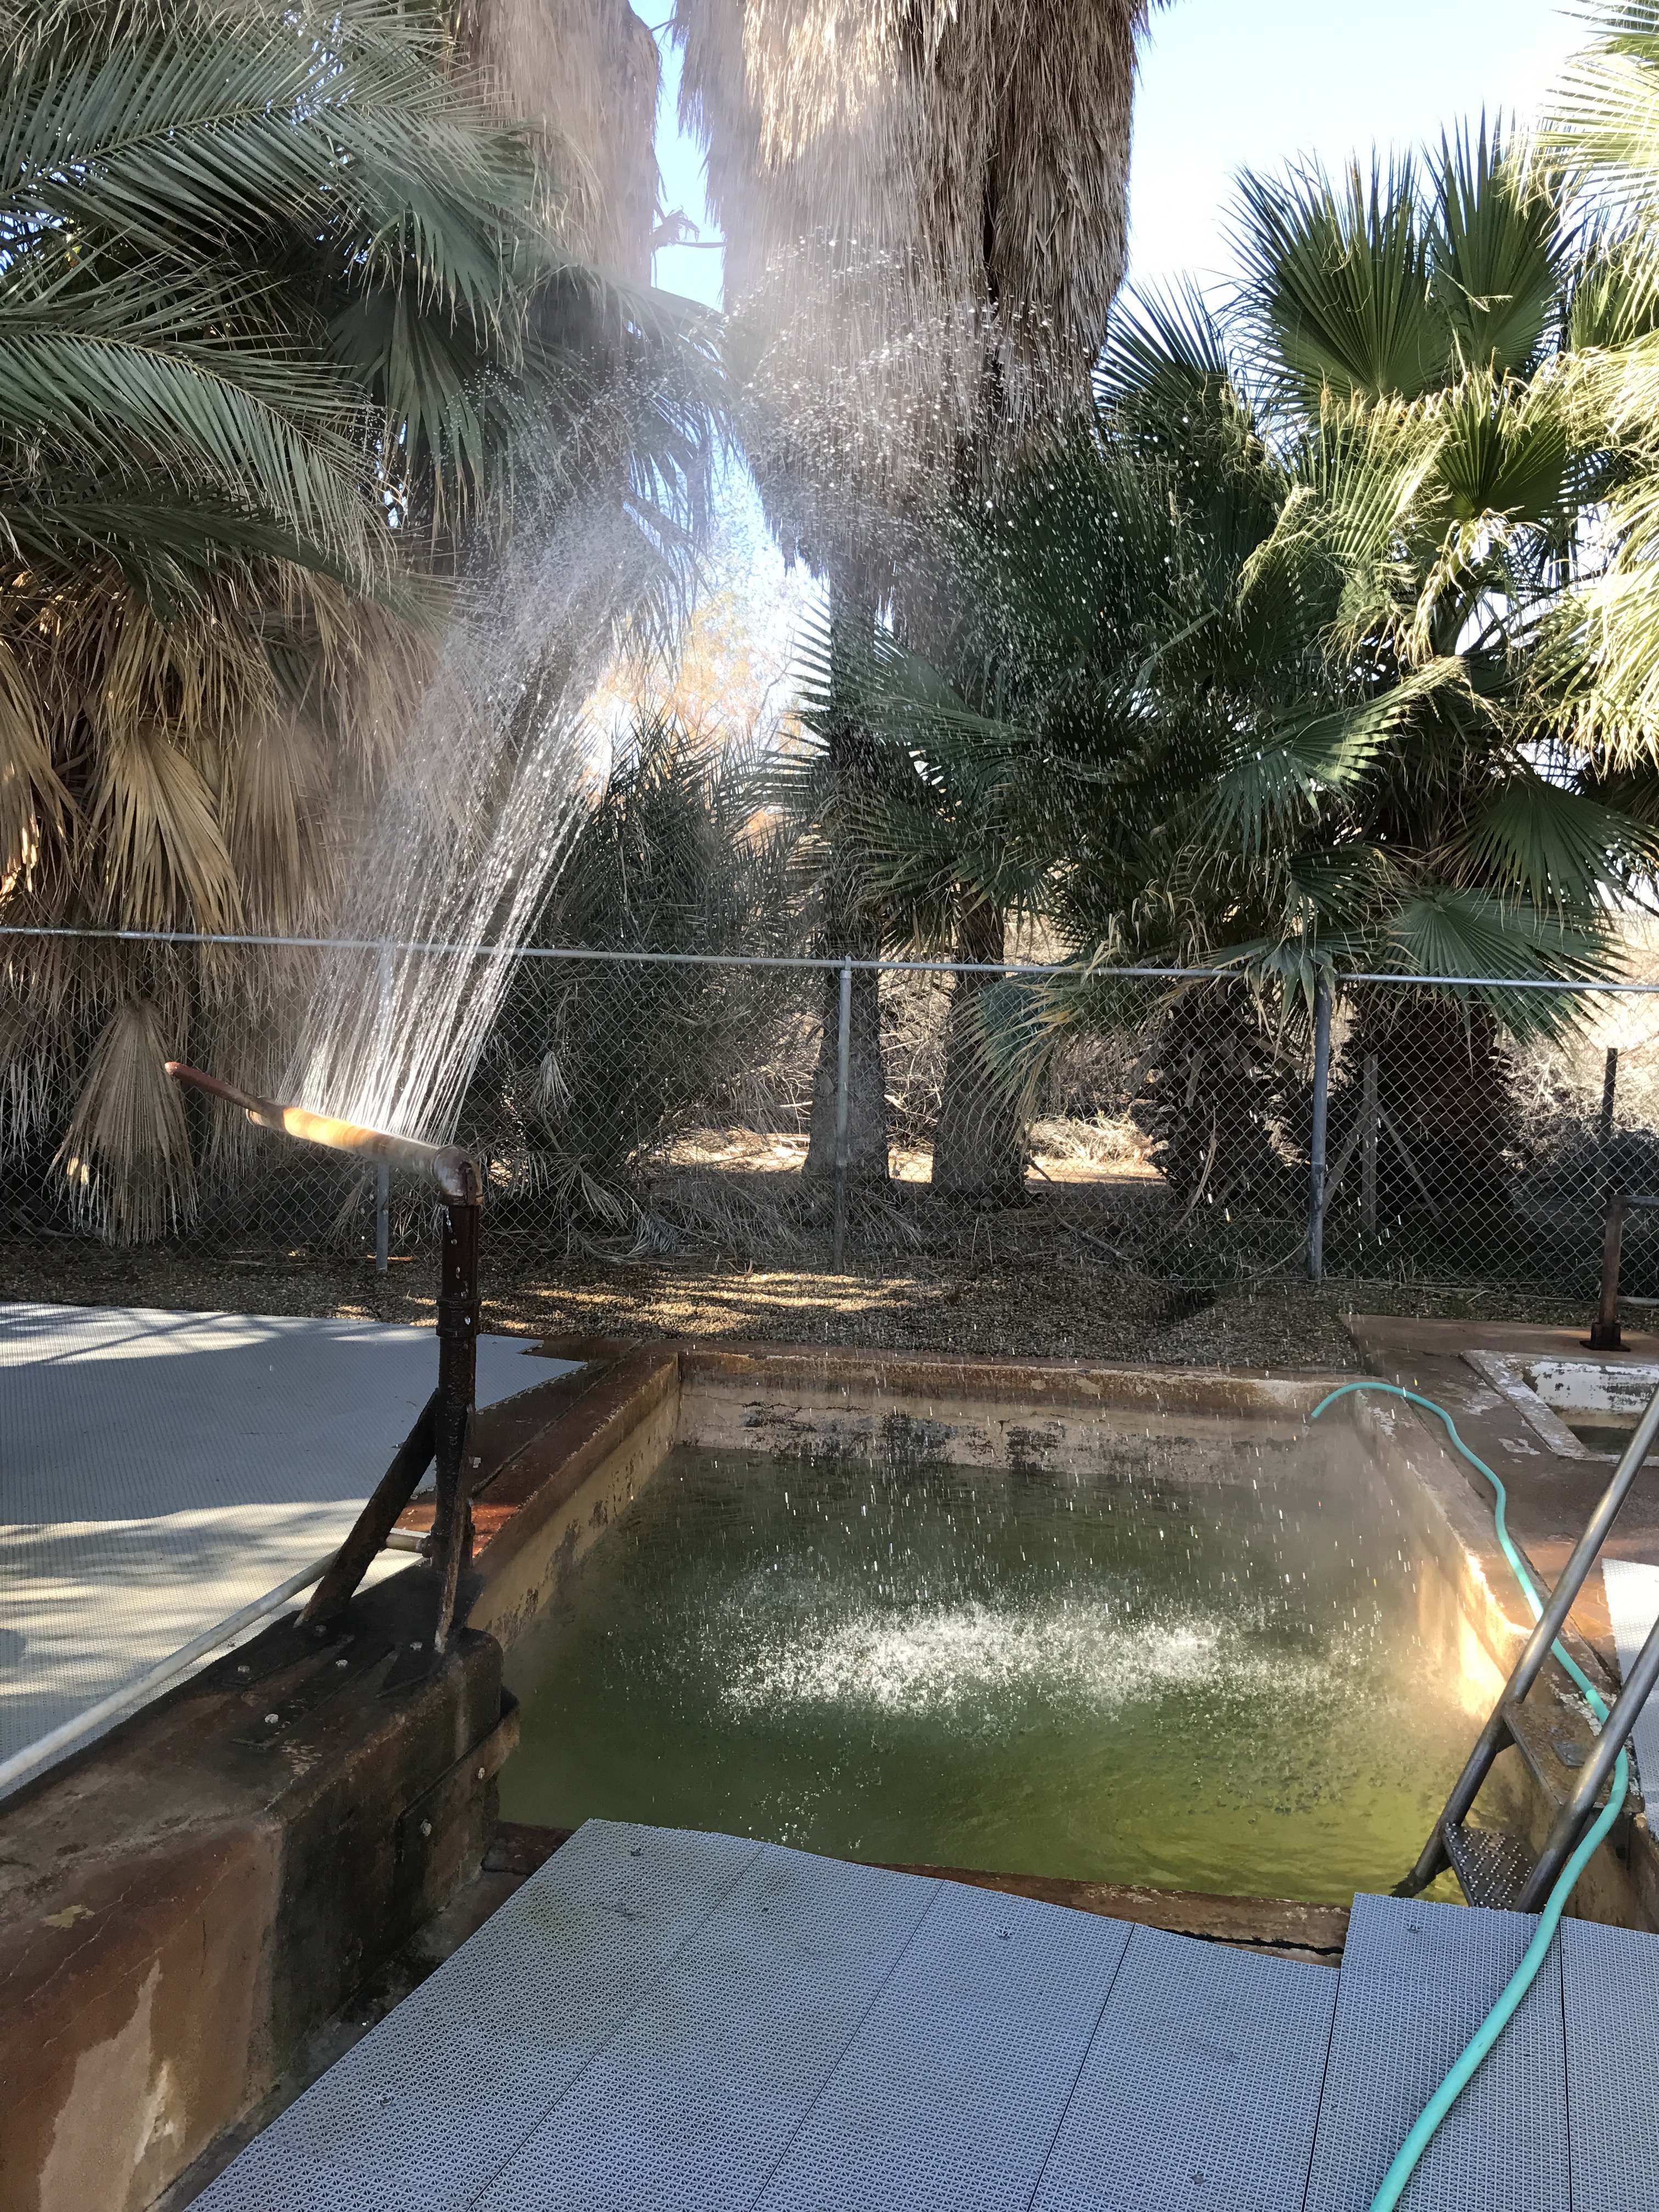
Just a quick bunch of photos. These hot springs are right off I-8 near Holtville. Managed by the Bureau of Land Management (the original BLM), they are clean and spacious. Two tubs: a large, deep one that’s about 105-110 degrees and a small, shallower one that’s a bit cooler. Then there’s a small, palm-lined pond that the water drains into; it’s much cooler and quite beautiful. Mostly snowbirds, so I’m the youngster here. Very few people using the springs at 10 AM. 

Snowbirding 2017: Life at the Colorado River Backwaters

Back at the backwaters.

For the second year in a row, I’m camped with some friends in some BLM land south of Ehrenberg, AZ, right along the Colorado River. This year’s site is on the north side of an inlet into some channels that parallel the river on the otherwise dry side of a levee. We’re on a peninsula across the inlet from where we camped for a while last winter. My friends preferred this spot because it gets sunlight earlier in the morning; the other spot is in the shadow of some 200-foot high cliffs to the southeast for too much of the morning. Sunlight is everything in the winter, especially when you’re getting most of your power from solar panels.

The Backwaters
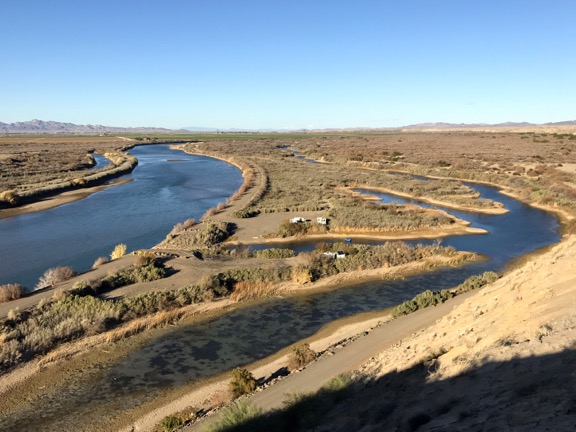
A look down at this year’s campsite from the top of the cliffs to the southeast. Our site, which is just about dead center in this shot, consists of my truck camper, Janet’s little pull trailer, Janet’s workshop tent, and our two vehicles. (My truck was with me at the top of the cliffs when I shot this photo.) The “backwaters” is the forked channel on the right side of this image.

The site is somewhat remote: seven miles from pavement. Other than the folks camped out across the inlet and the occasional camper driving in to see if this site is occupied, we’ve got a lot of privacy and solitude. Across the river is an RV park that’s remarkably quiet, although they do have a bunch more lights than I wish they had. The sky is not nearly as dark as I’d like it to be; this is not the place I’ll be doing any astrophotography.

We’ve had guests. My friend Rebecca joined us for two nights at the beginning of my stay and Janet’s husband Steve just joined us today for the rest of our stay. We’ve also had a few visitors: another snowbird named Mike who’s staying with his wife in the first campsite we had last year has come by for brief visits and Janet’s artist friends Karen and Steve who camped with us in our second campsite across the inlet last year came by today to help troubleshoot an electrical issue I was having with my camper. (Turns out I have a bad battery and will get it replaced on Sunday.)

Life is very laid back around here. There is no schedule.

I wake up, usually before dawn, and if I’m lucky — which I usually am — I’ll get a 2-bar LTE signal on my iPad so I can catch up on the latest political craziness on Twitter and check in with friends on Facebook. I very rarely check email.

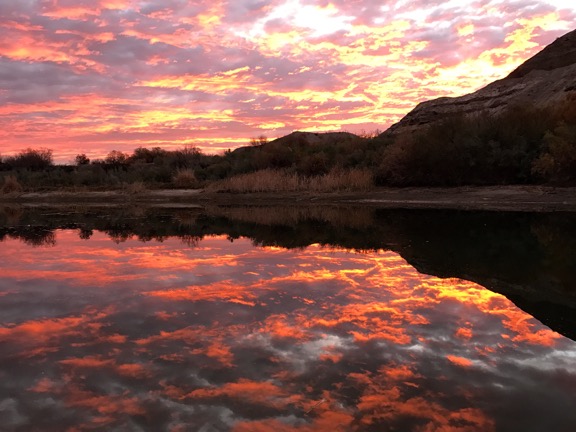
I’ll roll out of bed around dawn and might be more motivated to do so if we’re having one of our spectacular sunrises. That’s when I’ll go down to the beach in my pajama shirt, sweat pants, and slippers with my phone to try to capture a shot that beats the last best one I took. Janet sometimes gets down there before me and sometimes doesn’t.

Sunrise
I don’t think a sunrise photo will get much better than this. And yeah; I shot this with my iPhone 7.

Then back to my camper to make coffee with the immersion coffee maker someone talked me into buying. (They’re right; it does make the best coffee without electricity.) I’ve got a technique where I boil water in a glass kettle on the stove with my empty coffee cup as a sort of lid. That speeds up the boil while thoroughly heating my cup so my coffee stays hot extra long.

I’ll keep busy by writing up the previous day’s journal entry or a blog post or reading something interesting in the New York Times or Washington Post. Janet usually has her coffee out by the fire pit and if there are still embers from the previous night’s campfire, will get another fire going. Usually there isn’t.

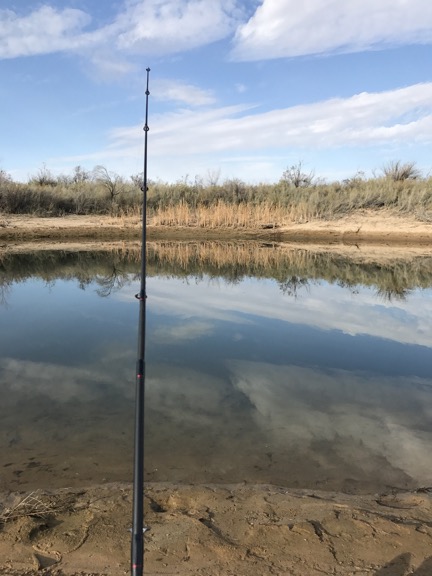
Fishing
We went fishing this morning. It was supposed to rain, but it turned out to be a beautiful day.

What follows varies from day to day. Janet usually either goes fishing or paints — she’s an artist — and sometimes does both. I usually putter around the RV, neatening it up from the previous day, then try to get some serious writing done — I’m working on a memoir about my first ten years as a helicopter pilot and I’m really procrastinating a bit more than I should be. Sometimes I go fishing with Janet. (Today I actually caught a small bass; although it was large enough to keep, we tossed it back. The fish were literally jumping out of the water.)

Truck on the Hill
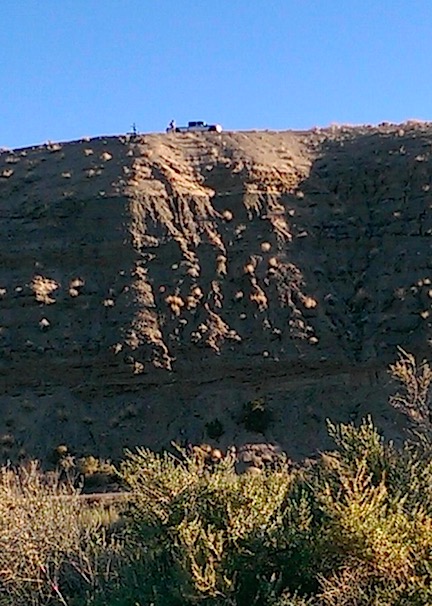
Janet shot this photo from our campsite of me and my truck atop the cliff.

The other day I drove to the top of the cliff southeast of our campsite. I wanted some photos for this blog post (see the photo at the top) and I also wanted to see if my truck could make it. (It could.) Last year, I chickened out near the top and walked the rest of the way; this year, I took it all the way to the top. The drive is no easy task in a truck the size of mine; there’s a very steep, narrow gravel “road” to climb followed by a winding pathway that sometimes goes through some very deep sand. It’s all about four-wheel-drive, good tires, momentum, and knowing when it’s safe to stop.

Blue Heron
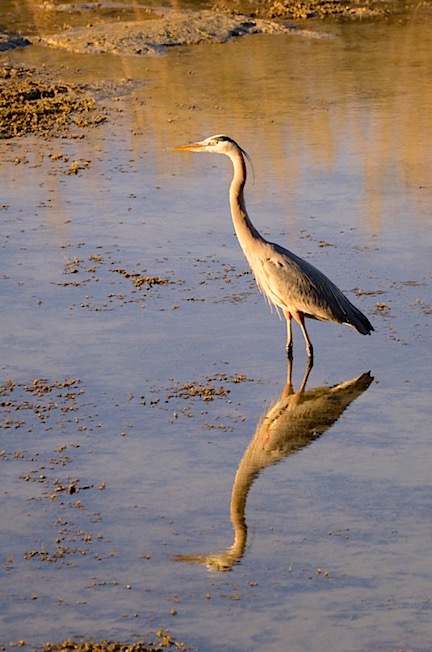
I must have shot 20 images of this blue heron from the driver’s side window of my truck with a 300 mm lens. This one is the best, although I think it might benefit from a touchup in Photoshop.

I’ve done some photography. This is a desert riparian area so there are some water birds. Mostly duck-like birds — I really don’t know exactly what they are — and at least one blue heron and one white heron. The other day I got a bunch of really nice pictures of the heron, no small task because he seems to spook very easily. When he does, he makes one hell of a racket as he takes off into the air, usually landing within a quarter mile for a new hunting spot.

We also go boating. Janet brought a river raft rowboat that can seat both of us comfortably for fishing. I also brought my kayak and have gone paddling with Penny. We do all this in the backwater channel. Sadly, the water level is very low this year — “they” are supposedly working on either canals or docks or possibly both so they’re limiting what comes through the Parker Dam far up river. Last night, for some reason, the water level was very high. But this morning it was low again.

Once in a while we’ll go into town. There are actually three towns:

  • Ehrenberg, AZ is Exit 1 on I-10. There’s a truck stop on the south side of the road and a “resort store” on the north side. The resort store is where we buy fishing licenses, refill water bottles, throw away our garbage, and dump RV tanks on the way in or out of our campsites. They also sell Mexican ice cream pops, which are a cheap and amazing treat. And worms for fishing. We go there two or three times a week, usually on our way in or out from somewhere else. It’s about 8 miles from our camp. The post office is also there; that’s where we get our mail forwarded via General Delivery.
  • Blythe, CA is a few miles west of the Colorado River off I-10. That’s where we do grocery shopping, usually at Smart and Final, although there is an Albertson’s. There’s also an excellent Ace hardware store, an O’Reilly’s auto supply, a K-Mart, and a Walgreens. Other than that, Blythe is a sad little town and I can’t see any other reason to visit it. (Sorry, Blythe, but I do tend to tell it like it is.) I do know its airport, on the west side of town, very well since that’s where I nearly always stop for fuel for my helicopter when flying along the I-10 corridor between California and Arizona. Smart and Final is about 12 miles from our camp.
  • Quartzsite, AZ is Exit 17 on I-10. That’s a hopping place in January, full of rock shows and art shows and RV shows and all kinds of booths to buy all kinds of useful and junky stuff. It’s what brings Janet to this area of Arizona; she displays and sells her artwork at the Tyson Wells show that runs concurrently with the big RV show at the second half of January. (There’s another show going on there now, so Janet has to wait; she waits out on BLM land where camping is free and life is mellow.) I like Quartzsite because it’s weird and I can always find something neat to buy for my truck or my RV or my home. Last week I bought some fossils. This week I bought a little DC water pump I can use to transfer water from my 6-1/2 gallon water jugs to my camper’s water tanks. Next week, I’ll buy new batteries for my camper and possibly an additional solar panel. (Yes, Quartzsite does see a lot of my money; I bought a cool neon sign there last year and my old 5th wheel trailer back in 2010.)

Between Quartzsite and Ehrenberg is the Chevron station with cheap diesel and gas; that’s where Janet and I fuel up if we need to. (We don’t usually because we really don’t go far.)

In the late afternoon, we regroup for dinner. We share cooking duties. Our main goal these days is to empty our refrigerators and freezers. I brought a ton of frozen food from home and we’ve been eating some of that. We had nice little filet mignons the other day. Janet makes various dishes — she made an excellent chicken with quinoa dish the other night and we had pan-fried panko-crusted bass (that she caught, of course) one night last week. I always seem to have ingredients for a salad. I think we’re having pad thai chicken for dinner tonight; Janet has the noodles and chicken and I have the pad thai sauce and other ingredients.

Sunset
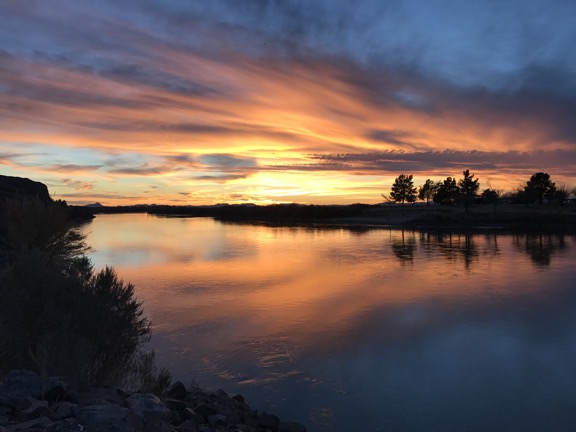
At sunset, if there’s a show I’ll go out and take photos from the levee. I shot this on my second night here. That’s the Colorado River with California on the other side.

Campfire
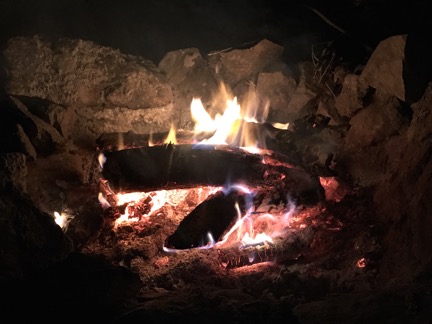
We have a campfire every night.

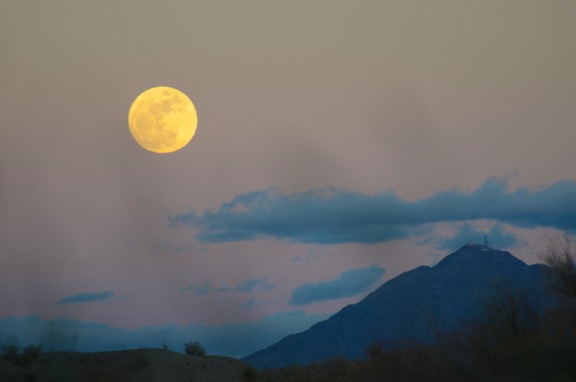
By the time dinner is ready, the sun has gone down. Janet usually has a fire going before it gets dark. We sit in front of the fire and eat, drink wine, and chat. Very relaxing. After dinner, we’ll spend a while longer in front of the fire with our dogs in our laps. Sometimes the sky is full of stars. The nearly full moon rising the other evening was a real show-stopper.

Moonrise
Moonrise from our campsite.

We’ll each turn in to our campers between 8 and 9 PM. Sometimes I’ll write up my journal entry for the day. Other times I’ll just relax in bed with Twitter or a book or a crossword puzzle. Then it’s lights out. If it’s a clear night, I can see the stars through the big sunroof over my bed.

It’s a very simple, very quiet, very mellow existence here. This year, I’ll be at the backwaters for a total of nearly two weeks. It’s quite a change after my month-long stay in a friend’s guest house in Wickenburg.

From here, I go to San Diego with friends. I might spend a night at Glammis Dunes near Yuma, hoping to get some good photo opportunities if the sand isn’t too disturbed by tire tracks after a holiday weekend. On the way back, I’ll visit various hiking spots near Borrego Springs and possibly Joshua Tree National Park. Then I’ll be back at Quartzsite for the RV show. I’ll camp out in the desert near town and make daily trips in to visit the shows and check out the RVs. I’m in the market for a tiny toy hauler; who knows what I might come home with?

And who knows where I’ll go from there? I have another month to kill before my seven-month vacation is officially over — and even then I have the ability to do some travel before I need to be back home with my helicopter in May.

But the Colorado River Backwaters is one of my favorite destinations for off-the-grid camping. I look forward to coming back every year I travel south for the winter.