No rain this time, but plenty of wind.
One of the things I like about the Grand Canyon is the interesting little places that the tourists generally don’t know about. Visiting these places can get you out of the glut of tourists and fool you into thinking that the Grand Canyon is your own backyard.

Grand View FIre Tower
Grand View Fire Tower is one of these places — especially when the main tourist season is over. This rickety old fire tower stands tall just outside the park boundary on Coconino National Forest Land. You can get to it from within the park by following signs for the Arizona Trail. You can get to it from outside the park by following a series of numbered forest roads.
The tower area has been spruced up considerably since I last visited it back in 2004. I was flying helicopter tours for one of the Canyon’s operators back then and I’d gone straight from work to the tower, hoping to watch the thunderstorms move around the area. It was fire season back then and the tower was “manned” by a female observer. I visited with her atop the tower. Afterwards, I drove into the park and got completely soaked to the skin — in my pilot uniform — while visiting Grand View Point.
The entire area was deserted when I arrived. I immediately noticed the big Arizona Trail sign that I’m pretty sure wasn’t there when I last visited. The Arizona Trail cuts north/south through the center of Arizona. I don’t know if it’s complete. But at the South Rim of the Grand Canyon, it’s clearly marked and evidently available for hiking, horseback riding, and, in the winter, cross-country skiing. I’ve never hiked any part of it.
I also noticed a guy wire stretching from near the tower’s top to the cabin set aside for the observer’s use. I don’t recall that from my previous visit, either
There’s a sign at the bottom of the tower warning visitors that the tower is maintained solely for the use of fire observers. Although others can climb the tower, the park service takes absolutely no responsibility for any injuries. The sign also limits the number of people on the tower at any one time to four. That number had been written over another number that was likely higher.
I climbed. It was a windy day and the higher I climbed, the windier it got. I was about halfway up when I could feel the tower swaying. Unnerving when you consider that the tower had probably been built back in the 1930s as part of the CCC (Civilian Conservation Corps) program.
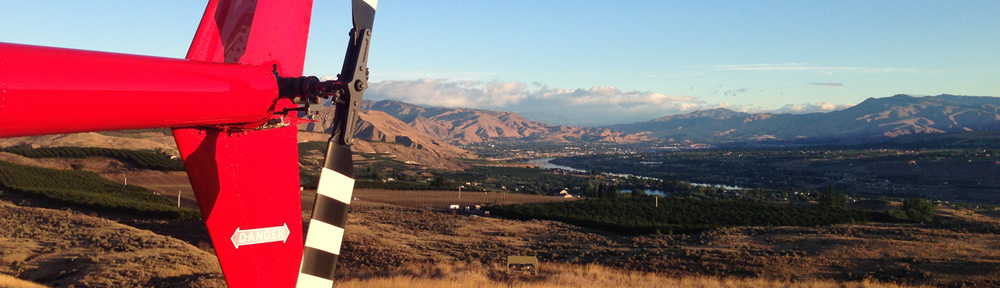
 The sound of a helicopter caught my attention. I caught sight of one of Maverick’s EC130s making its way from the west toward the tower. The Green 1 tour route passes within a mile of the tower to the south. As I finished my climb, four helicopters flew by. They would be the last four on that route for the day. It was about 4:15 PM and this time of year, all helicopters have to be out of the canyon by 5 PM.
The view was better than I remember it. The tower stands tall around a forest of mostly ponderosa pines with some oak trees starting to show autumn color. Most of what you see from up there is trees. You can see other peaks in the area, of course — the San Francisco Peaks, Mt. Kendricks, etc to the southeast near Flagstaff stand out. I looked for and easily found Red Butte, where the next closest fire tower is. If smoke is spotted, the two observers will communicate by radio to triangulate the exact location of the fire.
To the northeast, where the Grand View Ridge drops off, I could see the rim of the Grand Canyon and some of the buttes inside it. I took a series of three photos for a panorama that actually came out quite good. As you can see, it was a cloudy day and the light was a lot softer than I like it.

I climbed down from the tower a short while later. It was almost spooky being there all by myself. I’d just left Grand View point where I’d been stuck in traffic in the parking lot. Here, less than five miles away, there was no one.
I spent some time taking weird photos of the tower’s structure with my 16-70mm and 10.5mm fisheye lens. Fun stuff. Then I climbed back into my truck and headed back into the park to join the rest of the tourists.

