I take a break from camping and spend some time selling rocks and visiting friends.
With my Colorado River Backwater vacation over, it was time to get back to work. I was scheduled to participate as a vendor in the annual Flagg Gem and Mineral Show in Mesa, AZ from January 4 through 6, so that was my next stop.
Setting Up My Booth
I headed east on I-10, letting Google Maps direct me to the Mesa Community College campus where the event would be held. At about 3:45 PM, I was following a young guy on foot to the space in the covered parking area to where my booth would be.
There was not much I could set up. After all, I’d chosen space under the covered parking area so I wouldn’t have to set up my tent shelter. But although that saved me some work, it also made some extra work for me. Without the tent and its sides, I couldn’t just leave my merchandise out overnight. There was no point in setting up more than just the tables to mark my space. So that’s what I did: I pulled the three folding tables out of my truck’s back seat area and set them up in a row along the outside edge of my booth space.
I should mention here that my booth space was huge: 14 x 28, I think. I didn’t need that much space, but it was the smallest space they offered. This was a big contrast to the 5 x 8 space I’m allowed at Pybus Public Market in Wenatchee where I do most of my selling. Rather than the usual challenge of cramming my wares into a tiny space, I had the unusual challenge of spreading everything out so it looked as if it filled the space.
The “Rough” Cargo Trailer
Meanwhile, I’d been texting back and forth with the owner of a cargo trailer listed on Craig’s List in Chandler. I was pleasantly surprised to learn that he was only 4 miles away from the show. I headed over to see the trailer.
The owner, Dan, lived in a kind of cool neighborhood in Chandler. From the street, it looked like any other subdivision, but each home had a very deep back yard — so big, in fact, that I suspect many of his neighbors had horses. Dan had a goat — the biggest goat I’d ever seen. It was very friendly and kept coming up to us to be petted. He also had a pit bull mix dog who was equally friendly but not quite as annoying about it. And he had a big garage in the back yard (although not as big as mine; as if anyone’s is).
He’d bought the trailer three years ago from someone else on Craig’s List to use as a storage shed for his tools until his garage was finished. Now that his garage was done, he didn’t need it anymore and wanted to sell it.
The trailer was in reasonable condition. Sure, it had some dents — thus his description of it being “rough” — but it was solid. It was outfitted the way I wanted: side door, back barn doors (vs a ramp), and two axles. It even had a screen vent and lighting (which needed some work). I could stand up straight in it. The price was good, but I’ve learned never to offer the listed price for anything on Craig’s List. (Frankly, you’re an idiot if you ask your best price since everyone wants a deal.) I offered him 10% less and he took it. He agreed to hold onto it until I was ready to come get it. I told him that might be Monday and he was okay with that. I also took a close look at the plug for the connection to my truck since it seemed that it might not be long enough to reach the truck with the hitch extension I needed to use with the camper on top. I went back to the camper, raided my mobile bank, and paid him. He gave me the title.
I do admit I had buyer’s remorse several times until I picked it up. What if it was too big? Had I paid too much? Did I really want to tow a trailer for the rest of this trip? Did I really need a trailer? The usual. All that cleared up a few days later when I put it to use.
Friends in Gilbert
From there, I went to Gilbert, where I’d be staying with friends. Tiffani and Jan have a house in a subdivision there with a guest room that’s always available for me and Penny. They’re great people and lots of fun and I know they think I don’t drink enough and go to bed too early. (I’m just not a party animal.)
I backed into their driveway, in front of the door to the extra garage they didn’t use, not sure whether overnight street parking was allowed there. (It was, fortunately.) Then I went inside where I was greeted by Jan. Tiffani came a short while later with a pizza to put in the oven. A while later we were eating pizza and drinking wine and watching something on television with the volume turned way up.
I did my laundry in their enormous washer and dryer. I was wearing my last clean pair of underwear and only had one pair of socks left. My jeans were so dirty I think I could have grown potatoes in them. The washer was so big, I only needed to do two loads, although I suspect that if I didn’t care about whites vs. darks I could have gotten it all — including my camper’s sheets — into one load. When the first load was dry and I had clean clothes to put on, I took a long, hot shower. It wasn’t until then that I felt as if I was done camping for a while.
At the Flagg Gem and Mineral Show

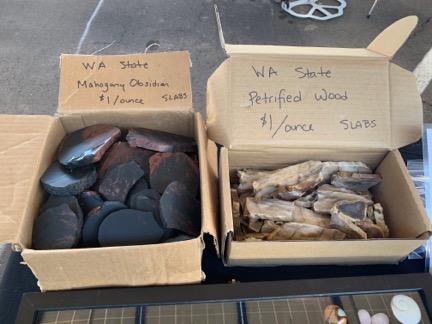
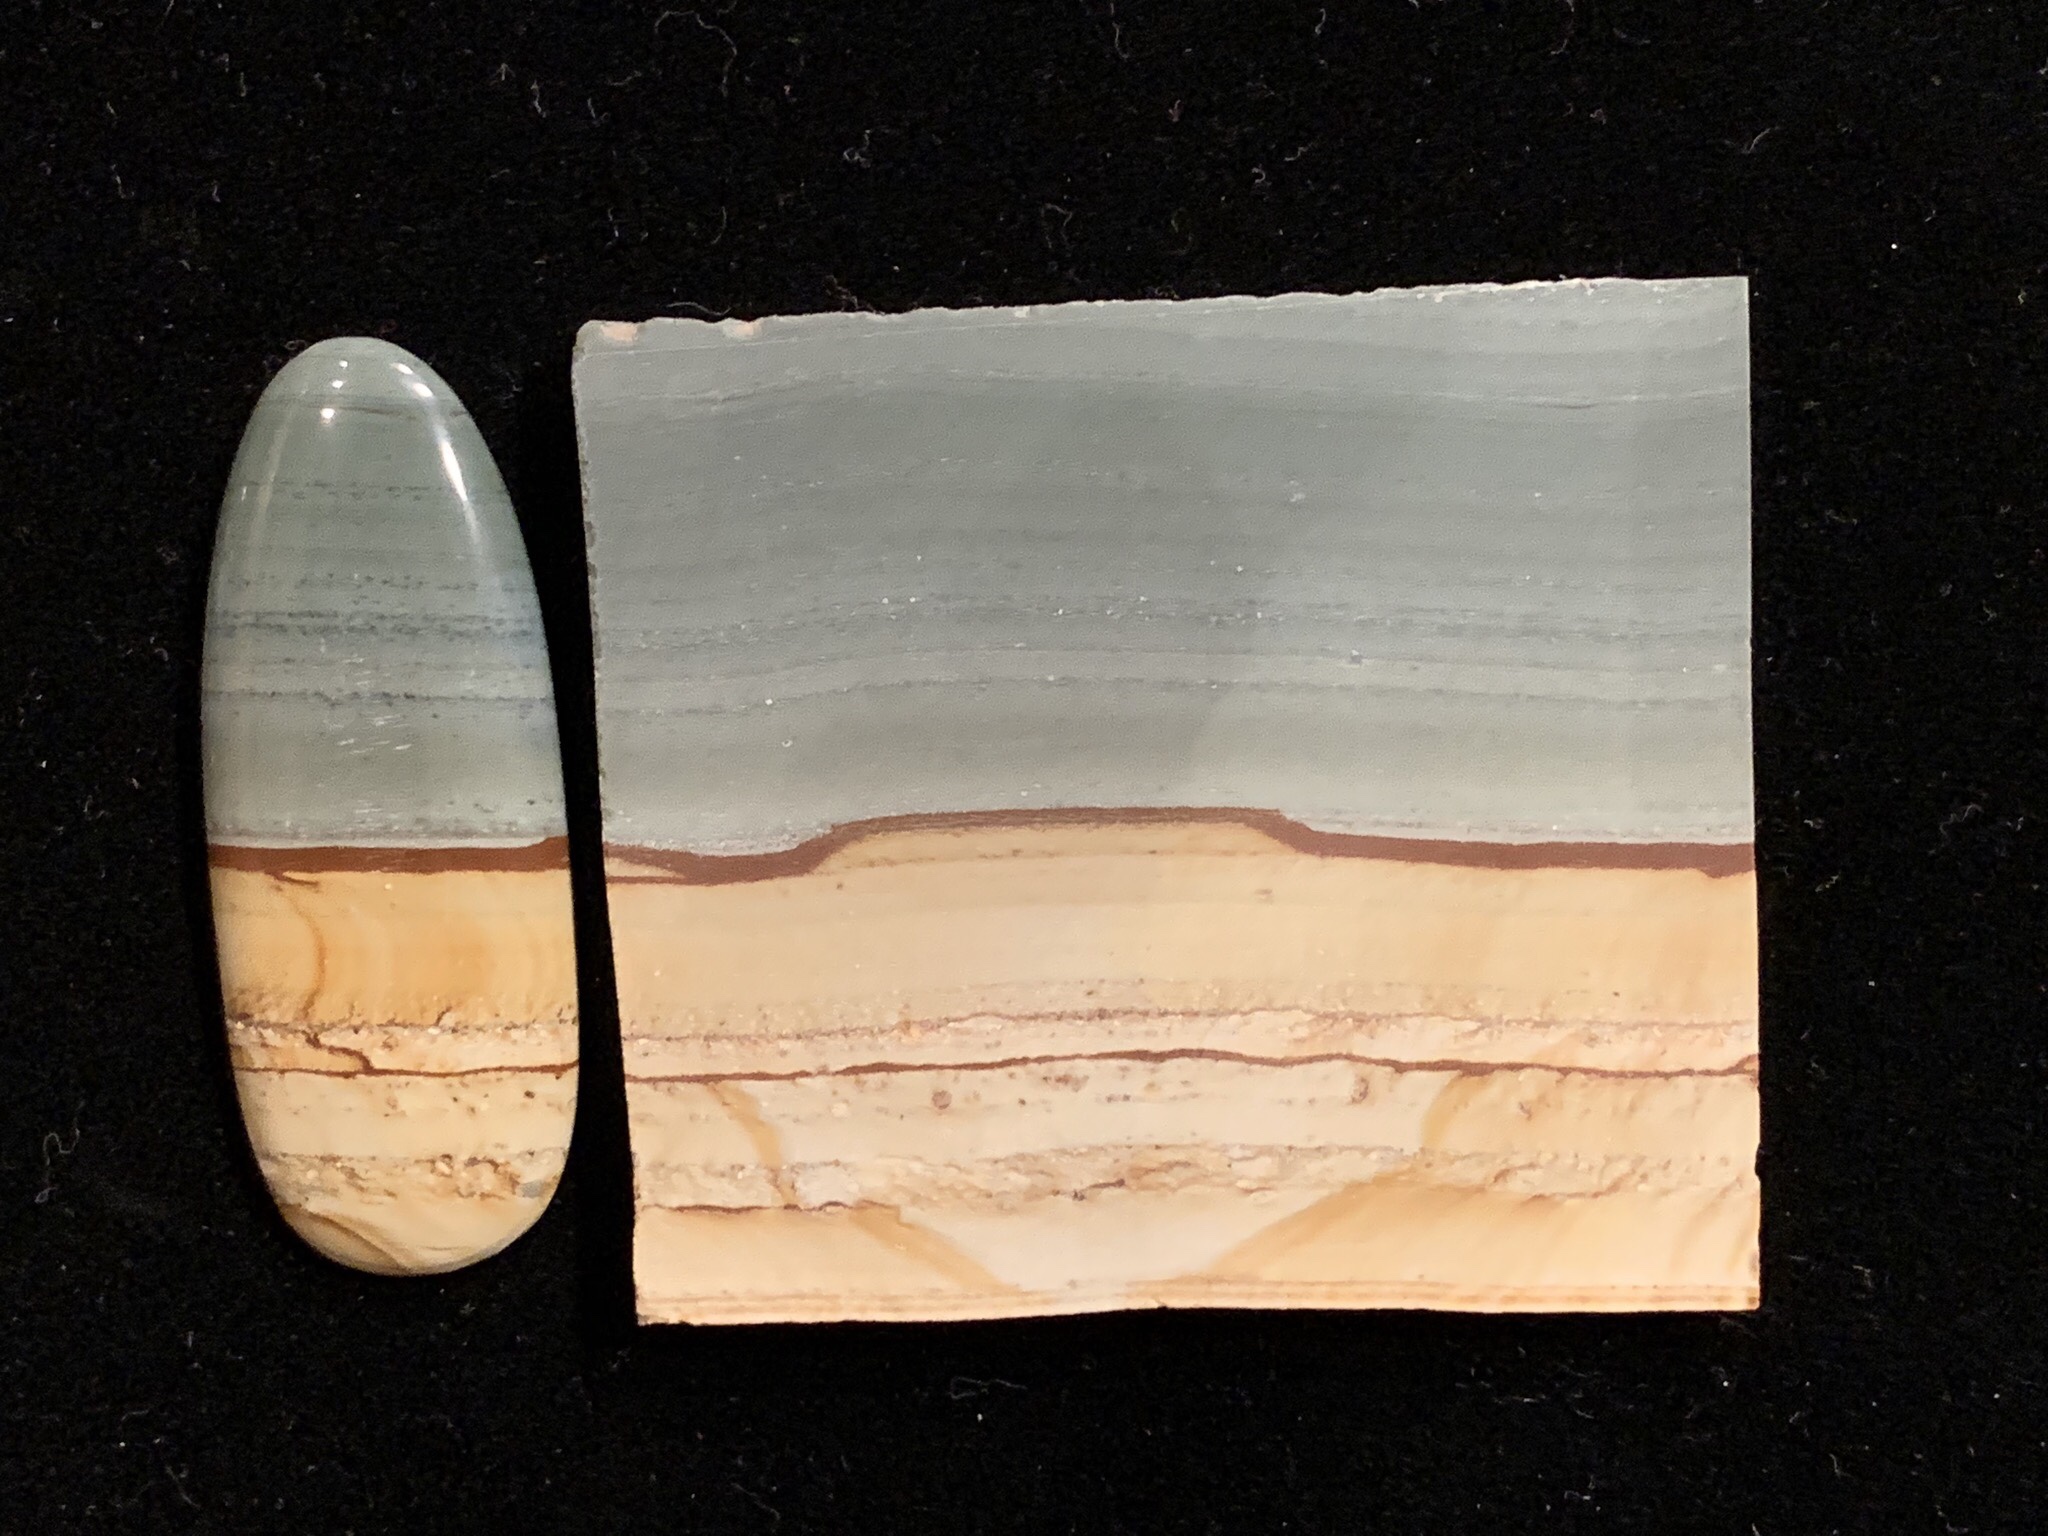
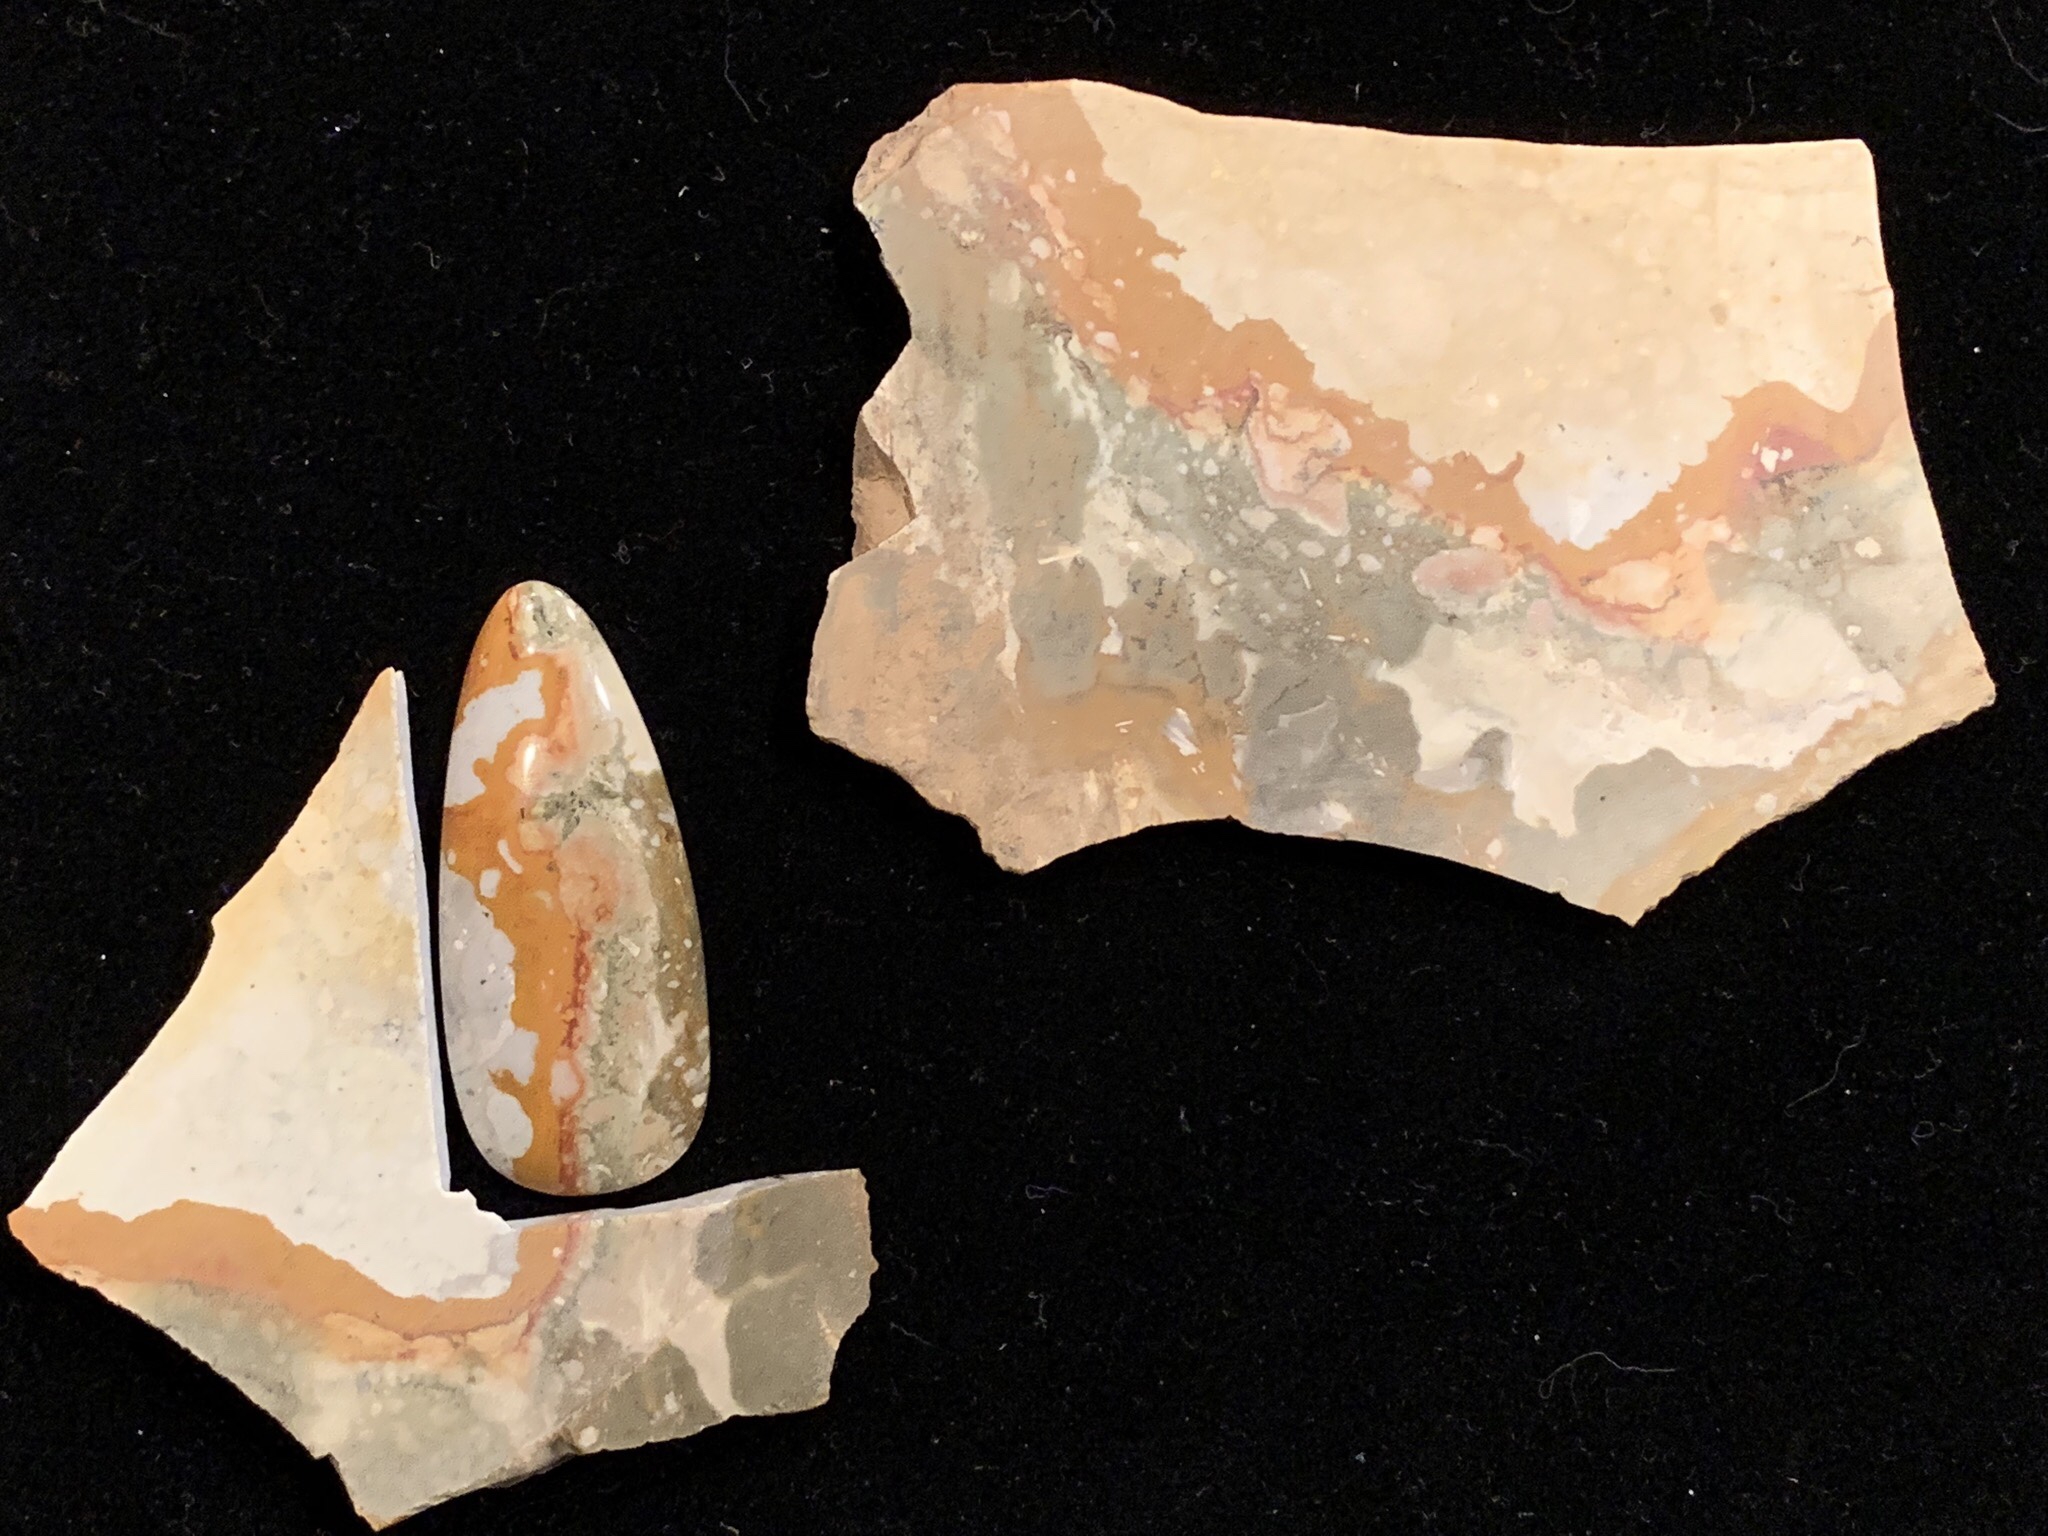
I put out two boxes of rock from a Washington friend to sell. A slab of obsidian was the first thing I sold, but it was also the only slab I sold all weekend. Go figure.
The next day, I was out by 7 AM and on my way to the gem show. The show opened at 9 AM and I had until then to set up. After offloading most of my stuff, I backed the truck and camper into a spot against the fence. Then I went about putting the table cloths on the tables and setting up my easels for pendants and earrings, my display pieces for rings and bracelets, and the display boxes for cabochons. I also put out boxes of petrified wood and obsidian slabs I’d brought from Washington; if there was any place I could sell them, this would be it. Of course, I never took a picture of my booth.
The show was pretty big and well managed — which makes sense considering it’s been an annual event for more than 50 years. Lots of vendors selling everything: rough stone, slabs, cabs, specimens, display pieces, beads, and, of course, jewelry. The organizers of the event required every booth to have at least 75% of its merchandise related to stone or jewelry so there weren’t the usual vendors selling salsa or microfiber cloths or blenders that you see at so many shows these days.
The other vendors were very friendly. The couple behind me, who were from Idaho, sold mostly Asian-made stone items such as bowls and statues and display pieces. The wife was completely entranced with Penny, who I had tied up in my booth for much of the first day. The guy west of me owned a local prospecting shop and was promoting his business, as well as selling metal detectors, books, and all kinds of prospecting equipment. The woman east of me was Native American, selling mostly beaded jewelry. Across from me were some guys who owned a nearby coffee shop that featured jewelry and items from local artists; they were selling mostly turquoise cabochons at prices a bit beyond what I like to spend.
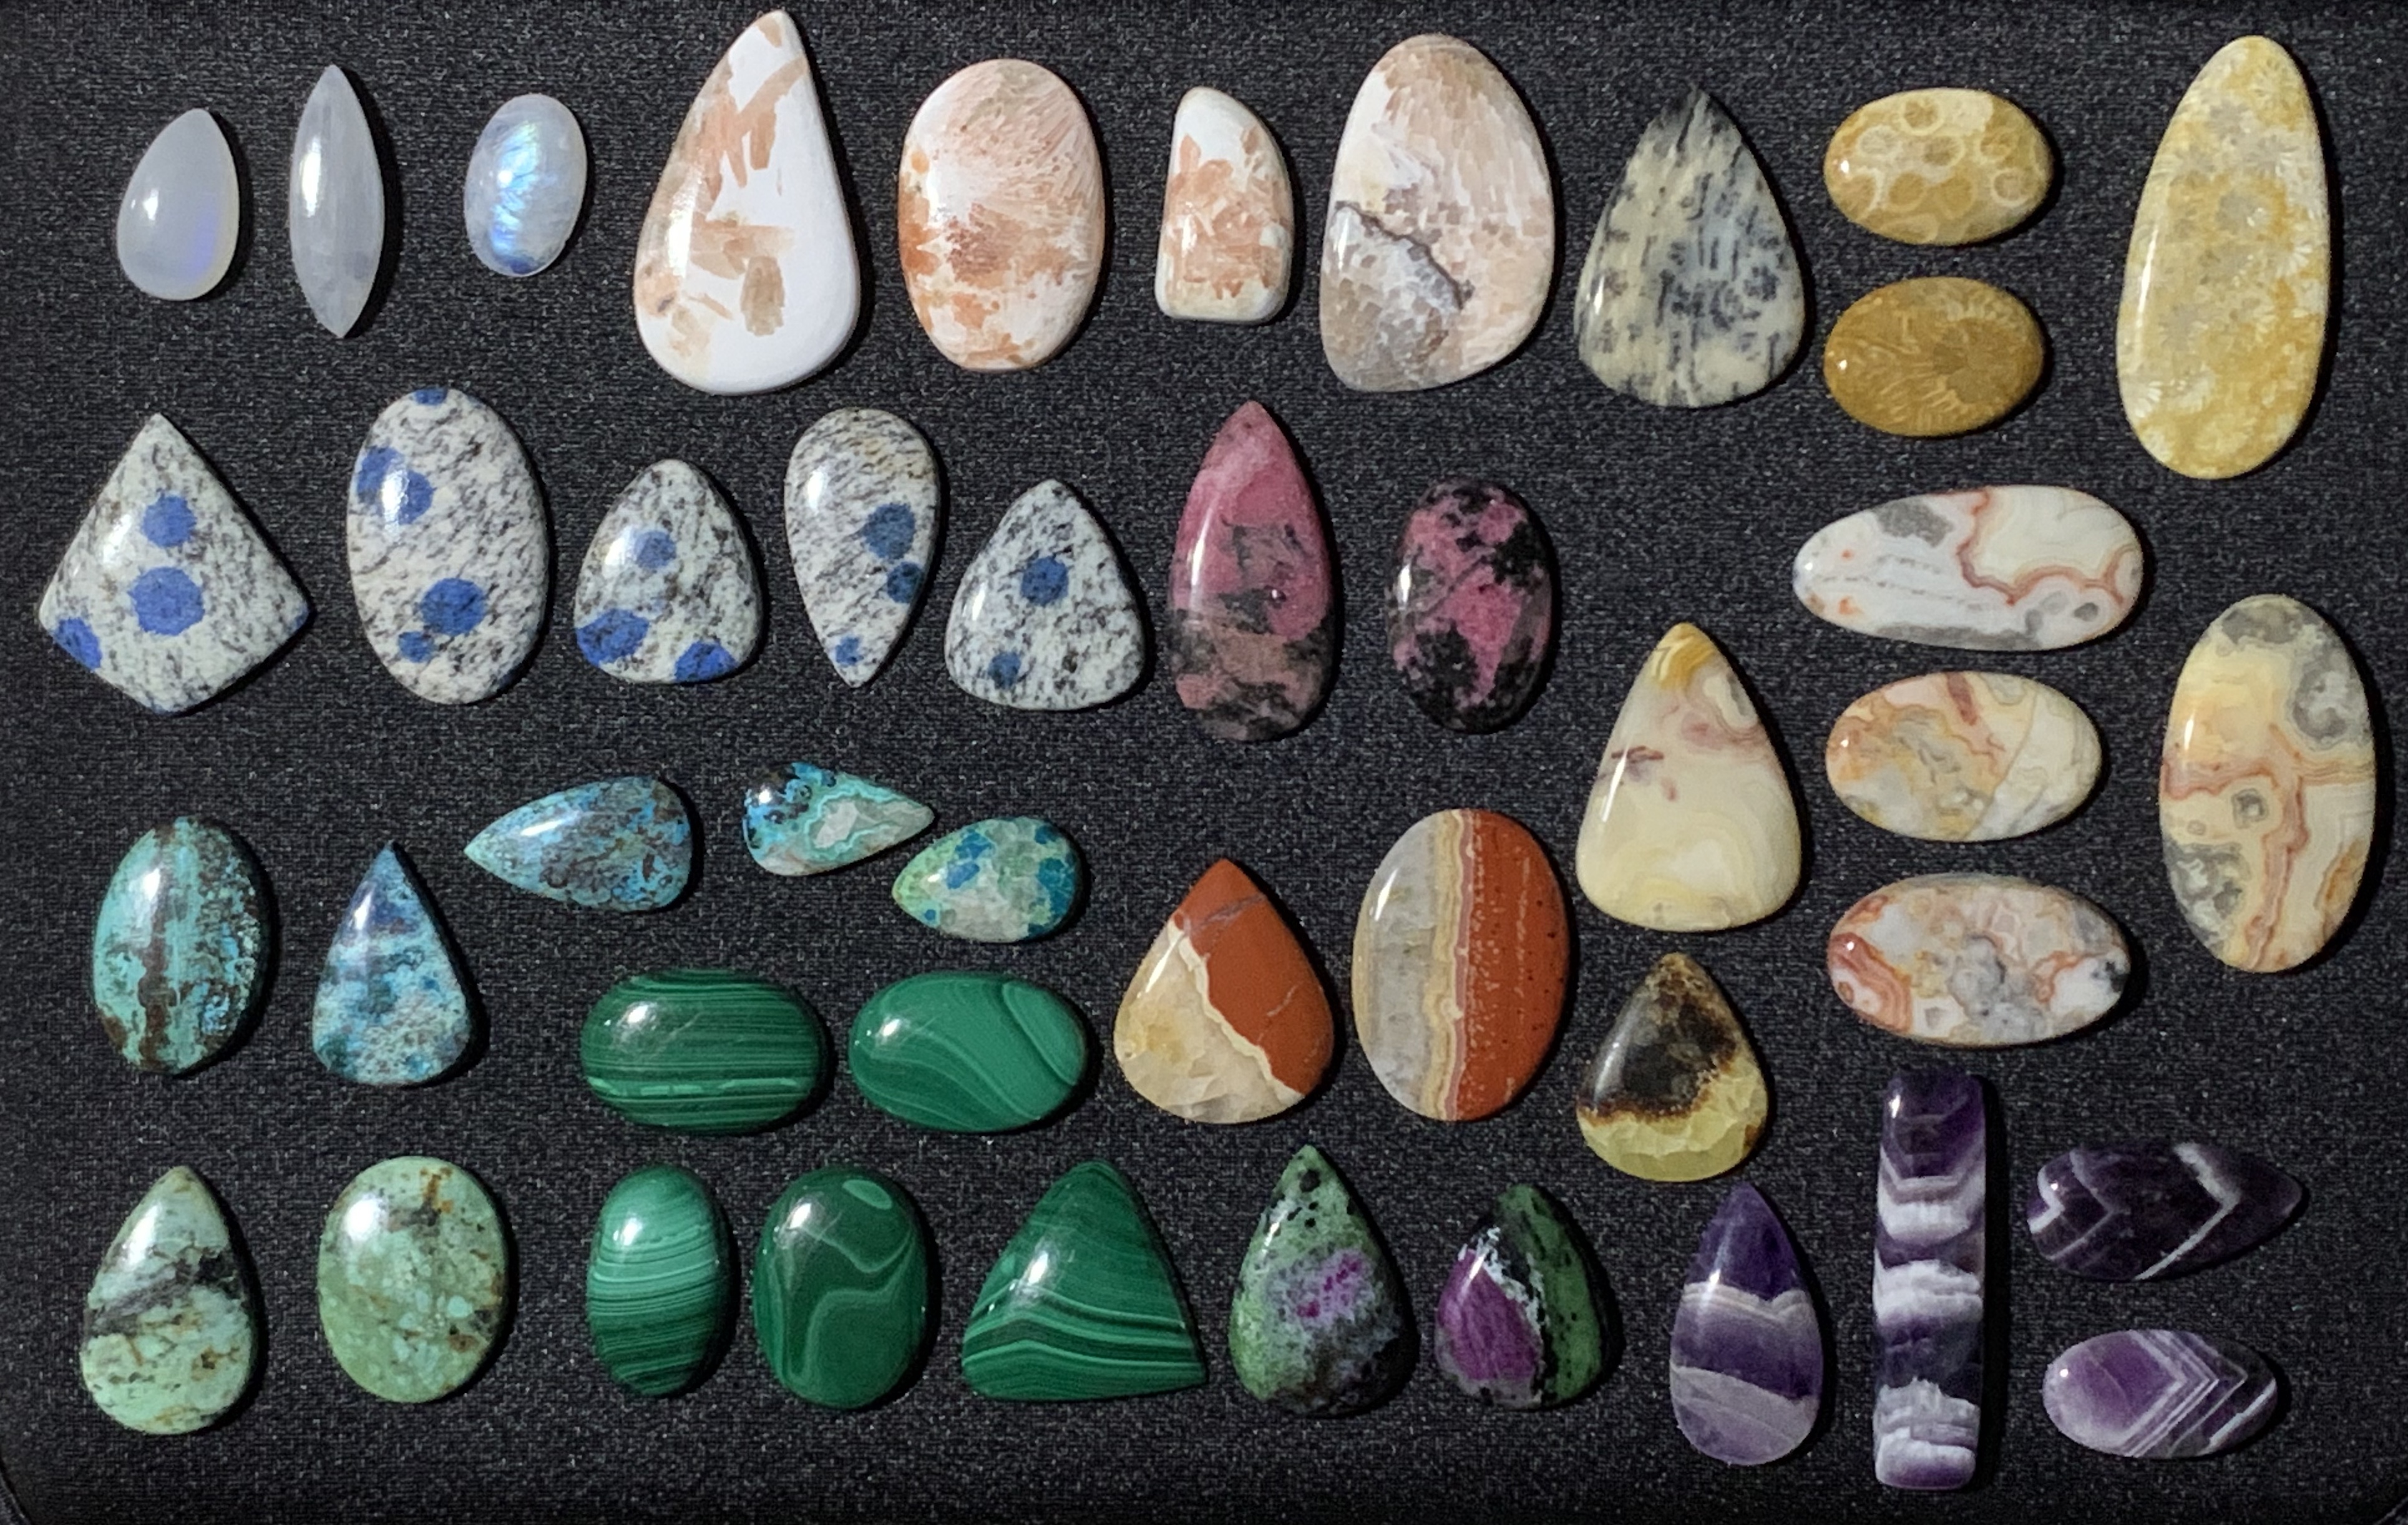
I spent most of the first day cataloging the stones I’d purchased the day before and putting them on display in the appropriate box. I have my cabochon boxes sorted by price: $10 and Under, $15 to $20, and $25 and over. (I wish everyone did this.) Although I originally began displaying my cabochons to give people an opportunity to pick one for a custom pendant, I soon began selling cabochons to people who just wanted the stones. That’s fine with me since I mark up all the stones I sell — and sell ones I’ve polished myself — so I make money on every sale. It’s actually better when I’m really busy, since special orders can get stacked, making them difficult to fill in the two hours I say I can fill them in. At this event I sold about two dozen cabochons and took special orders for three pendants. I also sold some pendants that were already made, along with some earrings, a bracelet, and a ring.
Friday was a bit slow, but things picked up on Saturday, which is when I started selling more jewelry than rocks. A man who had taken a deep interest in my recently completed rosary came back with his wife for a second look. I could tell that they really liked it, but the $140 price tag may have been too high. (It’s a lot lower than the $180 I’d originally wanted to price it at.) I sold out on all my K2 granite stones — I started the day with seven of them — and also sold a bunch of bumble bee jasper. And I sold a handful of cabochons that I’d made from Washington state obsidian and petrified wood, leaving me without samples of finished stones to help sell the slabs.


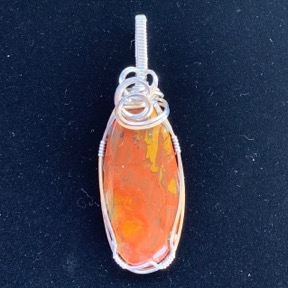
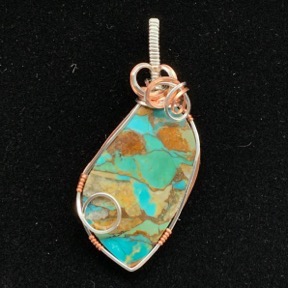
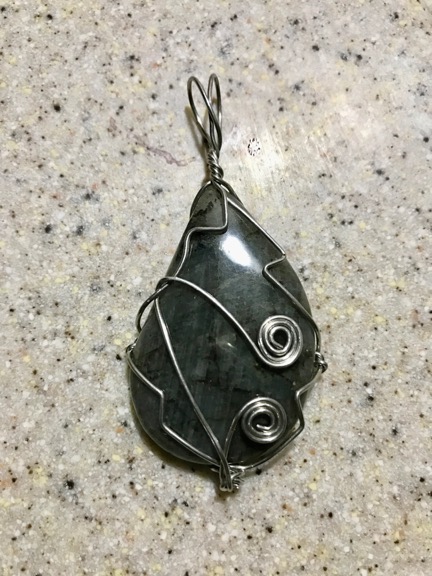
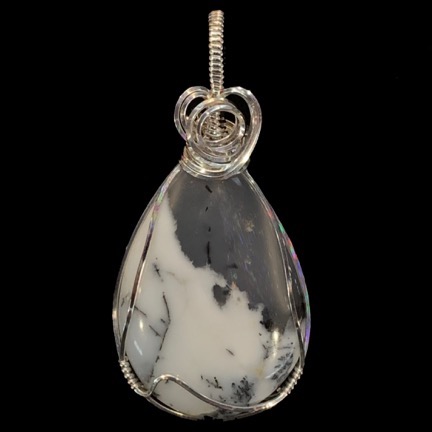
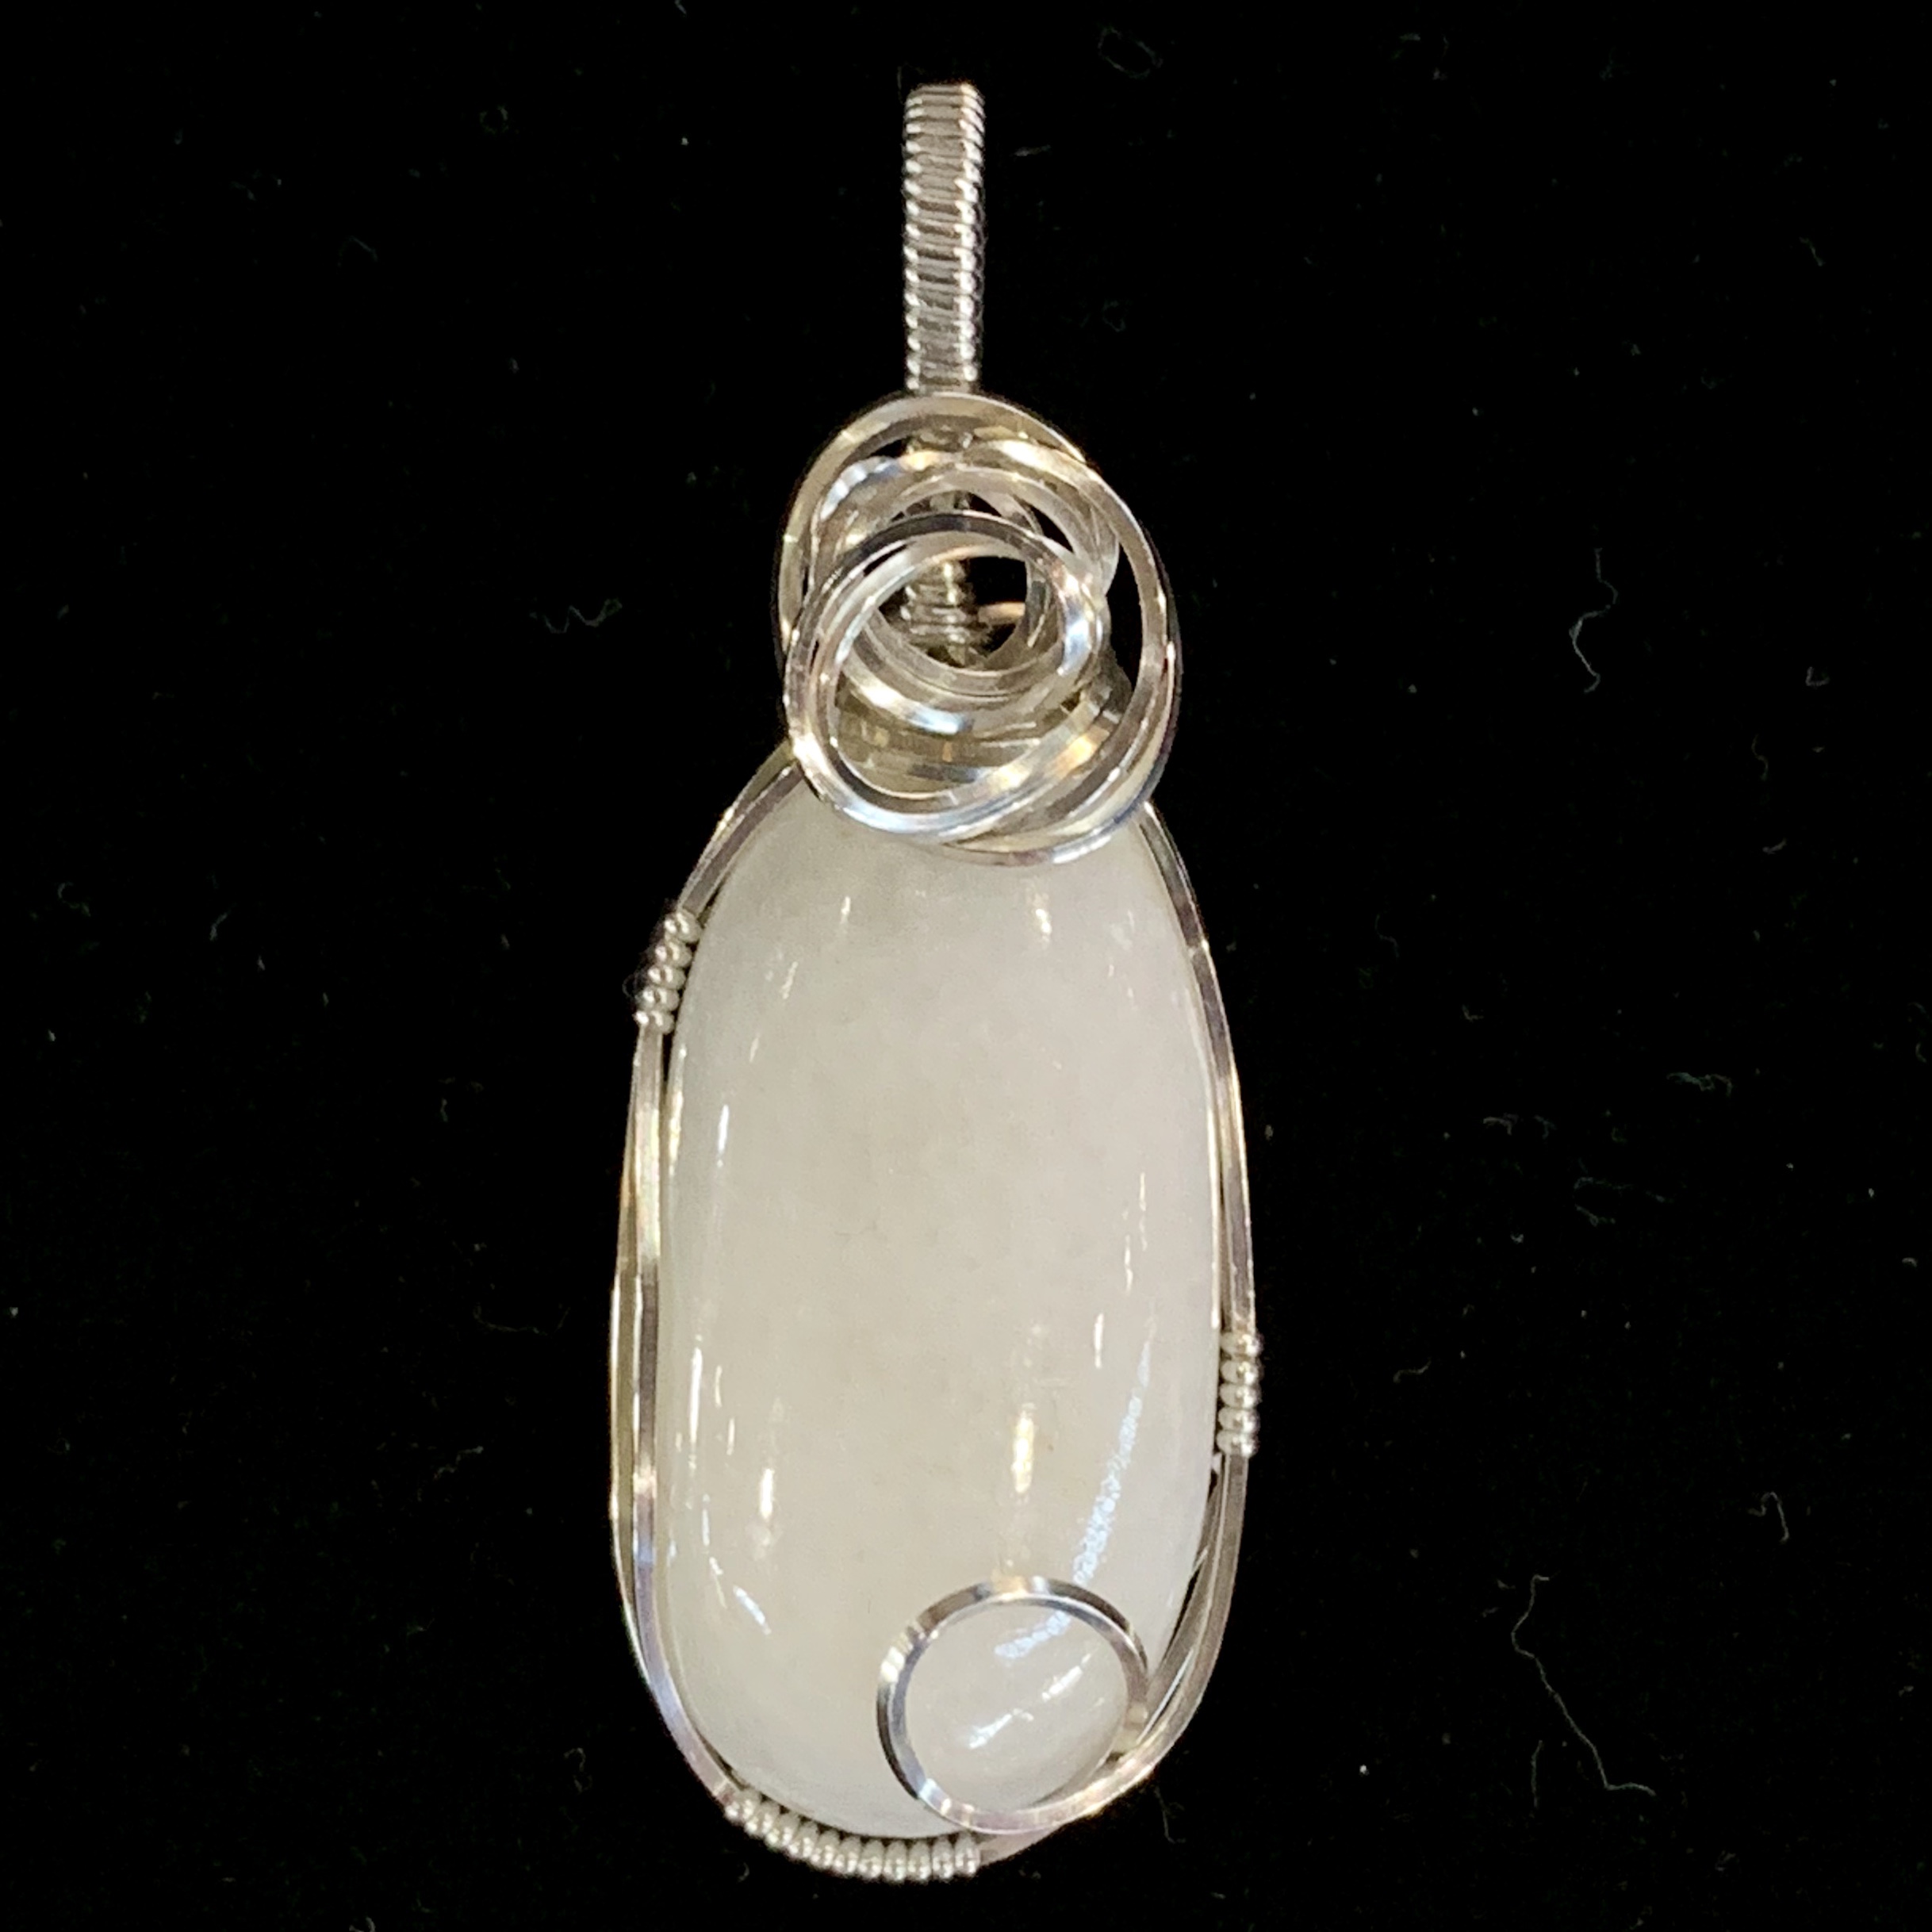
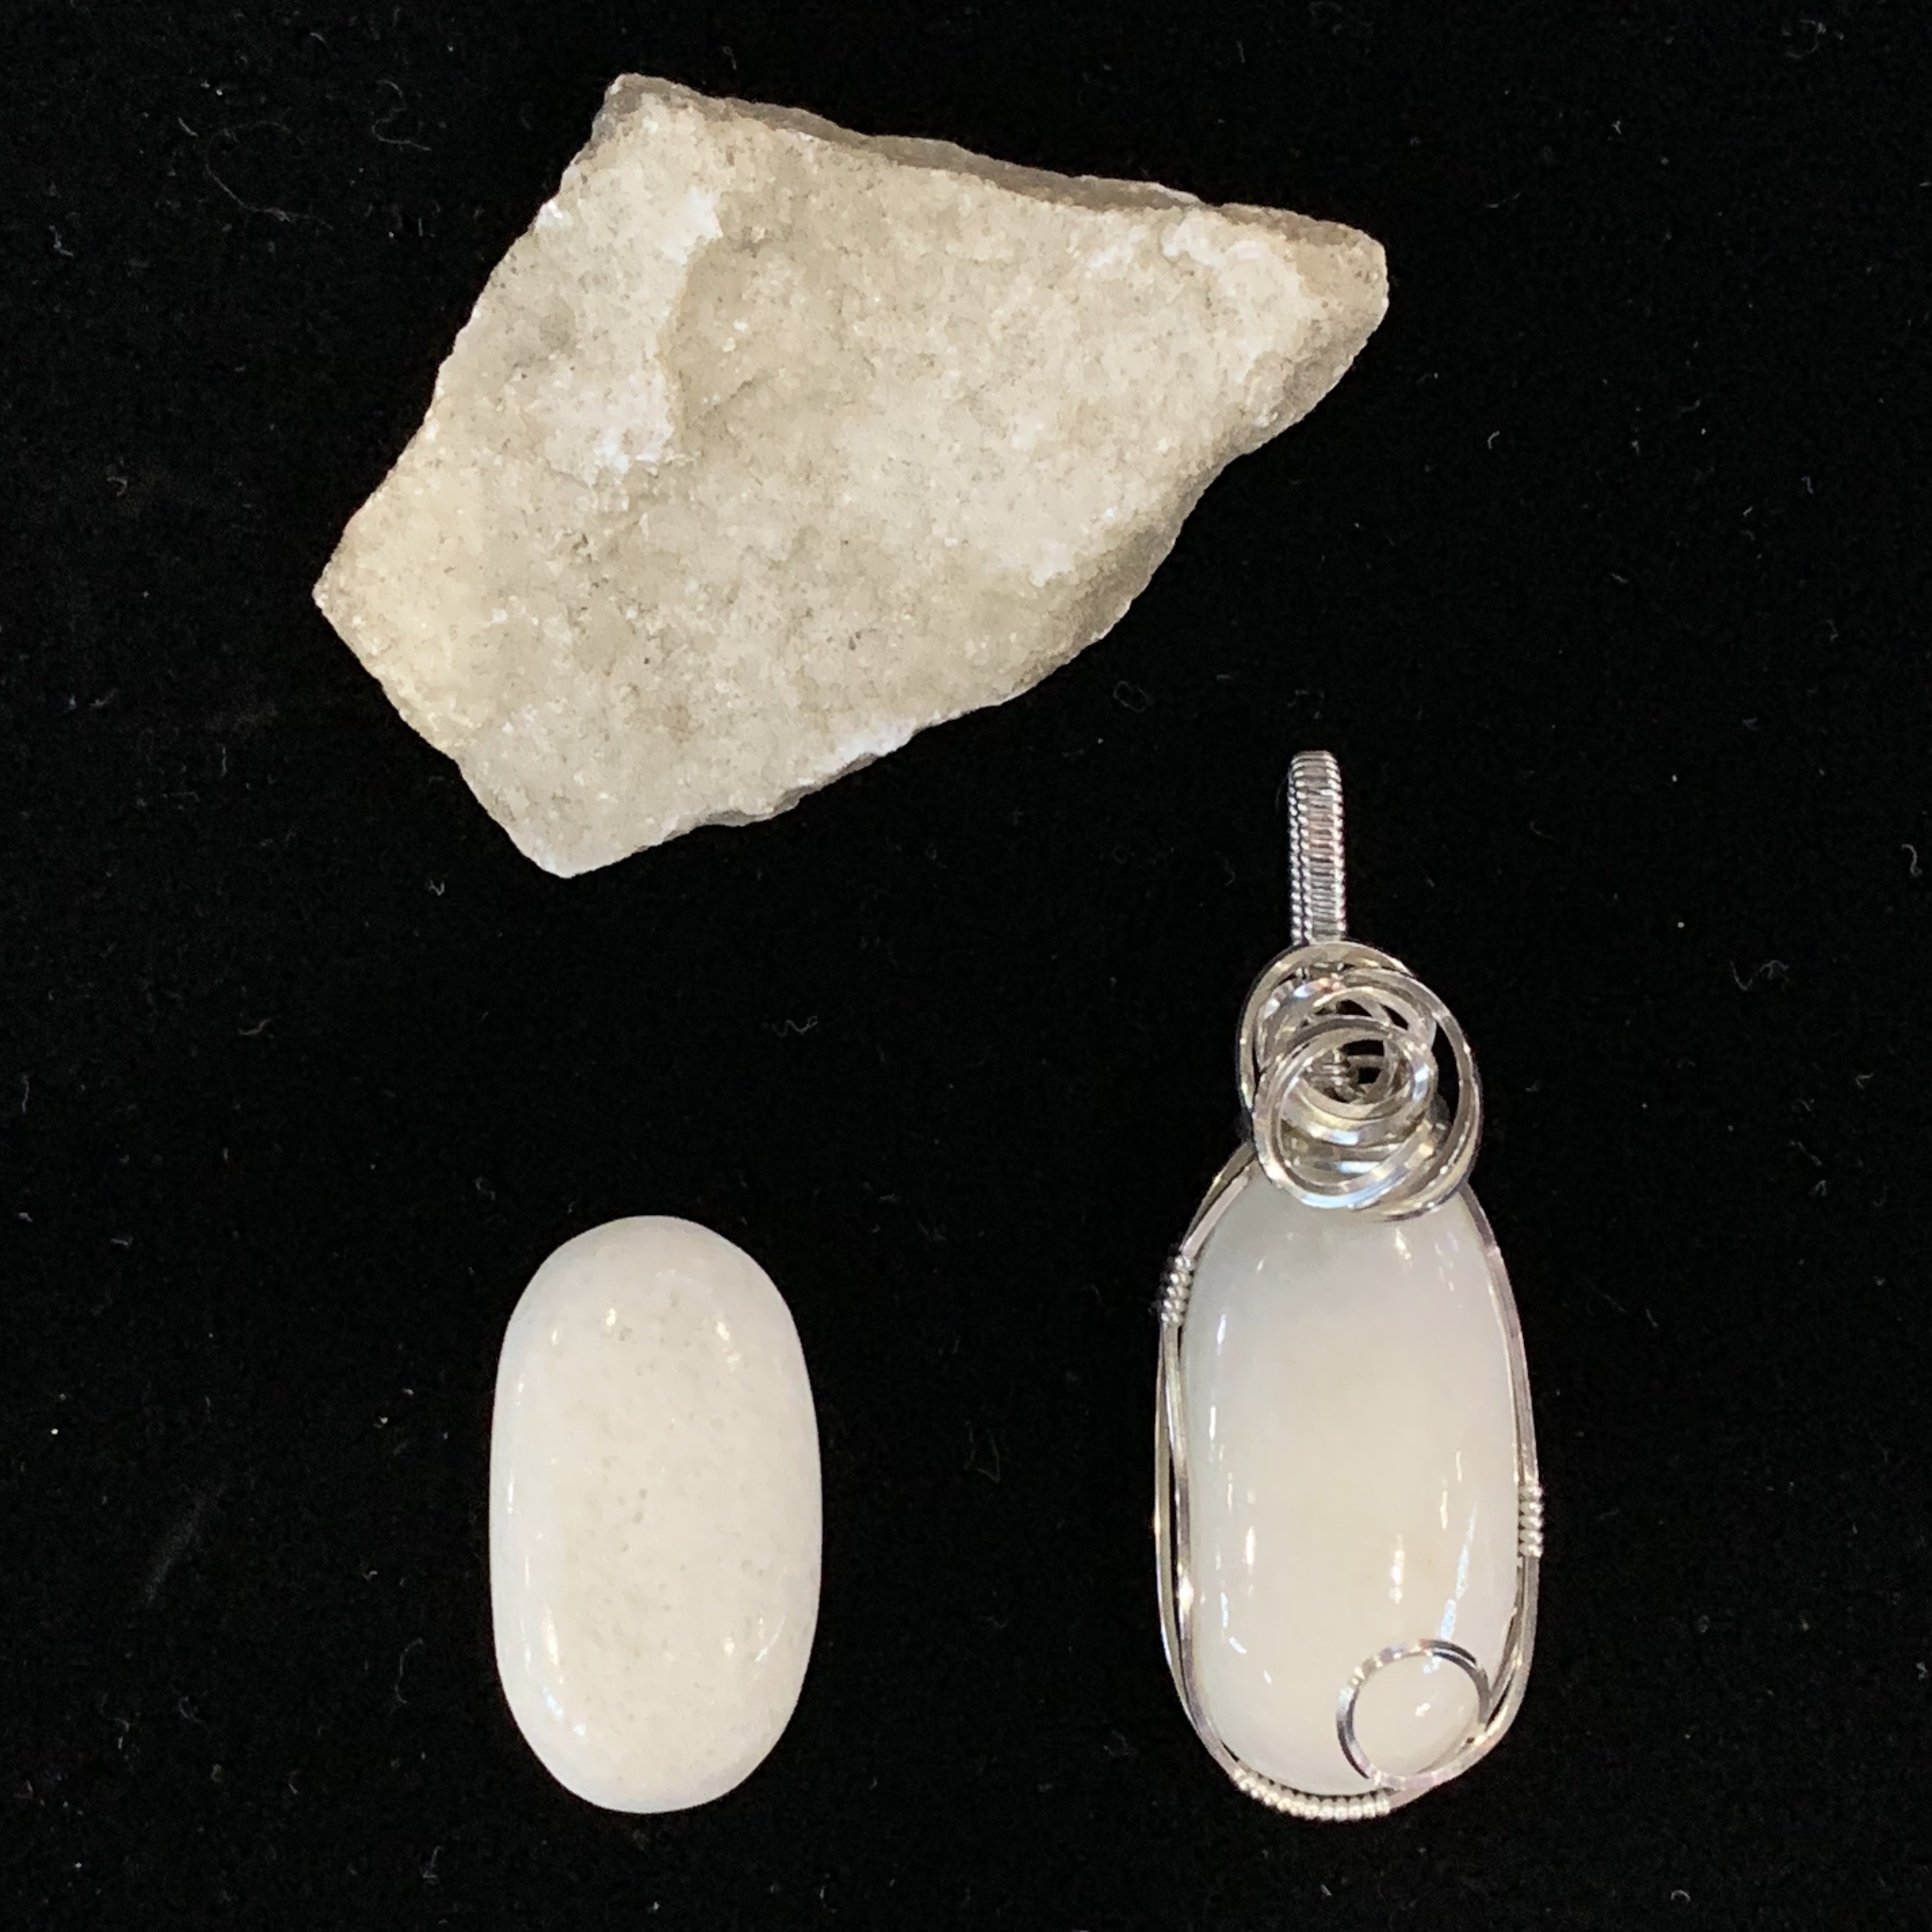
Here are two of the five pieces I made on Friday and Saturday: Tiger Tail Jasper in sterling silver and Kingman Turquoise in copper and sterling silver. The turquoise piece sold literally two minutes after I put it on the display board — the buyer was standing right there when I hung it — thus reinforcing my belief that I need to buy more turquoise stones.
The Vehicle Shuffle
In the meantime, I’d asked security if I could leave my camper parked overnight in the lot. They said I could, as long as I didn’t sleep in it. No problem. On Friday, I dropped the camper’s legs and moved the truck out, then lowered the camper nearly as low as it would go. I didn’t bother with the sawhorses since I wouldn’t be spending much time in it. So on Friday evening, when I returned to my friend’s place in Gilbert, the truck was camperless.
That made it a lot easier to pick up the trailer, which I did on Saturday after the show. I’d brought along the hitch extender from home — I suspected that I might buy a trailer while I was in Arizona — and put that in place to see how the trailer would tow at the end of it. I was ready to try to back out of the deal if it looked as if the trailer was too heavy for it. Dan was still home — he told me he had plans to go out that evening — and helped me, which made things a lot quicker. Satisfied that the trailer would be okay at the end of the hitch extender and that the wire might even reach, we disconnected it and reconnected without the hitch extender.
The trailer did have two immediate problems:
- The trailer had no license plate, making it a perfect target for any cop who wanted an easy ticket to write.
- My truck was so tall that the trailer’s front wheels were off the ground. I assumed that once the camper was back on the truck the rear end of the truck would come down enough to make that problem go away.
I didn’t consider either problem too serious to drive away, so I did, already feeling a little better about my purchase. I parked in the road in front of my friend’s house that evening. It looked pretty funny with those wheels off the ground.
Overnight, it rained hard. I’d wondered a bit whether the trailer leaked — there was a dent in the front driver’s side near the top — but it was bone dry inside in the morning. I took it with me to the gem show, where I arrived after 9 AM, and parked near where I’d left the camper.
Sunday at the Show
The show was off to a slow start that morning, with a lot of very wet booths and no shoppers. I was glad I’d packed up everything except my tables before leaving the night before. I debated whether I’d bother setting up for the last day. I told myself that if I saw blue sky to the west when I arrived, I would. I didn’t see any blue sky at all.

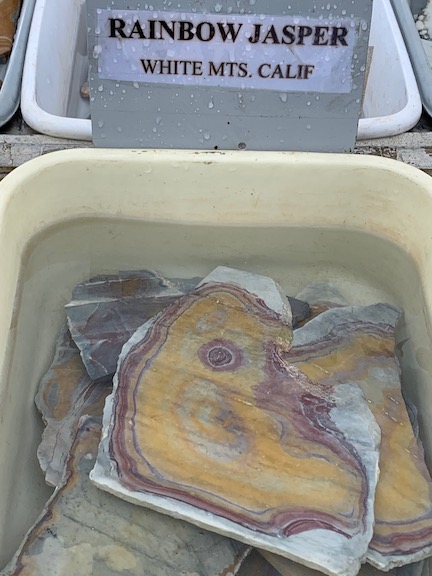
Slabs are usually on display in water because when they’re wet they give you a good indication of what they might look like when polished. This vendor’s display clearly identified the rocks and where they were from. I took photos of the displays so I could document the stones later on.
I decided to do a little shopping. I walked up and down the rows of the rock seller booths, looking for inexpensive cabochons and slabs. I found plenty and spent much of the $120 I’d brought with me that morning. (I’d somewhat wisely left much of what I’d taken in the day before back at the house.) I wound up buying two nice turquoise stones from a mine in New Mexico — that stood me back $43. (Ouch!) I also bought some very inexpensive slabs. And a nice pair of perfectly matched mookiate jasper cabochons for earrings.
Along the way, I stopped at a rock club booth where a bunch of older guys were chatting together. I asked if anyone could help me identify some slabs I had. They said to bring them over. So when I was done shopping and had dropped off my purchases in the truck, I returned with a box full of slabs. By that time, most of the guys were gone, but one person suggested I talk to “Richard” and another brought me to Richard’s booth and introduced me.
What followed was about 45 minutes of me pulling out slabs and Richard telling me all about them, including how they were formed and where they were most likely from. I pulled off pieces of masking tape, wrote the info he provided on them, and stuck them on the rocks. I stumped him once or twice and to make up for it, he’d reach into one of his boxes of slabs on display for sale and hand me another slab, telling me that it was like another one I had. It took me a moment to realize that he wanted me to keep these rocks, too. Soon he was giving me more rocks than he was identifying. It took a little effort to keep him focused, but we finally got through them all.
I told him I wanted to buy him lunch and he said no. So I asked what I could do for him.
“Buy some rocks,” he said.
“But you already gave me a dozen of them,” I replied. “My box is full.” I handed him a $20 bill, which was all I had left.
“Do you want change?” He asked.
“No, I’m good,” I told him.
He gave me another six or so slabs, telling me what each one was. Then he pulled out a gorgeous piece of imperial jasper marked $10. “Do you like this one?” He asked.
“Yes,” I told him. “It’s gorgeous. But I don’t have any money left.”
“Just take it.”
He handed it to me and I put it in my box with the others. Then I thanked him and made a quick departure before he could give me any more.
Leaving the Show
I dropped off my rocks in the truck. By this time, it was after 1 PM. The sun was breaking through the clouds and there were shoppers around. About a quarter of the vendors hadn’t set up that morning. I debated only briefly about setting up. It would take at least 30 minutes to dry off the tables and get them set up again and the event ended at 4 PM. It wasn’t worth it.
So I packed up the tables and stuck them into the trailer with anything else that was large. I had no way to tie anything down, so I left my jewelry and cabochon cases in the truck, not wanting the cases to get damaged if they shifted around.
I disconnected the trailer and put the hitch extension back on with the hitch on the end. I raised the camper, backed under it, and lowered it onto the truck. I fastened the tie-down straps. Then I backed up to the trailer with the assistance of a man who saw me backing up and came over to help. I hooked up the trailer and plugged it in. The cord just reached. Success!

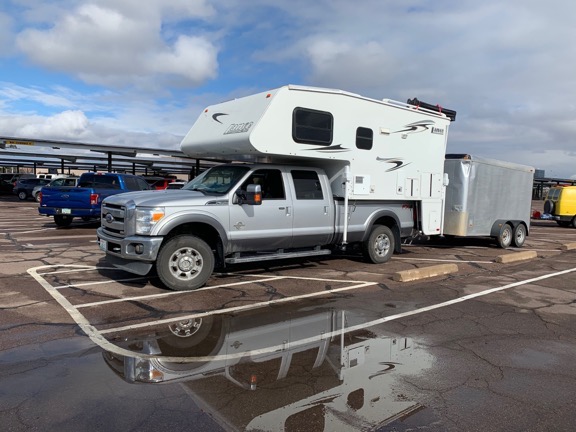
Here’s my truck, camper, and new old trailer in the parking lot right after hooking them up. It would be a few days before I got the kayak and tent frame off the camper roof.
Well, partial success. The front wheels of the trailer didn’t make firm contact with the ground, so I’d need to get a drop hitch. And since my truck knows when there’s a trailer plugged in, I learned quickly that every time I made a right turn, the plug would come undone. That means I needed a longer cable or extension.
I stopped at Walmart and Napa and picked up various supplies to drop the hitch and rewire the plug to the trailer. I’d do it all in the morning, I figured. I was in no really hurry to leave.
Purple Nail Polish, MVD, and Visiting another Friend

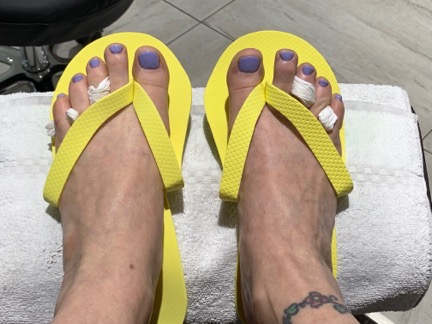
I always choose boring colors for my nails. This time, I picked something crazy. Lavendar?
On Monday, which was Tiffani’s extra day off from work — she’s off Sunday, too — she scheduled pedicures for herself, Jan, and me. So after I treated her for breakfast, we met Jan at her regular nail place and settled in for a good foot pampering.
Then it was errands. She needed to run up to Scottsdale to pick up medicine for one of her cats. I needed to go to motor vehicle to get a temporary permit to legally tow the trailer up to Washington. She very graciously volunteered to drive me there so I wouldn’t have to take my truck with camper and trailer attached to motor vehicle where parking might be scarce.
By then, I was on hold with USPS. A package I was expecting from India had been recorded as arrived in Phoenix but not scanned in. It had been in limbo for about two weeks and I needed to follow up. We were near the head of the line at MVD over an hour after starting the call when someone finally answered. He was unable to provide any additional information and told me to call DHL, which is the company that supposedly handed off the missing package. Good thing I hadn’t sat around waiting for them to answer. Instead, I managed to wait on hold for one bureaucracy while waiting on line for another, thus wasting time while wasting time. (Oddly enough, ten minutes after he told me he couldn’t help me, my phone pinged with a notification that the package had been scanned in and would be delivered by the end of the week. Coincidence? You tell me.)
When we were done with motor vehicle, we headed north. Tiffani had to pick up Jan at Falcon Field Airport, where their company is based. She knew I had another friend I planned to meet up with who lived up there and suggested I visit him instead of going all the way up to Scottsdale with her. So I worked my phone and arranged to meet him for lunch. Tiffany and Jan dropped me off.
My friend, Mike, is a retired FAA guy. He owned a piece of property across the street from one of the orchards I fly at every summer. In 2010, when he was just starting to build a house there, I rented space on his lot to park my big fifth wheel while I was on contract with the orchard. I would up spending the next three summers there — every summer until I bought my own land in the area.
He’d built the home as a place for he and his wife to retire to. But when he was done, she told him she didn’t want to move there. I really felt awful for him; I’d gone through a similar situation with my wasband when he broke similar promises he’d made to me. He wound up selling the home and if I hadn’t been financing a helicopter overhaul at the time, I probably would have bought it. It would have been an excellent AirBnB property and I already manage the house next door.
Mike was now in the process of getting divorced and had bought a home in Mesa. It was a nice place on a corner lot in a subdivision. He looked great when I saw him — healthier and happier than I think I’ve ever seen him. It’s funny how beneficial a major life change can be.
He showed me around his place, which still needed a lot of furniture. Then we left Penny behind and took his car out to lunch. We wound up at a place Tiffani had suggested that he knew well. I had an excellent eggplant parmesan sandwich, which is something I haven’t had since my New York days. We talked about what he was doing to keep busy and what he’d learned about dating. He pretty much confirmed what I already suspected; too many needy women wanted full-time relationships but the ones that most interested him were the ones who wanted to maintain their own separate home and space. I think the smart folks have it figured out — at our age, we just don’t want the changes and compromises that come with a live-in partner.
Afterwards, we fetched Penny and headed back to the airport where I was going to meet up with Jan and Tiffani. Mike dropped me off and I promised I’d come again, perhaps before the end of this trip.
Woody was at the airport when I got there. He’s the other partner in Jan and Tiffani’s helicopter flight school business. Like Jan, he’s a recently retired airline pilot. But he also flies helicopters. He was one of the cherry drying pilots I worked with last summer. It was good to see him and to finally meet his new dog.
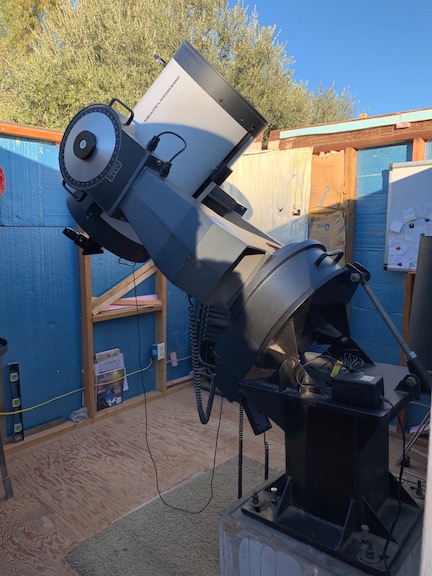
When Jan and Tiffani showed up, we didn’t hang around long. Jan had to go down to the San Tan Valley to see a telescope he was interested in buying. He has a 12-inch telescope in a backyard observatory and was interested in upgrading to a 16-inch. So he, Tiffani, Penny, and I headed down to see it.

Here’s the telescope Jan is considering. It needs to be mounted on this angle (33°) so it can properly track objects in the night sky. Jan is concerned that it might not fit in his observatory.
The guy who greeted us was a spry older man — 85, we later found out — who had not one but six telescopes. Four field telescopes were in his garage and the other two larger ones were mounted in a shack in his backyard. The shack didn’t look like much and, for the life of me, I couldn’t figure out how he opened the flat roof to look out. But then when Jan asked him to open up to get more light in, he unfastened a few latches and then slid the entire roof back onto a frame just outside the building. It was a neat setup. Chatting with him, we learned that he was a helicopter pilot, had gone flying with a friend in one of Jan and Tiffani’s helicopters years ago, and used to live in Wenatchee! Small world.

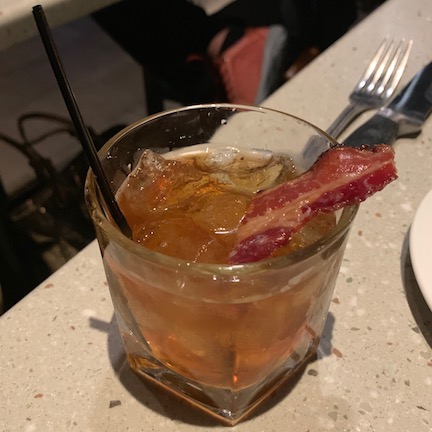
I sure wish I could remember what this cocktail was. It was extremely tasty, even with the bacon.
Afterwards, we went back to Jan and Tiffani’s house to drop off Penny. Woody showed up with his two dogs. We climbed back into two cars and headed out to dinner. It was early, so dinner consisted of happy hour drinks and bar munchies. It was my last night in Gilbert and I enjoyed spending it out with friends.
Heading Out
I woke up early this morning, stripped the guest bed, and threw the linens in the washer with all my dirty clothes. Then I took my last luxury shower until the next time I was someone’s guest, making sure to wash my hair thoroughly. When the linens and my clothes had gone through the dryer, I remade the bed, arranged the nine (!) pillows on it, and started bringing things out to the camper. The inside of the camper was a complete mess that I’d deal with when I stopped for the night.
It was nearly 10 AM when I said goodbye to Jan and Tiffani. Realizing that a professional could do a better job at rewiring the trailer than I could, I’d made a 10:30 appointment at a local U-Haul dealer so their “hitch pro” could do it. With the clock ticking, I pulled away from their house while they prepared to go to work.
Appointment StackingIf there’s one thing I’ve learned living 10 miles from the closest supermarket and other in-town conveniences, it’s what I call “appointment stacking.” That when you schedule all the things you need to do within a certain window on a certain day. If done just right, you can get appointments and errands crammed into the minimal amount of time, thus making the absolute best use of your time without a lot of additional trips.
That’s what I did on Tuesday. I stacked the U-Haul appointment, DOR errand, Napa and Walmart return errands, lunch, eye appointment, grocery shopping, and long drive from Gilbert to Peoria into one 8-hour period.
At the U-Haul place, the pro did what I asked: he cut the existing hitch wire extension and replaced it with the longer wire I provided. He was able to reuse the plug. While he worked, I fiddled around with the hitch. I realized that the adjustable drop hitch I’d bought at Walmart dropped the hitch too much. Fortunately, U-Haul had other options. I chose one and asked them to put the 2-5/8 inch ball I’d bought on it. When they were all done, the trailer sat pretty level with all four wheels on the ground and the wiring cable was plenty long. Total cost: $65. So worth it. Later, I’d return the extra parts I’d bought at Napa and Walmart.
The next stop was the Arizona Department of Revenue office where I needed to renew my business permit for Flying M Air to sell drone photos in Quartzsite. That went surprisingly fast and only cost $12.
Then I had time to kill before an eye appointment. I took care of the returns and headed north through the Phoenix area. My appointment was in the Deer Valley area in North Phoenix. So was P.F. Chang’s and I was hungry.
My eye appointment was at 5 PM. Sunset was just after 5:30 PM. I was at least 50 miles from where I wanted to spend the night and I knew I wouldn’t make it before it got a lot darker than I like to drive in. So while I ate I started thinking about alternative places to spend the night, using satellite view in Google Maps to get ideas.

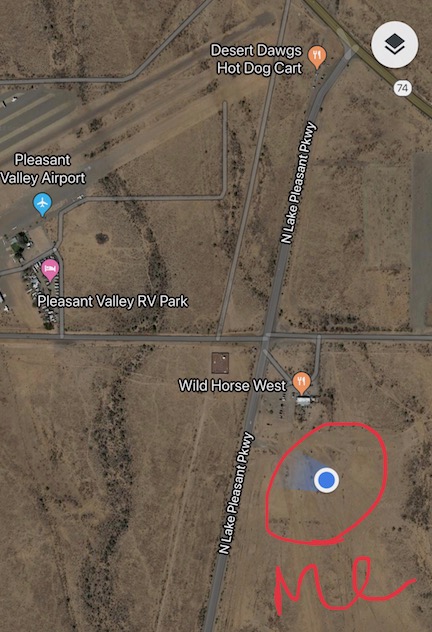
One of the best parts of RVing with a self-contained rig is that you can camp for free in a lot of different places. I know this particular area well; I used to land my helicopter at Wild Horse West for burgers once in a while.
Eye exam and some grocery shopping done, I climbed into my truck at about 6 PM and headed out. I ended up about 15 miles away, parked for the night in a deserted off-road vehicle camping area that was technically in Peoria. I didn’t think anyone would bother me and I was right. I spent the next hour organizing my camper for the next part of my journey and settled down with Penny to read a book. I was asleep by 9 PM.
