So far, so good.
Yesterday, the two lenses I rented from BorrowLenses.com arrived. This morning, Mike, @AnnTorrence, and I headed out for an early morning photo shoot to get a feel for them.
 It might seem odd, but I rented two almost identical lenses: the Nikon 10-24mm f/3.5-4.5G AF-S DX ED (shown here) and the Sigma 10-20mm f/4-5.6 EX DC HSM for Nikon. Lately, I’ve been enjoying the challenge of wide angle photography and want the ability to get up close and personal with my subject matter while still fitting much of it in the frame. I like the oddness introduced by a wide angle lens — the way a wide angle photo makes you look closer to see what’s not quite right. I’ve had a lot of fun over the past two years with my 10.5mm f/2.8G ED AF DX Fisheye Nikkor Lens, but that introduces too much distortion. The photos I take with that lens look downright weird. I want a lens without that much distortion that still has the ability to frame big landscape backdrops to my foreground subjects.
This could be just a stage I’m going through, but I feel a need to explore it fully to see where it takes me as a photographer.
I want to buy the Nikon 10-24mm lens. I wanted to buy it before I rented it. It has the kind of range I’m looking for to complement the 16-85mm f/3.5-5.6G AF-S DX ED VR Nikkor lens I keep on my camera most of the time. But it’s a costly lens and it wasn’t readily available from my first choice supplier. With an upcoming photo shoot, I figured renting it was a good alternative. And since my husband would also be shooting with his Nikon, it made sense to rent the Sigma so we could compare that lower-cost alternative.
The photo shoot is in Tucson, at the San Xavier Mission. About 15 members of the Arizona West Shutterbugs “Meetup” Group will be gathering there on Saturday to shoot the mission and then head into Tucson for a museum with an Ansel Adams exhibit. I’m looking forward to trying the lenses at the mission, although I am a bit concerned that my up-front-and-personal approach might put me in front of the other shooter’s lenses. I hope not. If the group shoot turns out to be a bust but the location has potential, I’ll likely return on a weekday when there will be fewer people around.
This morning, we headed out before dawn to nearby Rancho de los Caballeros, a local guest ranch. At night, their horses — all 93 of them — are kept in a big fenced in area at the south end of the property. At about 7:30 AM, the wranglers herd them all into a smaller enclosure closer to the ranch’s main buildings. They return the horses to their nighttime enclosure at around 5 PM. This movement is referred to as the “running of the horses” (even though they don’t actually run the entire mile or so). I thought it would be interesting for Ann and she did seem to enjoy it, although I don’t think any of us got any good photos. (I’ll try again another morning, perhaps from a different vantage point.)

The east side of Vulture Peak, shot at 10mm with the Nikon 10-24mm lens.
Afterwards, I took us all by Jeep down a few of the more rugged Jeep roads on the east side of Vulture Peak. The light was still good, at least for a while. We all made lots of photos from the two or three places I stopped and we got out. Then the light got too harsh and we headed back to my house.
Mike and I each tried each of the 10-24mm lenses. Mike thinks the Nikon may be better, although we really don’t have a good test yet. He’s in love with the lens and it’s very likely that we’ll buy one. But not yet. We still have 6 days with these rentals and we plan to shoot a lot of photos.

 Last night, after dinner, we started pulling out our camera equipment and playing with each other’s cameras and lenses. Ann told us some things about our Nikons that we didn’t know. We played with her flash in “commander mode.” We discovered that she and I each had the same old 50mm autofocus lens and it worked on all our cameras: my lowly D80, my husband’s newer D90, and Ann’s far superior D700. We also played around a bit with the two lenses I’m renting for a week from
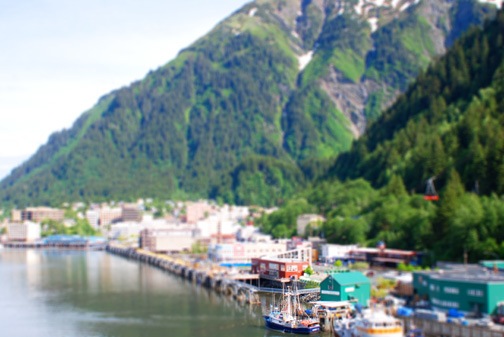

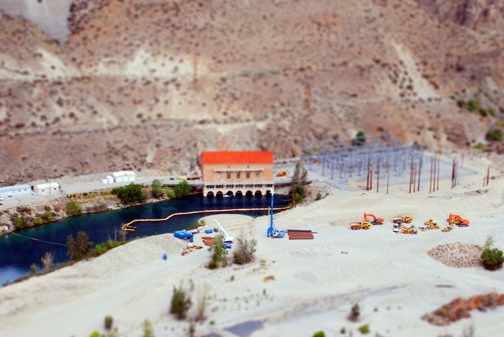
 And here’s a shot from last January’s visit to San Francisco. That’s the dome of City Hall with Sutro Tower in the background. I took the photo from my hotel room at the Nikko. I think it comes across pretty well as a fake miniature.

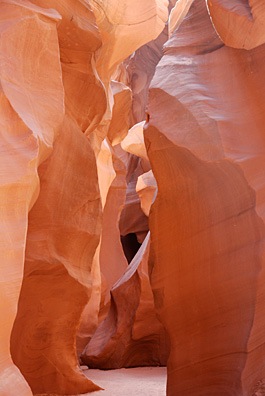 If you don’t know what Antelope Canyon is, you’ve probably never read Arizona Highways or seen any of the “typical” Arizona photos out there on the Web. As
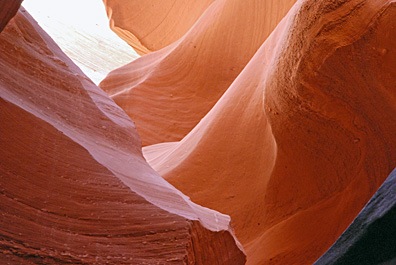
  Lower Antelope Canyon is downstream from upper. It has far fewer visitors. I think it’s more spectacular — with corkscrew-like carvings and at least two arches — but I also think it’s harder to photograph. It’s also far more difficult to traverse, requiring climbing up and down iron stairs erected at various places inside the canyon, clambering over rocks, and squeezing through narrow passages. For this reason, the Navajo caretakers don’t really limit your time in Lower Antelope Canyon. You slip through a crack in the ground — and I do mean that literally (see photo left) — and are on your own until you emerge from where you descended or from the long, steep staircase (shown later) that climbs out before the canyon becomes impossible to pass.
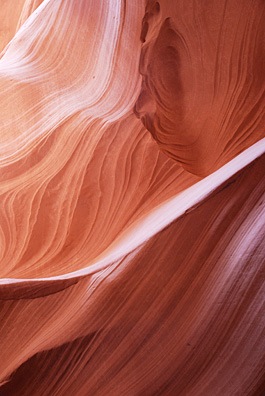 I went to Lower Antelope Canyon with my next door neighbor and fellow pilot, Robert, today. It had been a whole year since
  We arrived at about 11:20 AM and the place was unusually crowded. But Lower Antelope Canyon is large and everyone spread out. Most folks only made the walk one way, taking the stairs up and hiking back on the surface. We would have done the same, but we ran out of time. We were in there until 2:30 PM; Robert had to be at work by 4 PM.
 We made our way through the canyon slowly, stopping to take photos along the way. Positioning the tripods was extremely difficult sometimes, as the canyon floor was often only wide enough for a single foot to stand in it. My tripod really hindered me, but I made it work. I think Robert (shown here) had an easier time with his. We were two of dozens of photographers, most of which were very polite and stayed clear of other photographer’s frames. This is the biggest challenge at Upper Antelope Canyon. I find it stressful up there, as I told a trio of photographers from Utah. Lower Antelope Canyon is much more relaxing.
 Near the end of the canyon walk, I was worn out. It wasn’t the hike as much as the struggle to find the right shots and get the tripod into position. I felt as if I’d had enough. So when we reached the last chamber before the canyon got very narrow (and muddy) and I laid eyes on those stairs, I realized it would definitely be better to take the easier route back. I took this shot with my fisheye lens, which was the only way to get the entire staircase in the shot. If you look closely, you can see Robert’s head poking out near the top.
 I took about 95 photos while in the canyon. Some of the better ones — along with some to illustrate the story — are here. There’s a better collection in my Photo Gallery’s new