Surprisingly successful.
This past weekend was my first art show of the season. It’s at a venue which is usually good for me, but this time, it was surprisingly good. I thought I’d blog a bit about it.
But before I go into a report of this past weekend’s art show, let me begin by explaining how I sell my work. (You know me; there’s always a back story.)
My sales channels
I sell most of the jewelry I make in three different channels:

My art show booth as it appeared this past weekend in Leavenworth. I was fortunate to have an end spot and be open on three sides.Art Shows. This accounts for far more than half of my sales, but it’s the hardest work I do. I (normally) pay a free up front for booth space and then, on the day of the show, arrive early with a 10×10 foot tent, tables, table covers, signage, and merchandise displays. I set everything up — it takes roughly 90 minutes — placing my work as artistically and practically as I can. Then I sit in the booth all day — sometimes for as many as five days in a row — to sell what I’ve brought, make more inventory (when possible), and take/make orders for custom items. Then, at the end of the show, I pack everything back up. The benefit: I (normally) get to keep 100% of the selling price for each item.
- Wholesale and Consignment Sales. This accounts for maybe 15% of my sales and involves a lot less work — but at a cost. My wholesale price is 50% off the retail price; consignment fees are typically 35% to 40%. Even though it costs more, I prefer wholesale sales — once an item is sold, I can pretty much cross it off my inventory and forget about it. (The exception is the trade-in policy I offer for my wholesale clients; if something doesn’t sell in their shop in 6 to 18 months, I allow them to trade it in for another item.) Consignment is a royal pain in the ass. Not only am I letting a consignment shop hold onto my inventory (so I can’t sell it myself), but I need to keep track of all that stuff. And if an item is lost through theft at their shop, I’m pretty much screwed. Or if they go out of business while they have my stock, I have to worry about getting it back. Needless to say, I really don’t do much on consignment. What’s nice about these channels, however, is that they do often lead to a regular stream of sales with monthly income. So there’s that.
- My Online Store. This accounts for another 10% of my sales. Right now, I’m using Etsy, but I hope to switch to a more professional solution soon. Etsy takes a small cut of each sale — it’s less than 10% (unless the sale is related to a special ad they’ve placed) — so it isn’t the cost that bothers me. It’s being in an online retail space with people selling cheap, imported junk that they’re trying to pass off as their own work. The only thing that keeps me with Etsy is their integrated shipping feature, which not only makes it easy to ship to addresses all over the world, but gives me a discount on USPS postage costs.

The rest of my sales are face-to-face to friends and acquaintances. That’s a tiny percentage of the total.
This Weekend’s Show
This past weekend I was at Leavenworth Art in the Park. This is a weekly art show in the center of town that has been fine-tuned over the past year for COVID. Right now, it’s operating with only 15 artist vendors in widely spaced outdoor booths; when restrictions ease a bit more, I suspect it’ll go back to its previous capacity which was about 20.

With spacing for COVID, booths are able to be open on all sides.
Leavenworth, Washington, is a small town in the foothills to the Cascade Mountains. It’s a gorgeous location, nestled near mountains that remain snow-capped for much of the year. Its Bavarian Theme is what brings tourists in all summer long. The town also has (or had before COVID) lots of festivals, including a three week long Oktoberfest and big Christmas celebrations. The area has tons of hiking, white water rafting, camping, and other outdoor activities. It’s a nice place to visit, although admittedly a bit too touristy in town for my taste.

Downtown Leavenworth, WA was completely redone years ago to require Bavarian style architecture. One of the nice things about COVID — there are silver linings if you look for them — is that it got the town to close down the main street to vehicle traffic to make room for outdoor dining.

One of the draws to Leavenworth is entertainment, like this elk horn group. I shot this photo from my booth; it was very close to where the entertainment was.
I started showing/selling my work at Art in the Park in 2019. I attend on a limited basis because my primary work, which is cherry drying with my helicopter, requires me to be close to the helicopter in the Wenatchee area from roughly June 1 to August 15 every summer.
In a way, my limited time there is a good thing. Leavenworth is 50 miles from my home and the days there are long: 9 AM to 6 PM. Add that to my one hour (each way) commute and I’m looking at 11 hours. Spring and early autumn can be cold, summer can be hot. Parking is a pain in the ass. There are long lines at restaurants and, often, for the restrooms.
The reward of being there, however, is great sales. Folks who come to Leavenworth come to be entertained and to spend money. They shop in town and at the Art Show. They eat and drink in countless restaurants and bars. They stay in local hotels. They are in money-spending mode. And because most of them come from the Seattle side of the mountains, they have a bit more disposable income than the local folks I used to sell to at smaller venues in downtown Wenatchee. A pendant priced $59 isn’t a big expenditure for these folks, so I can actually sell and make money on my work.
This weekend was a great example. Although it was the second weekend of the show, it was my first weekend attending. I set up on Friday morning and began selling almost immediately. By 6 PM, I’d sold more than I had in an entire weekend on my last show. I did even better on Saturday and almost as well on Sunday.
Overall, it was the best weekend I’d ever had at any show anywhere.

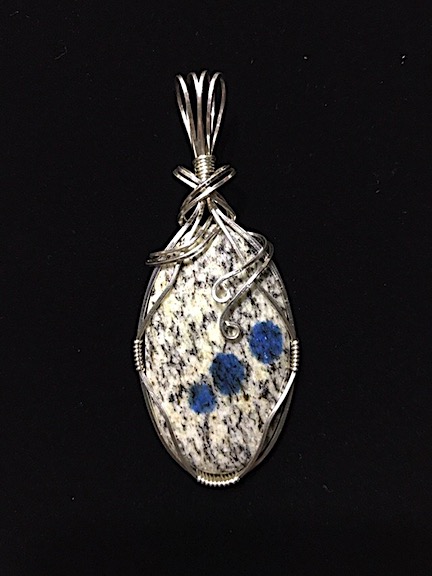
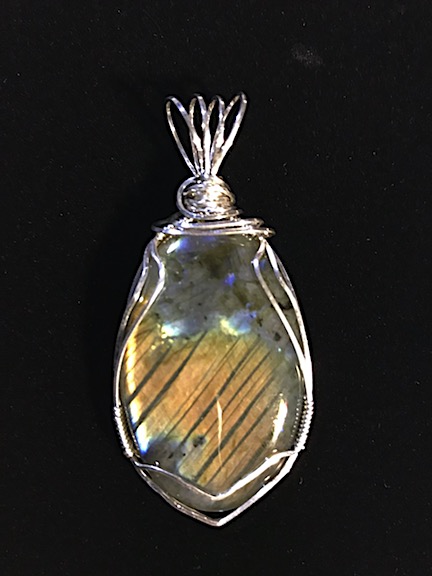
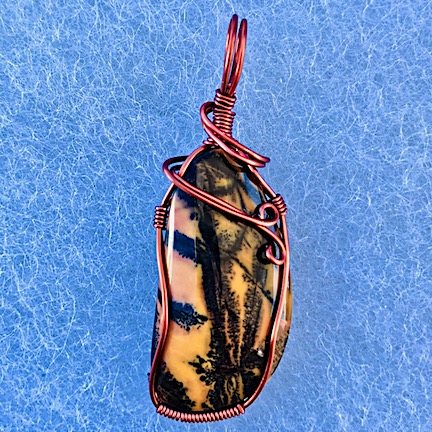
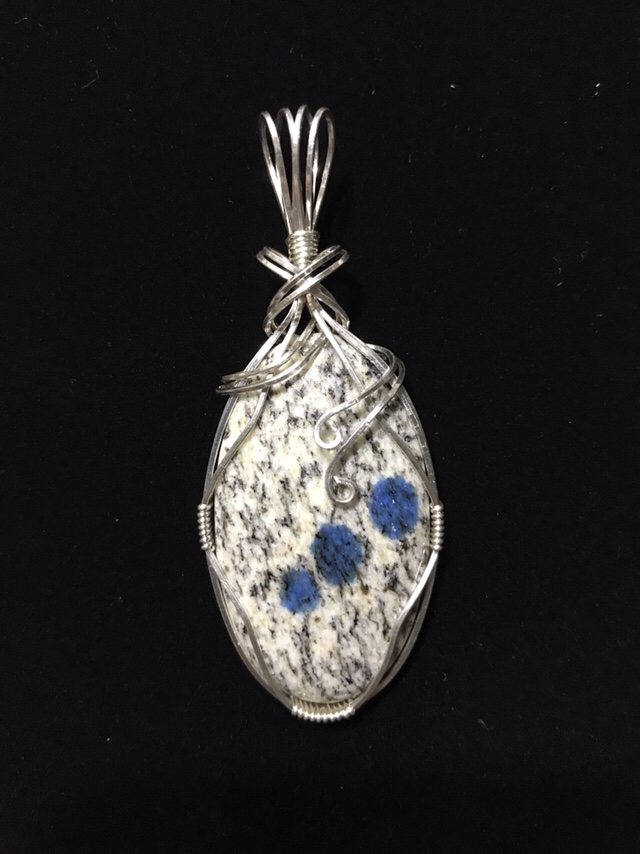
Here’s one of the pendants I made while I was sitting in my booth on Sunday morning. I made a total of six pendants that day.
It was so good that I spent most of Saturday and Sunday making more inventory. My wire work pendants continue to sell well in Leavenworth and I made five custom pendants for customers while I was there. I also made a bracelet and three beaded necklaces. This week I’ll be making a lot of earrings in my shop.
Now although the booth fee at Art at the Park is remarkably low, the non-profit organization that runs it does take a cut of sales: 21%. So I don’t get all of the money I brought in. But 21% is a lot less than the 35% or 40% I’m paying two galleries to show and sell my work. And I sold a lot more this past weekend than I’ve sold in my three year relationship with both galleries combined. So I’m definitely not complaining.
I’m doing two more weekends at Leavenworth this month. Then I’m stuck in Wenatchee for most of the summer. I applied to a show in Wenatchee in June and another show in Chelan in July. (I had to find a booth sitter for the July show in case rain is possible and I need to stay home.) I’m scheduled to go back to Leavenworth in August and September, but I may need to cancel that because of a conflict with another opportunity that I’m not quite ready to discuss here yet.
And if you’re a Leavenworth tourist reading this, I sure hope you’ll stop by Art in the Park while you’re in town. It’s open on Fridays, Saturdays, and Sundays from about 9 AM to 6 PM (or 5 PM on Sundays). I believe it’s also open on Thursdays between Memorial Day and Labor Day. Support local artists and makers!