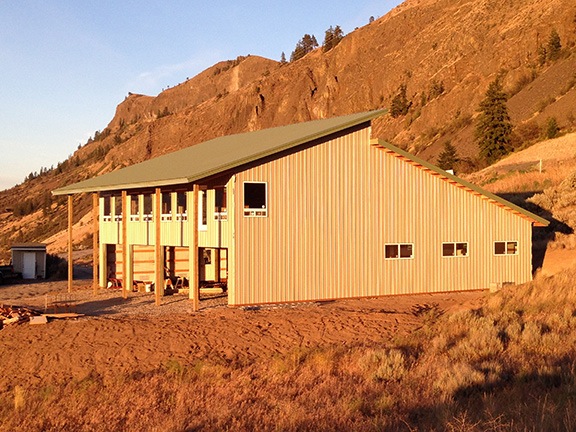
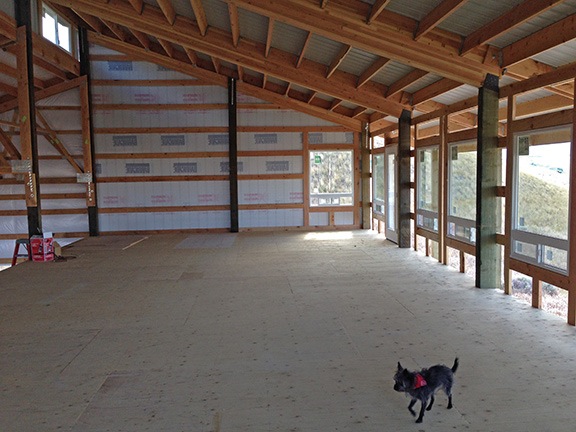
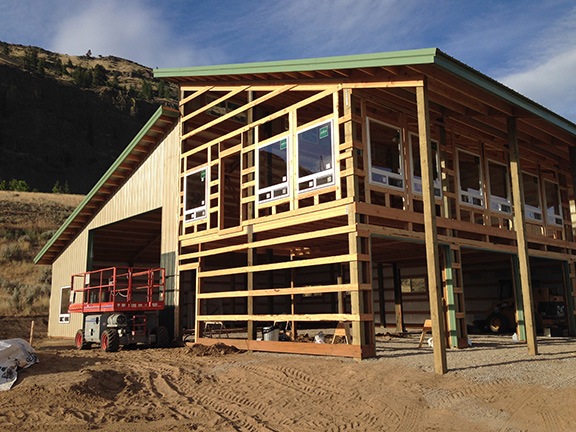
The exterior walls are now mostly up.
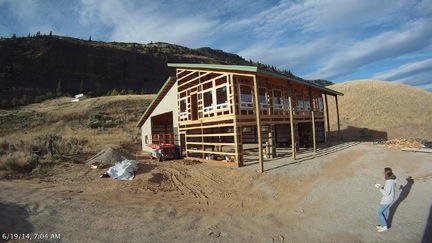
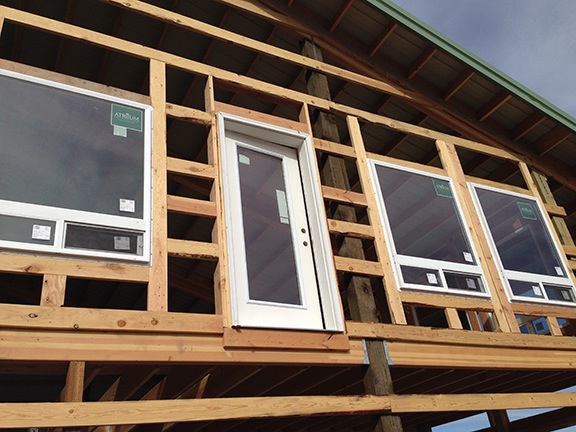
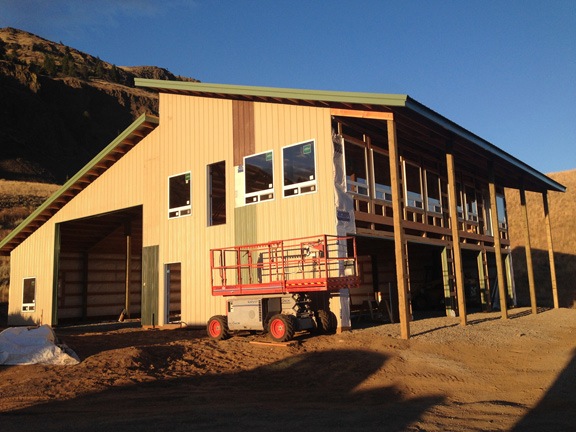
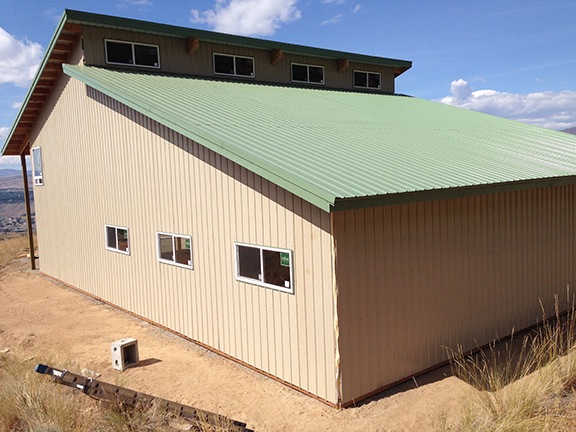
Although the builders usually work 4 10-hour days rather than 5 8-hour days, they added a bonus day on week 5 and came to work on Friday. Angel and the crew wanted to finish the exterior walls on the building. They’d saved the side wall with its seven windows, one man door, and four garage door openings for last.
The building’s metal skin does not come pre-cut. Every single opening in the walls had to be measured and every single sheet of metal had to be cut. It was a long day with lots of tedious work.
It was a great day for working: mostly sunny, in the 70s, with very little wind. I did some work in the yard. I was all suited up in my beekeeper suit, complete with helmet, veil, and gloves, when a helicopter flew by close. It looked like a JetRanger with a spray tank but no booms. On the second pass, he came into a hover facing me about 100 feet from the hillside. I pointed to my “guest landing zone” — a level area I’d cleared of tall grass — inviting him to land. But I suspect the LZ’s proximity to my bees scared him. He flew off, returning about 10 minutes later but declining to land again.
I tended to my bees. I have no idea who the pilot was, but I really wish he would have landed and introduced himself.
I wonder if he got a picture of me standing there in my bee suit with my building under construction, RV, and helicopter around me.
Later, I started work on a new enclosure for my chickens. Yes, I know the one I have is only a few months old. But a friend of mine makes really nice chicken yard enclosures out of wood frames with chicken wire. I wanted one like his but didn’t want to spend the money on the lumber I needed. Fortunately, the metal for my building came on 20-foot lengths of 4×3 lumber. It’s not the best quality lumber, but it should be good enough for my chickens. I realized that cutting each length in half and joining them with 2x4s (which I’d have to buy), would give me a more affordable version of what he had made. I’d bought 3 2x4s the day before so I had the materials I needed. After I finished with the bees, I cut the 2x4s to 6 feet and built a prototype. I then cut some of the horse fencing I had and fit it into one of the 5×6 panels. Unfortunately, I didn’t have the right nails or durable enough staples to affix the fencing. That’s Monday’s project.
Meanwhile, the guys finished up the final side of the building. Before leaving for the day, they each took pictures of their work. Angel said that it was one of the more difficult jobs he’s worked on and I got the feeling he was proud of it. He should be! It looked great!
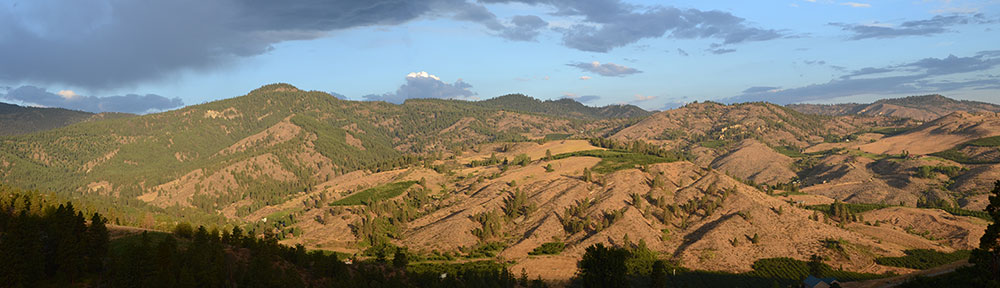
Here’s a photo from a vantage point I haven’t tried yet: the hill on the west side of the building.
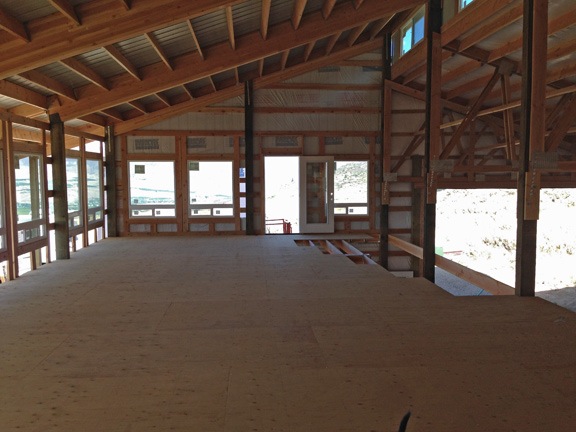
Angel told me that a crew will do the ground prep work for the concrete pad on Monday and probably pour the concrete on Tuesday. I expect that Angel and the crew will work on the decks during that time. I’m hoping the stairs go in on Thursday. It’s getting close to done!
I have two time-lapses to share. If you just want to see Day 21, here it is:
And if you have about 13 minutes to spare and want to see all 21 days, here’s the newly compiled version:


 The first thing I do is run the images through a program called
 Once I have the images in a folder, I open up QuickTime Player 7, which I’d updated to the Pro version years ago. This is an old version of QuickTime. The current version does not have the feature I need, which is the Open Image Sequence command. I use that command to get a dialog box prompting me to choose an image. I select the first image in the folder containing all of the images for the movie.