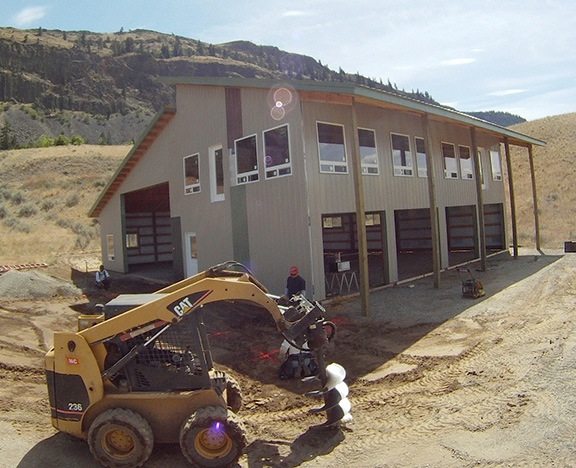
Many hands make quick work.
About three weeks ago, in early June, it looked pretty certain that my building shell would be finished by June month-end — a full month before I’d expected. I realized, with a great sense of pleasure, that I could get all of my things out of storage and into my own building. That meant not only finally getting all of my possessions under one roof — a dream of mine for years — but saving a month of rent for the hangar everything was currently stored in.
Win-win.
I thought about hiring movers. I really did. But then I realized that if I could get a few friends to help me move the furniture — sofas, bedroom set, dining table, TV, shelves, desks — I could handle the boxes on my own. After all, I’d gotten the boxes from my Wickenburg house into my Wickenburg hangar on my own.

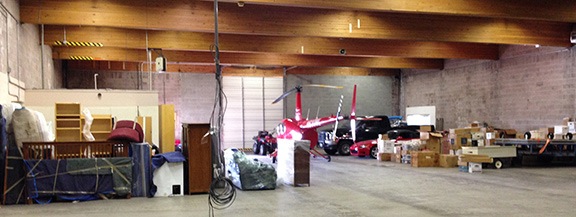
This is apparently the best photo I have that shows everything stored in my hangar. Shot this past winter, along the left wall was my boat, truck, Honda, countless boxes, and flatbed trailer. Near the side door was all of my furniture. I left the middle aisle clear for my helicopter, pulled by my ATV. My RV might have been in here, too, if I hadn’t gotten the house sitting gig that kept me from freezing my ass off in the RV.
And then I thought about how neat it would be to have a party at my home, to finally be able to show it off to all my friends after telling them so much about it.
And then I thought maybe a few of those friends might have trucks and be willing to bring them to the airport to help me move that furniture.
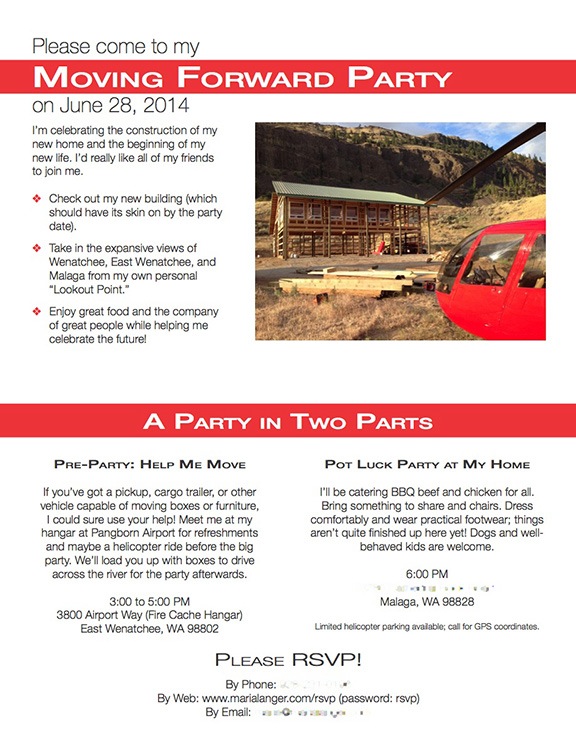
And that’s how the idea of the Moving Forward Party was born.
Moving Forward: A Party in Two Parts
I made up the invitations one Monday morning and sent them out via email and Facebook message to dozens of people I knew. Most of them were local, but others were as far away as New Jersey, New Mexico, Arizona, and even Alaska.

The digital version of the invitation looked like this.
I sent a special version of the invitation to Staples for printing. It would be half page, with one side showing the top half of this and the other side showing the bottom. I picked them up and began carrying them around with me so I could hand them out to people I know when I ran into them in town. I also left them in mailboxes and rolled up in driveway gates for the friends I had no digital contact method for. I even dropped a few off at friends’ workplaces.
The RSVPs started coming in. I was surprised by the percentage that seemed interested in helping out at the airport. Maybe I’d be able to move more than just the furniture that day.
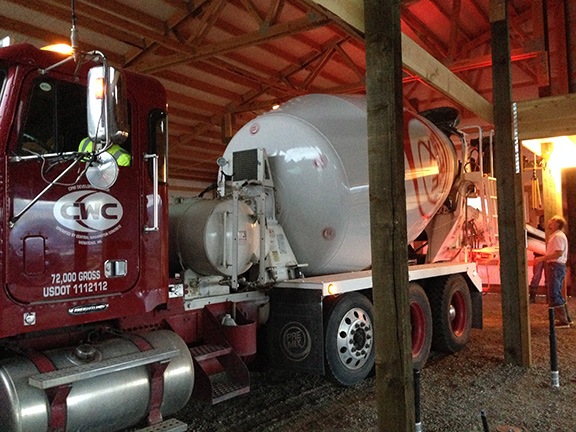
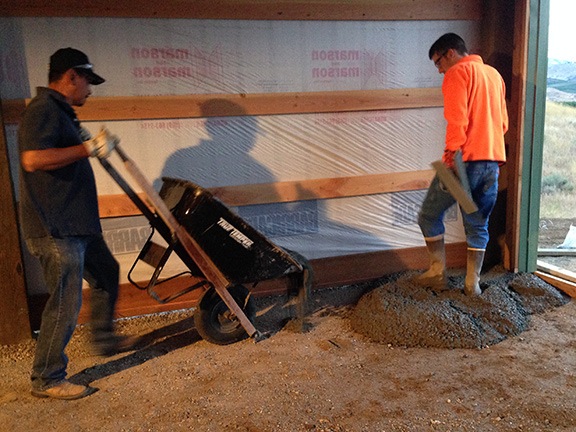
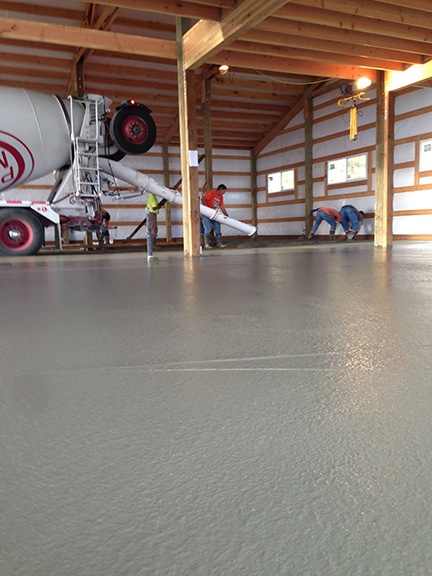
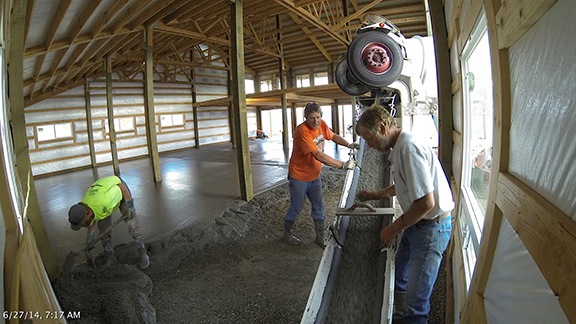
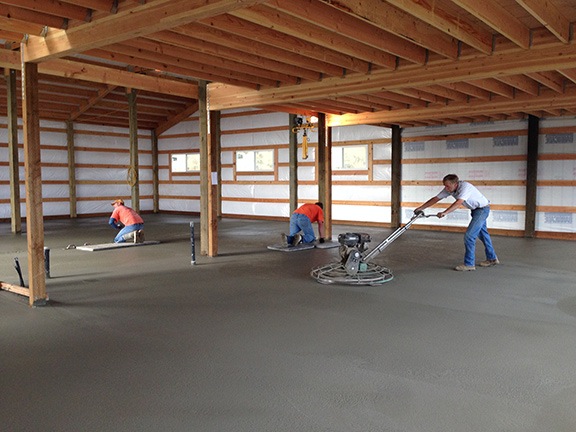
The week of the party arrived. The builders stopped work. They were waiting for the concrete to be poured inside and the concrete guys were backed up with other work. First, it looked like it might be Wednesday. Then Thursday or Friday. And finally Friday. Definitely Friday.
I was stressed. The party was Saturday afternoon. Would we be able to walk on the concrete then? Store things on it? Would we damage it? Cause cracks and scratches? Prevent it from curing properly?
Some people advised me to stay clear, but the concrete guy, who showed up on Thursday to look over the site, told me I’d be able to walk on it the same day. “Just don’t drive on it,” he advised. “We recommend a week, but wait at least five days.”
The moving part of the party was on.
Prep
I spent most of Friday morning picking up coolers loaned by friends and shopping for party supplies like ribs (for smoking), soft drinks, and beer. That afternoon, it rained and I had to fly. It actually turned out to be a pretty crappy day, with some bad news from friends that was sad and/or stressful on several levels. I remember texting with one friend late that evening, assuring him that everything would work out while wondering if it really would.
I woke up early on Saturday and got right to work on party prep. I needed to get the beverages into the coolers and cover them with ice. That meant a trip down to Fred Meyer, which ate up an hour of my morning. I didn’t need to set up any tables; there were enough tables and desks among my furniture to spread out food and supplies. I needed to organize the refreshments for the hangar part of the party. The whole time, I was watching the sky and the radar for any sign of rain. My biggest fear was that the rain would start while I was at the hangar, 30 minutes from my helicopter, and would have to leave my guests to go to work. But the weather held, despite the cloud activity.
And at 2:45 PM, I rolled into the airport parking lot beside my hangar and prepared to greet whoever turned up to help.
Many Hands
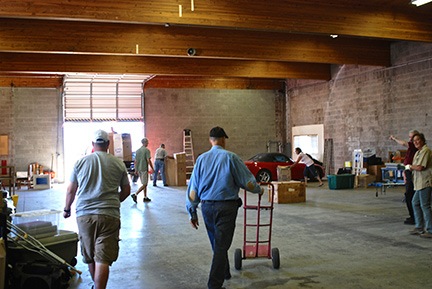
People started arriving almost immediately. I had just walked around the hangar to open the side door when my neighbor, Mike, arrived with a pickup truck. He helped me move my old desk to a spot beside the doorway, then kept me company while I put out various chips and dips and set a small cooler full of beverages nearby. Then Melanie and Al in a pickup truck, followed closely by Jill and her husband. They’d brought a very large horse trailer behind their pickup truck. More people began to arrive, all of them in pickup trucks. The party started right in the doorway with everyone chatting and making new friends.

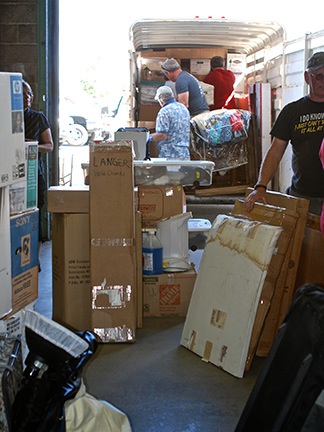
Tim shot this image of us loading the horse trailer early on in the packing process.
Someone suggested getting started and I suggested filling the horse trailer first. Jill’s husband backed it up to the hangar door. And that’s when the “controlled chaos” of my move began.
My friend Tim had brought along his camera and took lots of photos. Most of the ones you see here were taken by him.
There were at least 30 people on hand and my furniture and boxes quickly began shifting from their storage positions to the side door of the hangar. They loaded that horse trailer quickly, but not quickly enough for the crew. A bottleneck formed. People began to ask whether they could move a truck around to the other door, the one inside the airport fence. I didn’t see any reason not to, so I opened that door while someone moved a truck around. From that point forward, they were loading trailers and trucks from two points. At one point, we had two pickups in the hangar while a third was being loaded at the side door.

I spent more time answering questions that actually moving things. I couldn’t keep up with what was going on. Photo by Tim.
One of my friends, who lives in the Seattle area, asked, “How you do you know so many people with pickup trucks?” I didn’t have an answer for him.

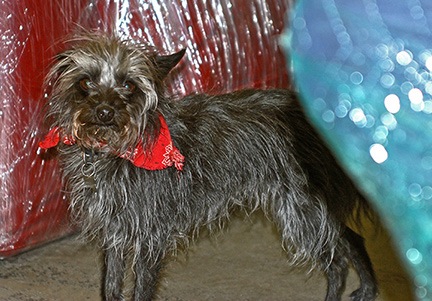
Penny stayed clear of the movers. Here she is, hiding by my red sofa, which is still shrink-wrapped from its original move out of Phoenix. Photo by Tim.
Other people commented about the sheer quantity of stuff I owned. I responded the same way to each of them: “Blame my ex-husband. If he would have settled with me instead of dragging me into court, I would have left most of this stuff behind. The longer he made me wait, the more I packed.”

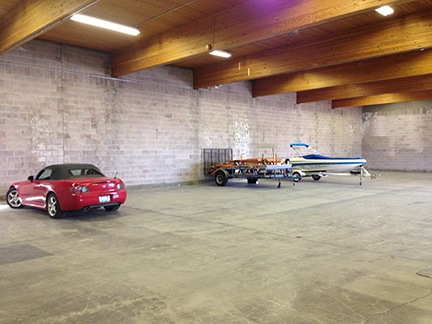
I shot this photo of my nearly empty hangar as I locked up the front door. I’ll fetch these later in the week when the concrete is safe to park on.
After about 90 minutes, most of the trucks were loaded and there were still a few things left. My guests were getting antsy. I was ready to leave the rest behind, but with a sudden burst of energy, we got the last three empty pickups into position and loaded the rest of my things into it. As I locked up the hangar, I looked back to see just three things left, all of which I could move myself: my Honda, my cargo trailer (with helicopter landing pad still strapped down on it), and my boat.
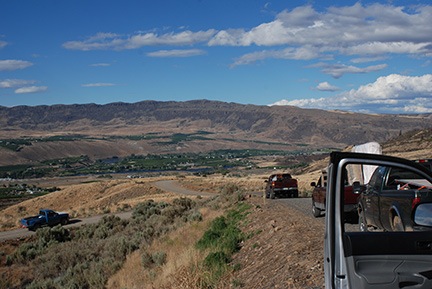
I never did get a final count of the trucks that helped out for the move. Maybe 12? 15? Tim took this shot from his place in line after about half of them had been unloaded.
More than half the trucks had already left when I pulled out with another five trucks. I was very concerned about my friends off-loading without some idea of where I actually wanted the stuff. When I arrived, I found myself at the end of a long line of pickups going down the hill behind my house. I parked and got out with Penny and the remaining moving party supplies and walked the rest of the way.
Everyone was surprisingly cheerful and upbeat. I think the weather helped — it was sunny but cool and the wind hadn’t kicked up to full speed yet. One by one the trucks (and the trailer) backed into the driveway. My friends offloaded everything, placing boxes in one area and furniture in another, just as I directed.
I wanted to help them, but didn’t have time. I needed to tend to the ribs, which were done, and organize a food area. With the help of some friends, I moved my old desks into position in the first garage bay and then began putting out food and plates. Every time I came back out, there was more food on the tables, placed there by my guests. I organized the drinks and the wine, brushed the ribs with sauce and finished them off, helped my friend Cheryl get the chicken and salad out. I didn’t stop moving.
Meanwhile, my moving crew worked hard to unpack every truck that appeared at one of my garage doors. When a truck was empty, it pulled out of the way and another took its place. It was amazing. I had the construction time-lapse camera going and extracted 90-minutes worth of images; here they are in a video slowed down to 6 frames per second:
Everyone just did their part and the work went quickly. Someone even went up to fetch my truck, bring it down, and unload it. We’d arrived at my place by 5:15 and were done unloading everything less than an hour later.
And that’s when the second party began.
The Celebration
As I’d said on the invitation, I wanted to celebrate the construction of my new home and the beginning of my new life.
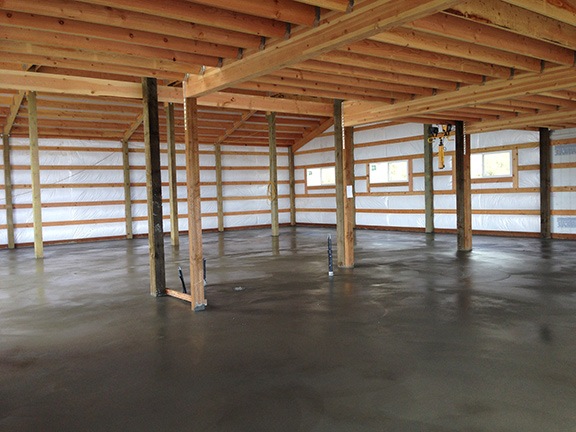
I had plenty to celebrate. After living in limbo in a dead-end marriage and the aftermath of a cruel divorce, I was finally back on track to move forward with my life. And I was moving forward quickly. The 4,000-square foot building I’d designed and had built on my property was proof.
I wasn’t rebuilding my life; I was leapfrogging around it and building a better life. And that was something to celebrate.
I knew that this would be the first of many gatherings here, the first of many parties and celebrations.
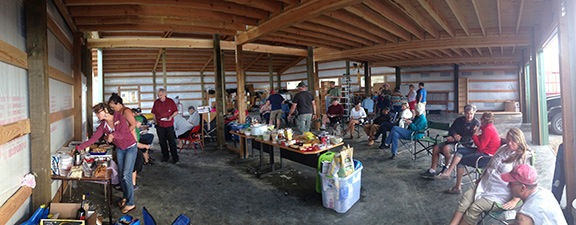
Tim took this shot during the party. In the background are all my things. In the middle of the shot are Forrest and Sharon, the couple who sold me my property. They’re very happy with what I’d done with it.
More guests arrived with more food. People mingled and ate and drank. People who hadn’t known each other met and discovered people or places or schools in common. People wandered around my property, out to Lookout Point, around the helicopter parked on its temporary landing zone. They checked out my chickens and my garden. Their dogs and kids ran and played.

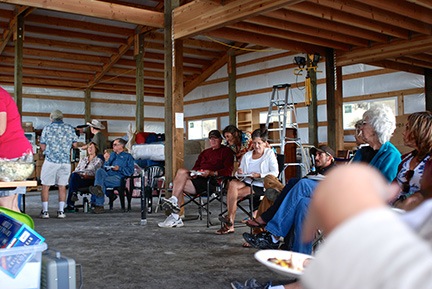
Here’s the party in full swing. The rest of the guest were outside.
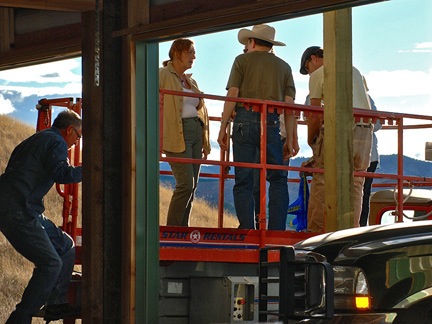
Going up? Tim took this shot as I made several trips upstairs with guests. Can’t wait for the stairs to go in!
The builder had been kind enough to leave the man-lift behind so I could use it at the party. I made a few trips up to the second floor with guests. They commented on the view and the floor plan. Another local helicopter owner and his wife said they were considering building a place just like mine on some vacation property they owned.

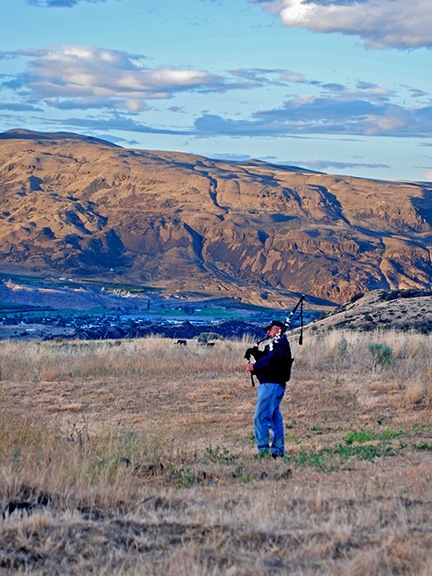
Tim took this photo of Mike piping out over the valley as the last rays of sunlight struck the hills across the river.
The sun began to sink lower in the sky and it got chilly out. One by one, my guests said their goodbyes and left. Soon, only a handful were left. My friend Mike pulled out his bagpipes and treated us all to a sunset concert.
It was a perfect end to a perfect day.
It’s All About Friends
I learned something yesterday, something I hadn’t really thought about.
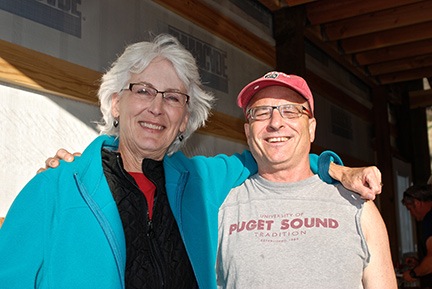
Two local teachers, Kriss and Tim. Not sure if they knew each other before this party, but they look like good friends here.
I realized as I watched my friends enjoy the food and drinks and company under my roof that what I really had to celebrate most about my new life was my friends.
To understand why, you need to know a little about my past in Arizona.
I made quite a few friends in Arizona after moving there in 1997, but over the years, they began to abandon the area, following their dreams to places that appealed to them more than the fading retirement town we lived in. In the end, I had few friends there and didn’t seem able to make any new ones. My wasband’s few friends disliked me and often made that clear in no uncertain terms.
For a while, my wasband tried to convince me that my minimal social life was my fault, that people simply didn’t like me. That added to the self-esteem problems I was having near the end of our marriage. But I know now that he was dead wrong.
Yesterday’s party is proof of that.
I’ve been living full-time in Washington state for only a year. Yet yesterday, at least 30 people showed up at my hangar to help me move and another 20 or so showed up for the second part of the party. They didn’t come empty-handed; they weren’t takers out for a free meal. They didn’t whine or complain — they made it happen without coaxing. They are friends, real friends, the kind of people who make my life full.
I make friends easily here and I’m not sure why. I suspect it has to do with the kind of people living here — people who are good and want to help members of their community. People who do the right thing because it’s the right thing and don’t even think about doing something that isn’t right. People who are open and friendly and sharing because they’re not hung up in petty jealousies or suspicions. People who love more than they hate and give more than they take.
Oddly, a friend and client who attended yesterday’s party told me about the release of a video we’d worked on together earlier this year. I’d flown him around to get some aerial footage of two of the local dams on the Columbia River and the waterfront. He told me that he’d linked to the video on his Facebook page. This morning, I followed that link and found a video that talked about the people of the area as being what makes it special.
That video is right on target. It’s all about the people, it’s all about friends.