Easy recipe for a winter day.
I love Crock-Pot® — or, more generically, slow-cooker — cooking. There’s nothing like throwing a bunch of ingredients in an appliance, covering it, turning it on, and coming back 6 to 10 hours later for a delicious meal. Best of all, the aroma of that slow-cooked meal permeates your home, greeting you quite pleasantly when you get back from a long day at work or play.
True story: a few weeks ago, I had to make a trip down to Goldendale for some business. it’s a 3-1/2 hour drive — each way. I set up a slow-cooker before I left at 7 AM and completely forgot about it. On my way home that afternoon, I thought about what I could cook for dinner without having to stop at the supermarket. When I turned the key in the door and pushed it open, I smelled the lovely aroma of the chicken soup that had been cooking all day and actually thought to myself, “What did I make yesterday that smells so good today?” I was actually stepping into the house when I remembered the slow cooker-meal waiting for me. What a reward at the end of a very long day!
Anyway, I was in the supermarket Sunday and found some very meaty “soup bones” in the meat department. Remembering the excellent beef soup I’d made last winter in Arizona from similar “soup bones” in my chest freezer from a half cow we’d bought the previous year, I decided to whip up a batch here. But rather than put it on the stove, I pulled out the slow-cooker. Here’s the recipe I used.
Ingredients
- 3-4 pounds of very meaty beef soup bones
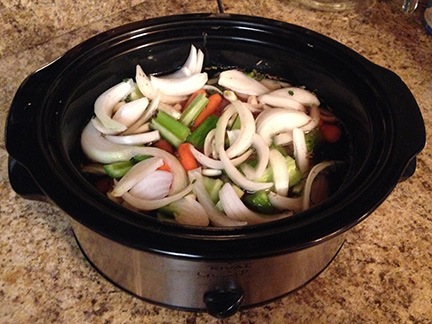
- 3 carrots, cut into 2-3 inch lengths
- 2 stalks celery, cut into 2-3 inch lengths
- 1 medium onion, sliced
- 4 cloves garlic, peeled and halved
- 1 teaspoon salt. You might want to put more; I’m trying to limit my salt intake. Remember; you can always add it later.
- 1 teaspoon fresh ground pepper. Is there any other kind?
- 1 tablespoon Herbs from Provence. The prepared blend I used includes chervil, basil, rosemary, tarragon, garlic, lavender, marjoram, savory, thyme, and parsley.
- 3-4 cups water
Root vegetables also work well in this recipe, although I never use potatoes because I’m trying to avoid starches.
Instructions
- Place beef bones at the bottom of a slow-cooker.
- Spread vegetables on top of beef.
- Sprinkle salt, pepper, and herbs on vegetables.
 Pour enough water over slow-cooker contents to barely cover them. In the slow-cooker I’m using, that was just over 3 cups.
- Cover the cooker and set to high.
- When the cooker contents start to boil or simmer, set to low. If it never starts to boil, that’s okay. It really depends on the slow-cooker. If you need to go out for the day, just set it to low before you leave.
- Cook all day. I’m thinking at least 6 hours to tenderize the beef and bring out the flavors of the meat and vegetables.
- Remove the beef bones from the soup and allow to cool enough to remove meat pieces from them.
- Cut the meat as necessary and return it to the soup.
Serve piping hot with crusty bread.
Again, I’m watching my carb intake so I’ll be skipping the bread. I’m also avoiding pasta. But noodles or orzo would be really good in this recipe. Cook it separately and add right before serving.
This should make enough soup for at least 4 people. I use plastic containers to freeze leftover soup in single-serving portions. I can then pull out a container and heat up a nice hearty meal any time.
One more note: If you expect to be pressed for time on the morning of the day that you’ll be making this, you can put all ingredients except the water into the slow-cooker insert the night before and store it, covered, in the fridge. Then put the insert into the slow-cooker first thing in the morning, add warm or hot water, and turn it on high. Be sure to set it down to low before you leave for the day.

 Pour enough water over slow-cooker contents to barely cover them. In the slow-cooker I’m using, that was just over 3 cups.
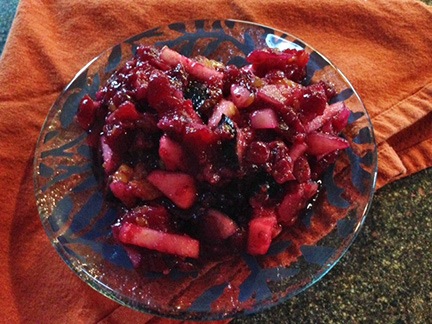
 I first made Julia’s cranberry recipe for Thanksgiving dinner in 1996. This was an amazing meal served in my New Jersey home. Our Salvation Army-acquired dining table, expanded to its full length with the help of a homemade leaf fully five feet wide, made it possible for all 15 of us to sit together. Amazing timing with the help of a standard sized oven and the microwave I still own made it possible to serve the entire meal at the same time, fresh and hot. If there is such a thing as miracles, this was one of them. I’ll never be able to top that feat again.


