Or why I will not be buying a new camera this week.
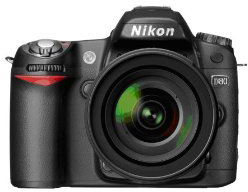
Yesterday, while in the Phoenix area, I finally brought my camera in to Tempe Camera to get its sensor and related electronics inside the lens hole cleaned. I’ve owned my Nikon D80 since May 2007 and it had never been professionally cleaned.
(A side note here: New York City photographers may remember Nikon House in Rockefeller Center. One of the services offered there was a free camera cleaning to Nikon owners. You’d walk in with your camera, hand it over, and while you browsed the gallery, they’d professionally clean it for you. I didn’t have a Nikon in those days and those day are long gone.)
The D80 was my first digital SLR. It had been on the market about a year when I bought it and had gotten lots of good reviews. At the time, it was probably considered Nikon’s top of the line consumer model DSLR. The reviews and the fact that it would work with my Nikon 6006 AF lenses is what sold me on it.
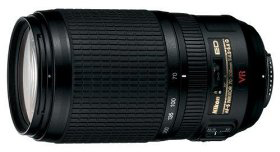
 Since buying the camera, I’ve put a lot of money into lenses. I buy Nikkor lenses and I learned early on to avoid the low-end models. My favorite lens is a super multi-purpose 16-85mm DX lens. Sure, there’s some distortion at the widest focal length, but I like the effect for some of my shots. I also have a 10-24mm, 18-85mm (from my film camera days), 10.5mm fisheye (what a bunch of funky photos that makes; see example here, coincidentally shot less than a block from where Nikon House was), 70-200mm (also from film days), and 105-300mm (I think). And an f1.2 50mm lens (also from film days; came with one of my 6006s. (I have two if anyone is interested in buying one.)
The point is, I have a lot invested in what can now be considered a mid (or possibly low) end, dated camera.
I’m not very happy with the quality of the camera’s photos lately. They seem to lack the clarity I’m looking for in photos. I bring them into Photoshop, zoom to 100% magnification, and check the details. No crispness. The situation seems to be getting worse, but in reality, when I compare them to photos to the first trip I took with the camera — Alaska in 2007 — I don’t see much of a quality difference.
Of course, it could be my eyesight, which is definitely worsening as I age.
Or it could be that I simply wasn’t as picky several years ago.
I’ve been trying hard lately to eliminate the possible causes of the problems. A photography seminar at the Desert Botanical Gardens last year with Arizona Highways editor Jeff Kida gave me a place to start. His advice was to always use a tripod. I’d always pooh-poohed photographers who used tripods in the bright Arizona sun — mostly at the Grand Canyon, where they gather like lint in a dryer screen along the walkways at certain viewpoints at sunrise and sunset. Even with plenty of light to get shutter speeds in excess of 1/500 of a second, they’re positioning their tripod legs, adding what looks like a lot of effort to each snapshot.
 I have no shortage of tripods, so I started using them. The results were not much better, although just using the tripod forced me to think harder about every shot — mostly because of what a pain in the ass it is to set up a tripod. I actually bought a new ball head for my good Manfrotto tripod just to make setup easier.
Cleaning the sensors seemed like the next step. I’d done a dumb thing a year or two ago: I’d used canned air to try to blow dust out. I should have realized that propellant could also come out with the air and that propellent might stick like glue to the sensors. After thinking about this for a good six months, I finally had an opportunity to take the camera in to get it done professionally.
Hence my trip to Tempe Camera.
 If you’re a professional photographer in the Phoenix area, I don’t have to tell you about Tempe Camera. You probably know it very well. If you’re a serious amateur, you should get to know it. It’s a great resource.
The place is basically split into three departments:
- Sales sells new and used camera equipment, including camera bodies, lenses, tripods, camera bags, lights, light stands, etc. They even sell darkroom equipment, film (remember that?), and photographic paper and chemicals. If it has anything to do with photography, chances are, you can find it on Tempe Camera’s second floor sales area.
- Repairs does camera repairs. They’ll handle anything from my simple sensor cleaning job to more complex repairs on any kind of camera equipment. You’ll find them on the first floor.
- Rentals rents camera equipment. Not only will you find a bunch of camera bodies and lenses, but they have a ton of video equipment, lights, light stands, audio equipments, etc. You’ll find them on the first floor, to the left of the Repairs desk.
After dropping off my camera at the Repairs desk and chatting with the folks at the rental desk about my Moitek Video Camera Mount, I climbed the stairs to start exploring the possibility of getting a new camera. Because of my huge lens investment, I didn’t want to upgrade to a camera that couldn’t use the lenses I already had, but I was ready for bad news if it would be delivered.
At the counter, I soon got the attention of a guy not much older than me who, fortunately for me, was a Nikon guy. (Anyone who does photography knows that there’s a Nikon vs. Canon rivalry that’s just plain silly. They’re both good cameras. Anyone who’s heavily invested in one is not likely to switch to the other, so just give it a rest, folks.) During the conversation, I discovered that he’d been doing serious photography and had had photos published for the past 38 years. (He wasn’t some college kid — Tempe is home of ASU — who doesn’t know jack shit about photography.)
 I told him my situation: I’d owned a D80 for three years, had a lot of decent quality Nikon DX lenses, and was disappointed with the clarity of my photos. Was there a better camera model I could upgrade to without having to toss my lenses? He asked about the kinds of things I shoot. I told him I mostly shot landscapes, outdoors, in natural light.
The cameras were laid out on a shelf under the glass countertop in order of price/feature set with the low end cameras on my left and the higher end cameras on my right. He pointed out the D90 and D300S. He told me that stepping up to either one would make a big difference, since they both used CMOS sensors and had better software. Both would use the lenses I had. He then told me a personal story about stepping up from a D200 years ago to some other newer model (I forget which) and the mind-blowing difference in the quality of his photos. Camera software was very important.
We talked about my lenses. I told him about the 16-85mm and 10-24mm DX lenses. He said the 10-24mm lens I had was probably the second best lens Nikon made in that line. He said my problem was probably not due to the optics of my lenses.
I asked him about the full-frame sensors — and pardon me if I got the name of that wrong, but he did know what I was talking about. He said that they weren’t likely to improve the overall quality of the images. He said that what they would do is make it possible to create much larger prints. Cameras with full-frame sensors could not be used with my lenses, so I didn’t need to explore that avenue much farther.
We talked about a few things that could improve photo quality. The subject of shooting in raw and manipulating in Photoshop or some other image editing software package came up. He claimed that alone could improve image quality by 33%. (No, I don’t know where he got that number from.) I’d been told by others — Ann Torrence comes to mind — that shooting raw would help, but I know nothing about processing raw, so I hesitated to open what would likely be a tangled can of worms. Now I’m thinking about that can and have already started studying up with Camera Raw courses on Lynda.com.
 I told him my husband already had a D90. He told me I should try it and see if I could notice a difference.
And this is what impressed me so much about my visit. I took at least 5 to 10 minutes of this guy’s time and picked his brain for information. Although I was ready to seriously consider buying a new camera, he didn’t try to sell me one. Instead, he offered some solutions that would take advantage of the relatively expensive equipment I already had. It was a “try this first” approach; not a “buy this first” approach.
So the next time I take a trip, I’ll bring my husband’s D90 along. I’ll use a tripod and I’ll shoot in jpeg+raw. I’ll experiment with raw file post-processing. And I’ll see if anything makes a difference.
One thing I know for sure: if I decide I’m ready to put my D80 aside, I’ll be gong to Tempe Camera to buy its replacement.




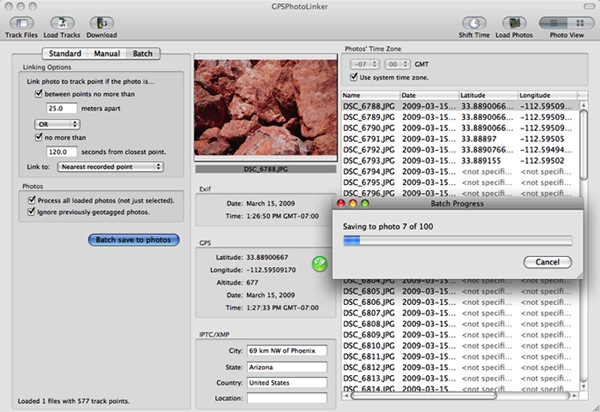
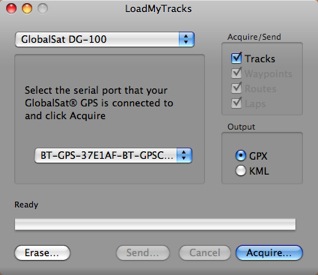 Although GlobalSat has a perfectly fine utility for getting the data off its unit and onto a Mac, I use the freeware application,

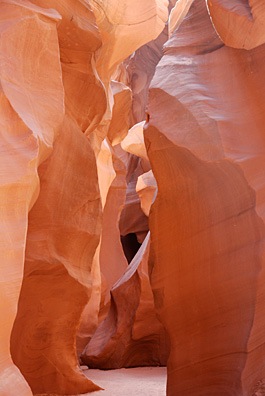 If you don’t know what Antelope Canyon is, you’ve probably never read Arizona Highways or seen any of the “typical” Arizona photos out there on the Web. As
  Lower Antelope Canyon is downstream from upper. It has far fewer visitors. I think it’s more spectacular — with corkscrew-like carvings and at least two arches — but I also think it’s harder to photograph. It’s also far more difficult to traverse, requiring climbing up and down iron stairs erected at various places inside the canyon, clambering over rocks, and squeezing through narrow passages. For this reason, the Navajo caretakers don’t really limit your time in Lower Antelope Canyon. You slip through a crack in the ground — and I do mean that literally (see photo left) — and are on your own until you emerge from where you descended or from the long, steep staircase (shown later) that climbs out before the canyon becomes impossible to pass.
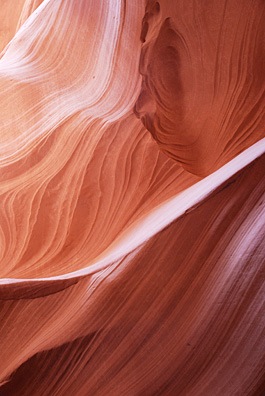 I went to Lower Antelope Canyon with my next door neighbor and fellow pilot, Robert, today. It had been a whole year since
 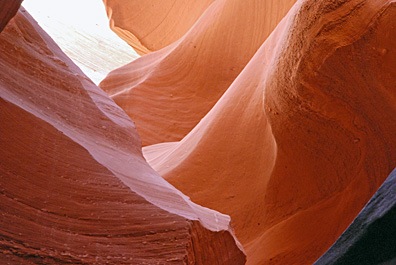 We arrived at about 11:20 AM and the place was unusually crowded. But Lower Antelope Canyon is large and everyone spread out. Most folks only made the walk one way, taking the stairs up and hiking back on the surface. We would have done the same, but we ran out of time. We were in there until 2:30 PM; Robert had to be at work by 4 PM.
 We made our way through the canyon slowly, stopping to take photos along the way. Positioning the tripods was extremely difficult sometimes, as the canyon floor was often only wide enough for a single foot to stand in it. My tripod really hindered me, but I made it work. I think Robert (shown here) had an easier time with his. We were two of dozens of photographers, most of which were very polite and stayed clear of other photographer’s frames. This is the biggest challenge at Upper Antelope Canyon. I find it stressful up there, as I told a trio of photographers from Utah. Lower Antelope Canyon is much more relaxing.
 Near the end of the canyon walk, I was worn out. It wasn’t the hike as much as the struggle to find the right shots and get the tripod into position. I felt as if I’d had enough. So when we reached the last chamber before the canyon got very narrow (and muddy) and I laid eyes on those stairs, I realized it would definitely be better to take the easier route back. I took this shot with my fisheye lens, which was the only way to get the entire staircase in the shot. If you look closely, you can see Robert’s head poking out near the top.
 I took about 95 photos while in the canyon. Some of the better ones — along with some to illustrate the story — are here. There’s a better collection in my Photo Gallery’s new