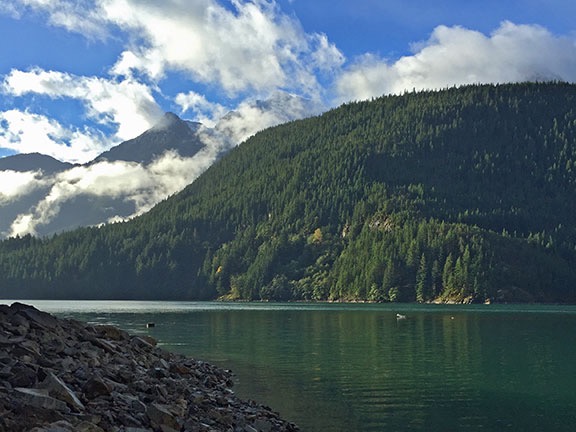
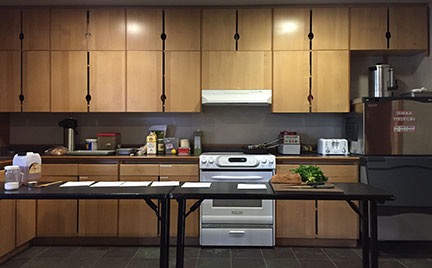
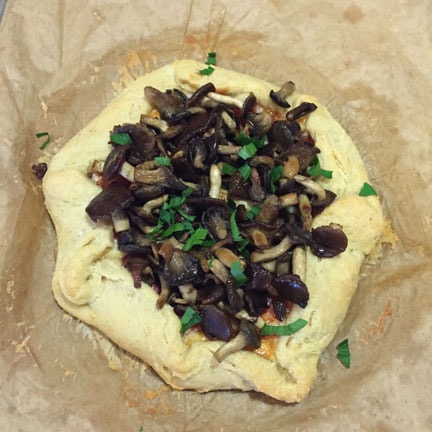
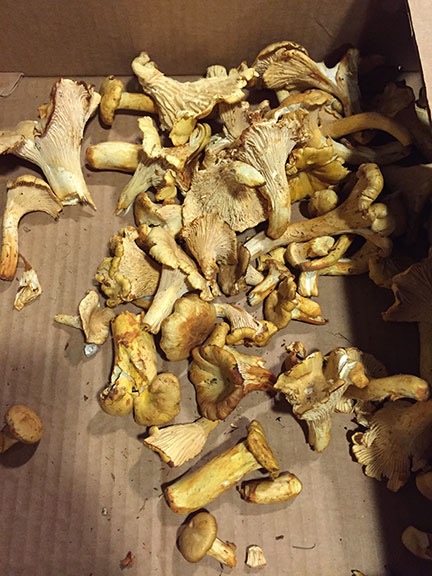
A great drive up, despite the rain, and an introduction to the Learning Center, course, and fellow students.
The weekend-long course started on Friday, October 9. I got an early start, planning to make a leisurely drive on the scenic route and do some hiking along the way.
The Drive Up
Although I’d originally considered making the 170-mile trip to Diablo Lake by motorcycle, reality struck in the form of autumn weather at higher elevations. I was always a fair-weather motorcyclist and don’t like riding when temperatures dip below 50. Add rain in the forecast and it made a lot more sense to take a car.
So I took my Honda S2000. After packing a bag, loading up the car, and dropping off Penny at boarding for a week — I had two back-to-back trips and Penny would miss both of them — I fueled up and got the car washed. Then I headed north on the east side of the Columbia River with the top up so it could dry after the drip through the car wash.
It was a pretty day with filtered sunlight and calm winds. The leaves were just beginning to turn in the Wenatchee area and the reflections of trees on the glassy surface of the river were gorgeous. I looked half-heartedly for a place to stop for a photo, but didn’t find any. In hindsight, I think Lincoln Rock State Park would have been perfect.
I crossed the river at Beebe bridge near Chelan and continued up the west side. The water was no longer glassy; it had become choppy in a light breeze. The clouds were building, too. I made the turn at Pateros to begin my drive up the Methow River Valley. There were more trees turning color here; autumn was in full swing.
I stopped at Twisp for lunch at about 11:30. I almost always stop at Twisp when I’m in the area. This time, I went to the Glover Street Market, sat at the counter, and had the Forbidden Rice Bowl with chicken and tofu. Very tasty. Afterwards, I stopped in at the Cinnamon Twisp Bakery for some baked goods to munch on during the weekend.
And for those of you who are wondering, downtown Twisp is fine after the wildfires. Apparently most of the fire damage is up in the hills outside of town.
I put the top down, covered my head with a scarf in an attempt to keep my long hair under control in the wind, and continued on my way. Route 20 continues north past Winthrop and Mazama — where I usually spend Christmas cross-country skiing these days — and then begins winding into the North Cascades mountains. The weather worsened, the clouds dropped lower. Rain was imminent.
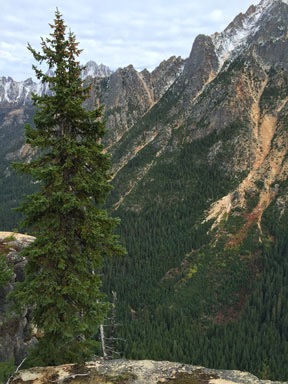
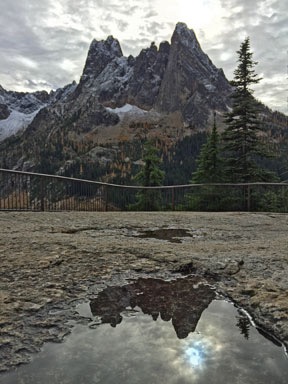
By the time I reached the turn off for the Washington Pass Overlook, it was raining. I pulled in, parked, and put the top up. I debated with myself about hiking up to the overlook and decided not to. I wanted to hike at Rainy Lake and couldn’t see getting wet twice. So I pulled out and continued on my way.
The Rainy Lake trailhead wasn’t far, but it was still raining when I got there. I got the feeling that it would be raining a lot that weekend. (It’s a funny thing about rain: I love it when I’m home — where it seldom rains — but don’t like it when I’m traveling.) If I wasn’t willing to hike in the rain, I suspected I wouldn’t get much hiking in that weekend. So I parked, put on my rain jacket, and headed down the trail.

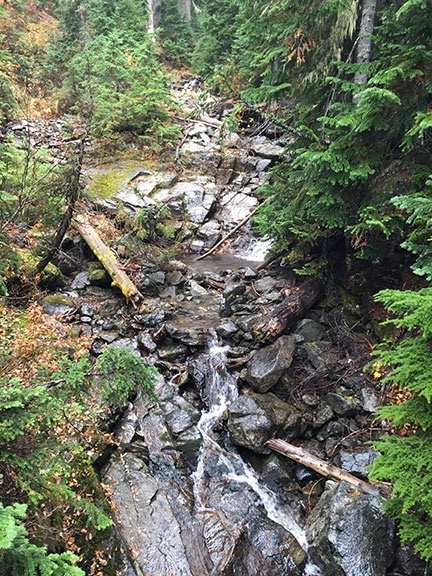
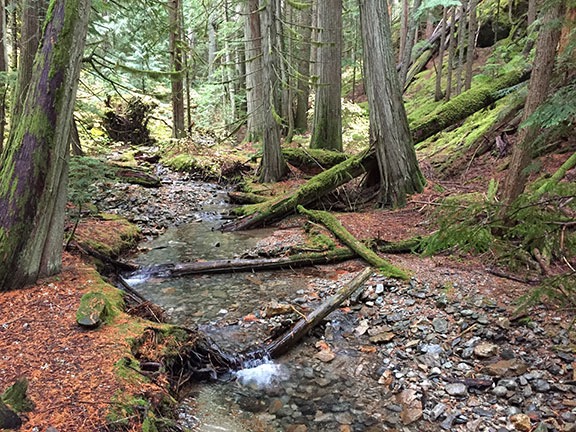
One of the two creeks I crossed on a bridge on the way to Rainy Lake. This creek does not feed the lake.

There was some fall color along the way, but not much.

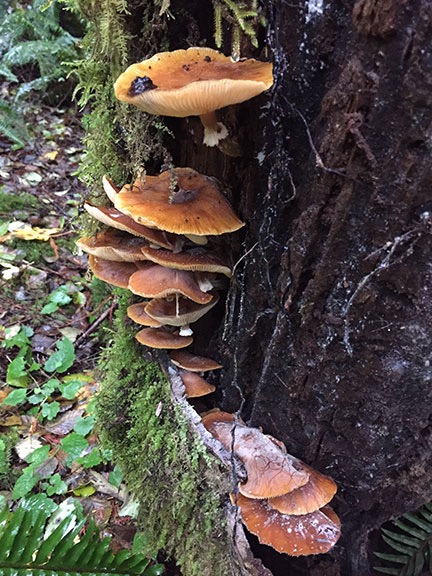
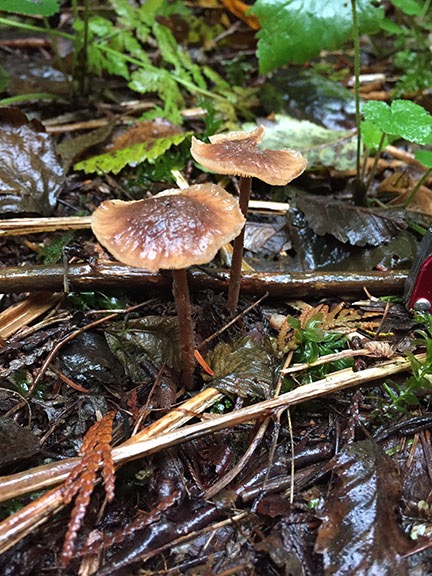
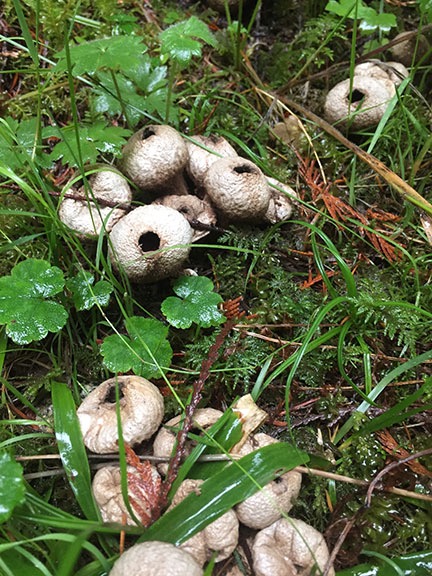
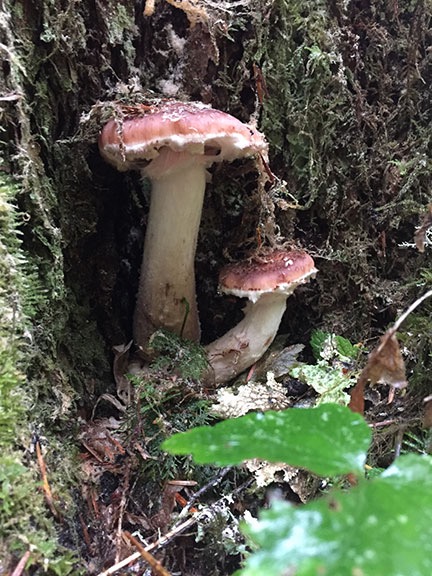
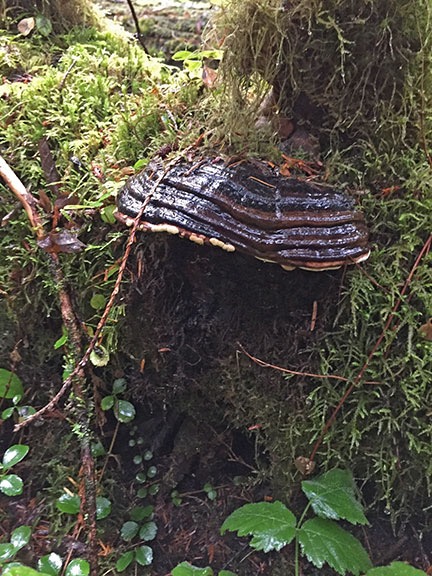
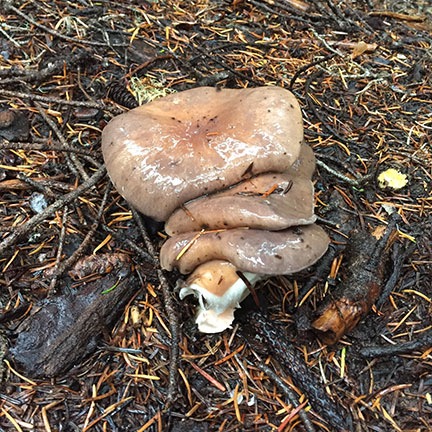
I photographed a lot of mushrooms along the trail. I’ll say what you’re thinking: this looks like a pile of poop.
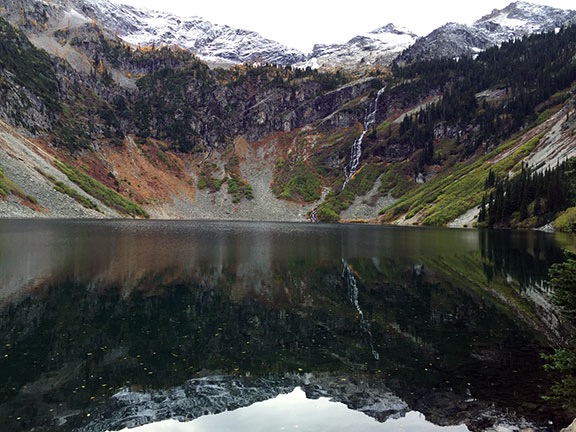
This was my second hike at Rainy Lake. The first was on the way home from my camping trip in August. It’s an extremely easy one-mile trail — paved, for Pete’s sake! — and it winds through the woods, over a few bridges with bubbling creeks beneath them, ending up at an overlook for a small lake fed by glacial runoff that cascades down the cliffs in waterfalls. My goal that rainy afternoon was to get photographs of the fall colors reflecting in the lake’s glassy surface. But I made several stops along the way to photography the many kinds of mushrooms I spotted — after all, I was going to a mushroom class and thought I’d start observing before I arrived — as well as the creeks and fall color.
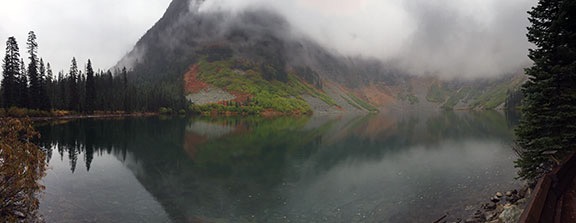
At the lake, low clouds, raindrops, and scant fall color made the scene a bit disappointing. But I took a few shots anyway, including a panorama. I also began creating what I call “video notes” — using my phone’s video feature to record video images, sound, and my voice narrating what I see, hear, and smell. These are not for publication — they’re personal memory aids. I plan to collect them and refer to them when writing about places in the future. I shot one at the lake and along the trail on the way back.

Rainy Lake on a rainy day. The scene was a bit disappointing.
Two women with a big dog joined me a while later. We chatted for a while and I took a photo of them with their camera. Then I headed back down the trail to my car, taking more photos of mushrooms along the way. You can see the photos and a summary of the hike on the Gaia GPS website; I uploaded it the next day when I got a access to the Internet.
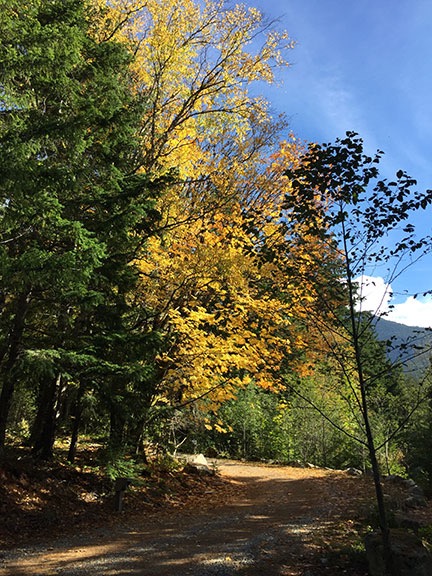
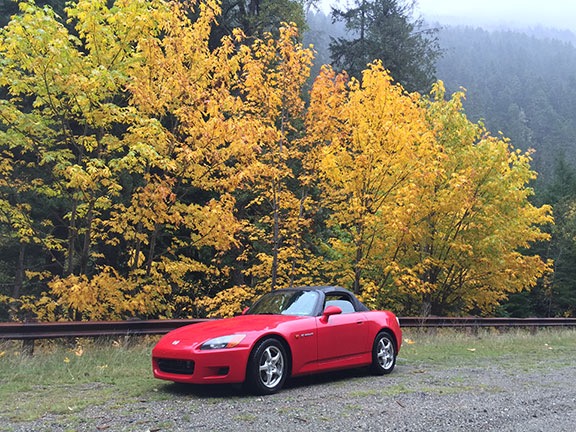
Back at the car, I stripped off my wet rain jacket and got in. I continued west on the North Cascades Highway toward my destination. Little by little, I began to see more autumn color. I don’t think it had much to do with climate — I think it was related to the type of vegetation. I don’t know much about the local trees, but apparently yellow is the predominant autumn color. Back east, we had a lot more red and orange. I did stop at one bunch of trees to get a photo of my little red car in front of them. I really like the contrast here.

My 2003 Honda S2000, which I’ve owned since new. It only has 60,000 miles on it and is my favorite car. It’s a sweet little ride.

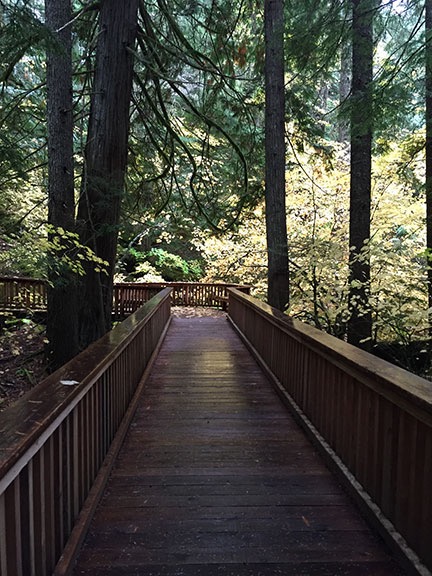
Boardwalk trail at Happy Creek.
It wasn’t long until I got to Ross Lake. There are lots of hiking trails around there, but I wanted one that was quick and easy. It was that kind of day. I wound up at the Happy Creek Forest Walk and Falls Trail, which is another very easy trail. This one had a lot of boardwalk through the forest with more interpretive signs and benches. I like the fact that the park services create trails like this to make nature accessible not only to handicapped folks but to families with small kids.
What interested me the most about this trail was the 1.2 mile hike to the falls beyond the easy part. I started along the trail, not even minding the rain coming down on me, eager to see Happy Creek Falls. But when the trail wound close to the road and paralleled it, it lost its charm. Rainy Lake’s trail is within hearing distance of the road for about 2/3 of its length and I was tired of listening to cars and trucks roll by. On a nicer day, I might have stuck with it, but in the rain I simply wasn’t interested. So I turned back and returned to the car, snapping photos along the way.

Happy Creek.
At that point, I was pretty much tired of hiking in the rain. So I headed to my destination with only a few stops along the way:
Orientation and Introductions
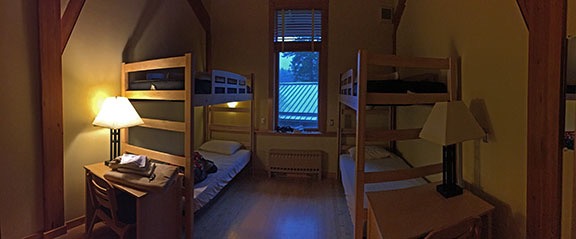
It was about four when I crossed the Diablo Dam and drove up to the Learning Center. I checked in and brought my scant luggage — just two small bags — up to my room. I was in the Fir Lodge, which is where all the Mushroom Course attendees would be staying, in a room that overlooked the whole Learning Center. I’d booked a single room but the rooms are all the same: they accommodate up to four people in two bunk beds. I’d have the room all to myself for the weekend. The lodge was set up like a dorm, with separate mens and ladies bathrooms down the hall. The bedroom doors did not lock — which I admit was kind of weird at first — but there were lockable cupboards in the closets for people who worried about valuables. I didn’t worry.

I had this dorm-style room all to myself.

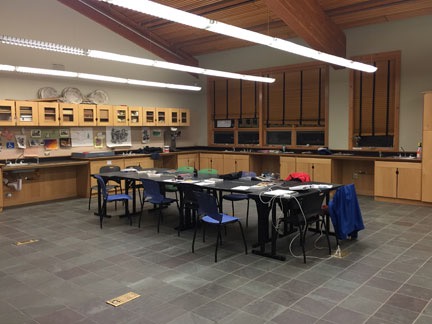
Our classroom at the North Cascades Learning Center.
After taking my car down to the lakeside parking lot — there’s no parking up at the Learning Center — and hiking back, I took it easy for a while, snacking on one of the treats I’d bought at the bakery in Twisp. Then I joined my fellow classmates for an orientation meeting in the classroom we’d be using. It was in a nearby building and featured a long table with chairs on both sides. We were introduced to Lee, who’d lead the course, and several employees of NCI (North Cascades Institute). And we introduced ourselves. There were three women attendees, including me, all from the east side of the cascades, and two men, both from the west side. It soon became apparent that I had the least mushroom knowledge — the others already had experience gathering mushrooms for culinary and/or medicinal use. Lee started us off with an introduction to mushrooms, including a good explanation of what they are: the fruit of a fungus. (Sounds tasty, no?) And it should probably come as no surprise that most mushrooms are not edible — some are downright poisonous and can kill you.
Dinner was in the Dining Hall. The Learning Center prides itself on healthy meals using local sources whenever possible. I honestly can’t remember what we had. (Maybe I was tired.) I do remember it being good and having plenty of it. There was a berry cobbler for desert with fresh whipped cream. (Figures I’d remember that.) The Dining Hall was full; not only was our course being held that weekend, but there was also a watercolor painting course and what’s referred to as “Base Camp” — a sort of free-form educational experience that includes overnight stays and meals.

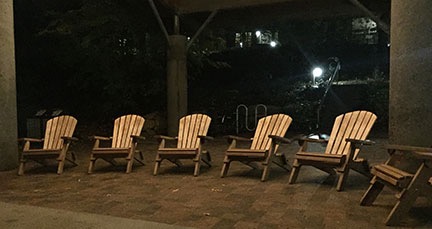
A nice place to relax in the evening, sheltered from the rain. I was too tired.
Then it was back to the classroom for a mushroom slide show. Lee used photos she’d taken over the years to illustrate different mushroom features that are used to identify them: gills, caps, rings, etc. I didn’t realize how many different kinds of mushrooms there are — although I’d begun getting an idea after all the photos I took that afternoon on my rainy hikes. I admit that I was nodding off in the darkened classroom. I think Lee saw that. When she brought the lights up, she let us go for the night. It was 9:30 PM, very dark, and still raining.

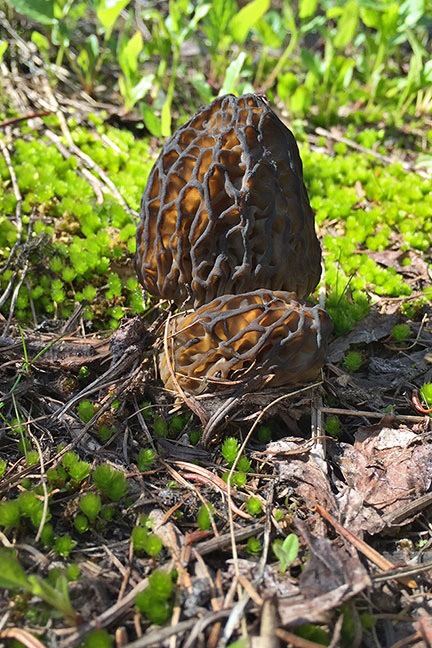
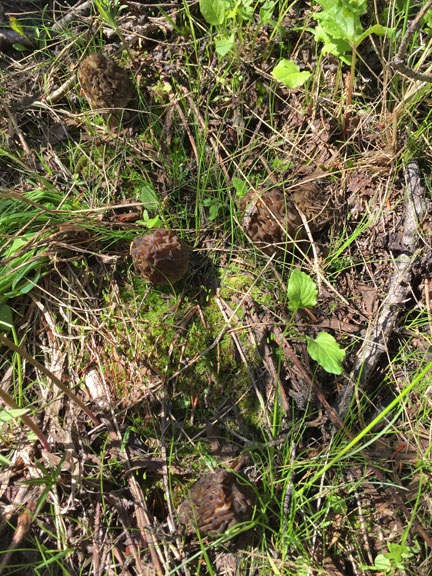
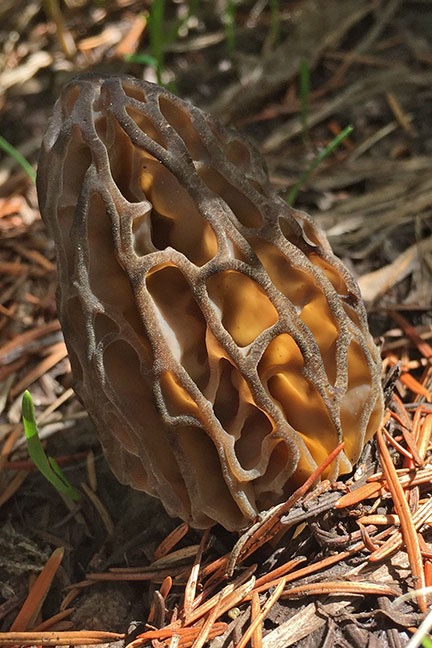
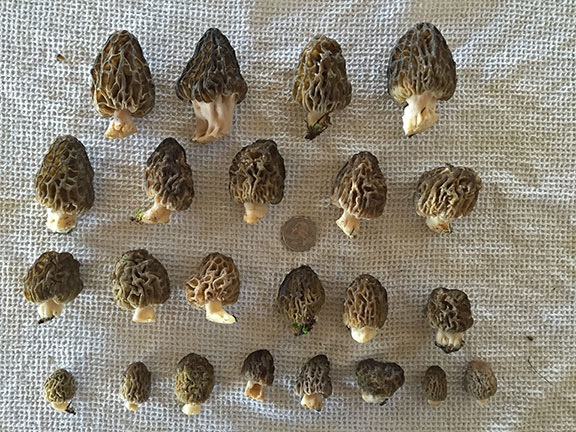
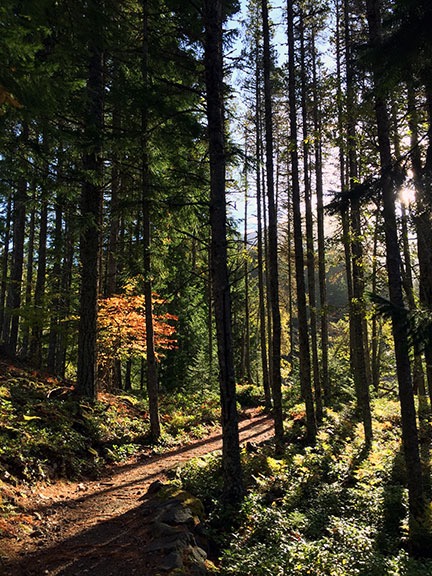 After nearly 40 hours of rain, it was a real pleasure to see the early morning sun shining through the trees, casting long shadows across the wooded trail.