Construction, Day 1: Lumber Delivery, Post Hole Digging

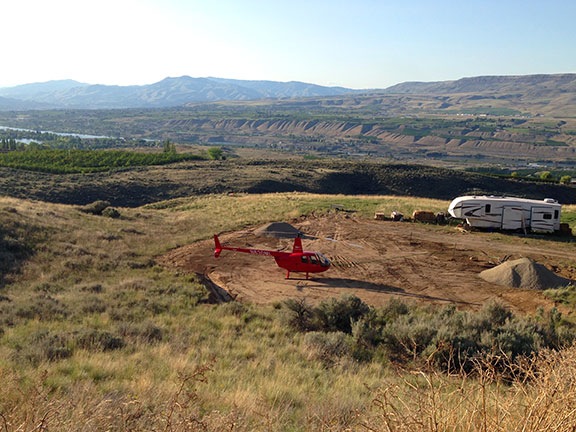
Off to a good start.

On May 20, 2014, I began blogging about the construction of my new home in Malaga, WA. You can read all of these posts — and see the time-lapse movies that go with them — by clicking the new home construction tag.

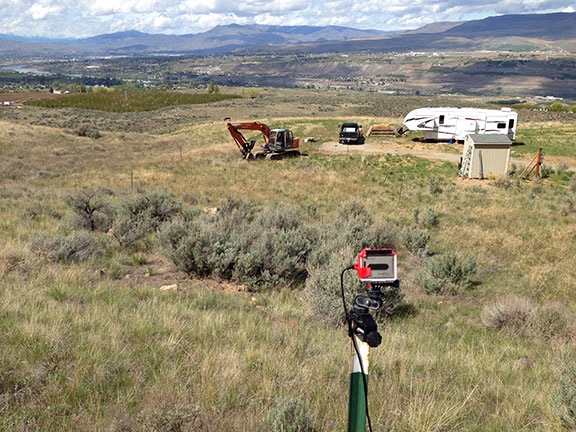
The lumber delivery truck pulled into my driveway at 6:15 AM sharp. I was already up. In fact, I was setting up my time-lapse camera on the roof of my RV.

The truck was neatly stacked with lumber. A forklift clung to the back. It didn’t look like enough lumber for a 48 x 60 foot building, but the driver assured me it was. In fact, he told me it was a lot of lumber.

My Lumber
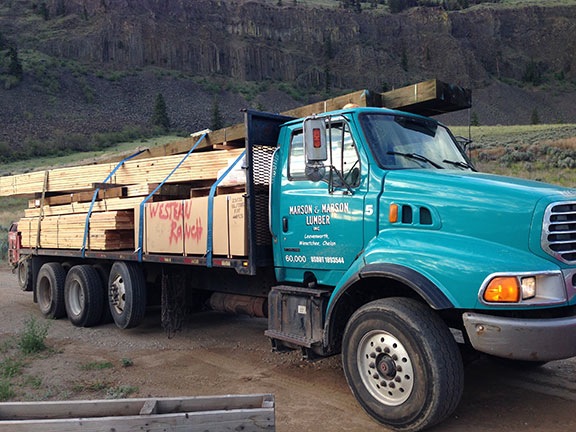
The lumber truck arrived at 6:15 AM. I was awake (of course).

Special Order for Langer
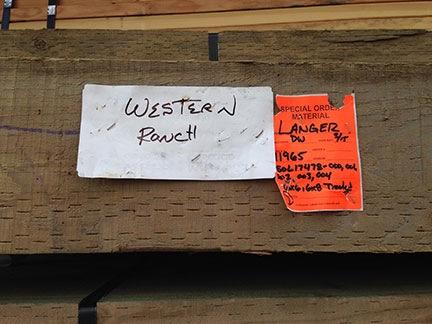
It must be mine. It has my name on it.

He didn’t waste any time offloading it and leaving it spread out on the building site. Then, without taking up my offer of coffee, he backed down the driveway the way he came and was gone.

I looked over the lumber he’d left behind — my lumber. The skeleton of my future home in a sort of kit.

Assembly Required
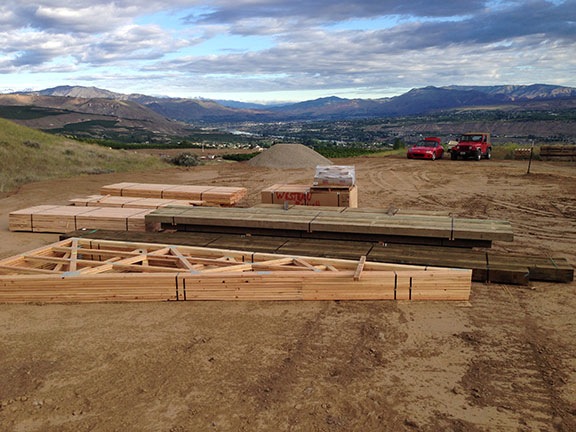
As one of my Twitter friends said about this photo, “Some assembly required.”

The builders showed up less than 20 minutes later. There were 3 hispanic guys who introduced themselves and shook my hand, the owner of the company, and a bobcat with two augers. They spent about an hour moving around the lumber. Then the boss left and the workers got down to work with the auger.

A pole building utilizes post-frame construction. From Wikipedia:

Pole framing or post-frame construction (pole building framing, pole building, pole barn), is a simplified building technique adapted from the labor-intensive traditional timber framing technique. It uses large poles or posts buried in the ground or on a foundation to provide the vertical structural support and girts to provide horizontal support. The method was developed and matured during the 1930s as changes in agricultural practices, including the shift toward engine-powered farm equipment and the demand for cheaper, larger barns and storage areas. Unlike competing building methods, once the poles, girts, and rafters are put in place, much of the construction work on a pole-built structure can be handled by a single individual over the course of a month or season.

My building required 40 holes roughly 3-4 feet in diameter and 4 feet deep. The builder estimated that construction could be completed in 6 to 8 weeks. Of course, that’s just the exterior of the building; I still needed to finish my living space.

Auger
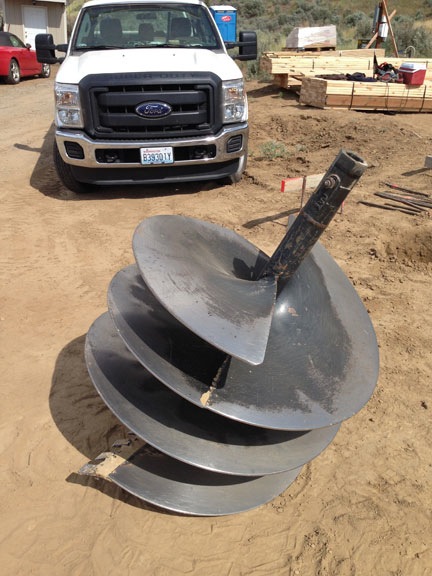
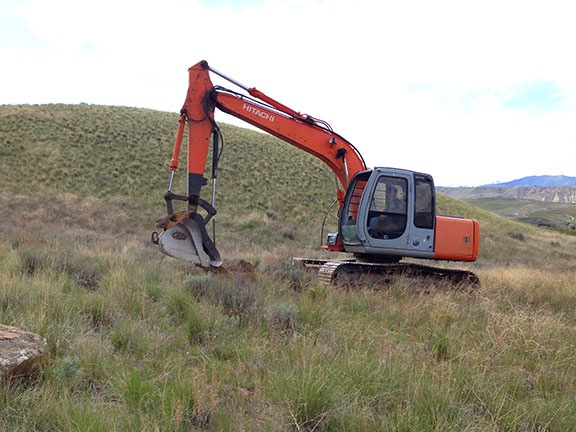
Close-up view of one of the augers they used to dig holes for my building.

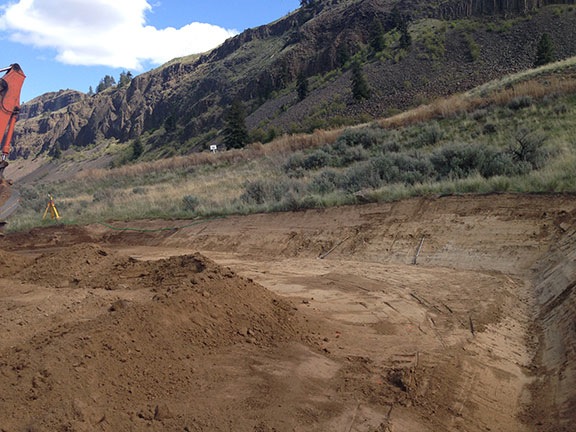
So that first day was all about digging holes. I was worried about rocks on the south side of the site. I’d been warned that although the pricing included some work with rocks, if there was a lot of rocks and they couldn’t do the digging, I’d have to pay extra for earth moving equipment to come back in and dig the holes. Extra could get into the thousands of dollars. Every extra dollar I spent on the building’s frame was a dollar that wouldn’t be available to finish the living space. Needless to say, I wanted those holes to be easy to dig.

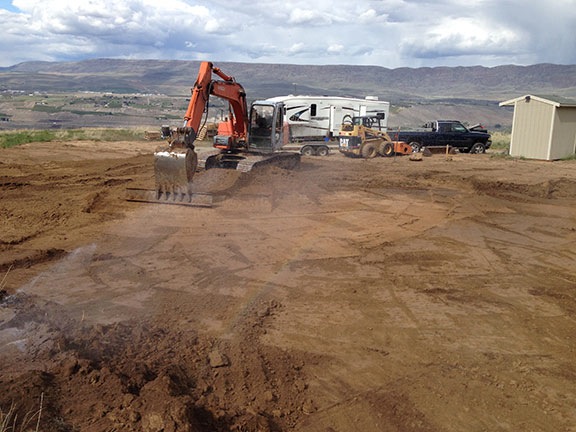
They encountered a rock about three feet down on the first hole. The workers stopped and got tools out of their truck. I came over to watch. Angel, who seemed to be in charge of the workers, told me it didn’t seem to be a big rock. They banged away on it with a digging stick and then dug it out with shovels. And then they got the auger back in place and dug.

They had the same problem with the other south corner. Angel said it wasn’t bad, though.

Digging Holes
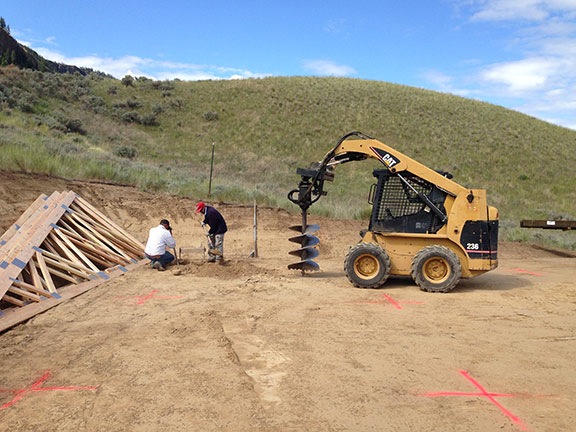
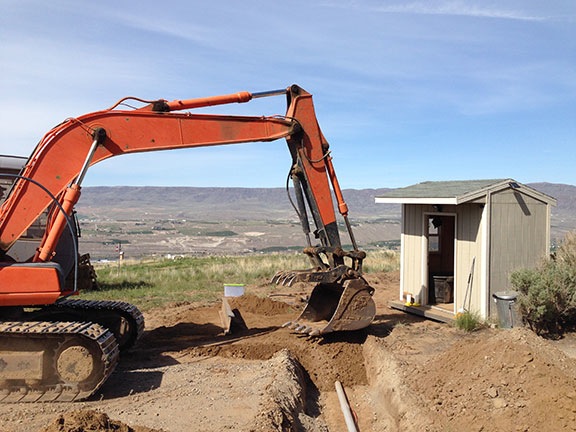
The workers deal with a rock on the second hole.

And when they moved north, they didn’t hit any rocks. At all.

In fact, of the 40 holes they dug, they only hit rocks on four of them — the four south side holes.

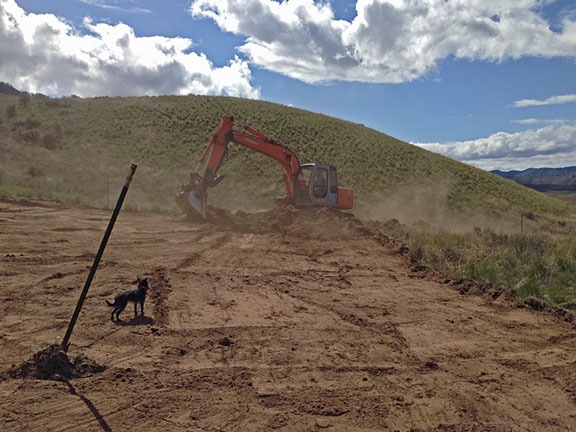
The digging went amazingly fast. I’d estimate about 10 minutes per hole. The auger went in and filled its grooves with earth. Angel moved aside and then rotate the auger in the opposite direction to dump the earth in a pile. He made two of these piles and later used the bobcat to move the earth into my future driveway apron. They took a break for lunch at 11:30 AM. By about 2 PM, they were done with the holes.

Sometime around the middle of the day I emailed Tanya, the woman I’d been working with at the builder, to let her know how it was going. I think she was just as happy as I was that the work was going smoothly.

I had to leave at 3 PM, so I didn’t get a chance to see them finish up. I did watch on the time-lapse, though. After finishing the holes and moving that dirt, they spent the rest of the day moving the posts around. By 4:15 PM, they were gone.

The project is definitely off to a good start. Even today, as I type this, I can’t believe how much they’ve gotten done in less than 90 minutes. A crane is pulling down my driveway right now. You can read about that tomorrow.

In the meantime, here’s yesterday’s time-lapse.

Construction: The Earth Work

Moving earth to make room for my new home.

On May 20, 2014, I began blogging about the construction of my new home in Malaga, WA. You can read all of these posts — and see the time-lapse movies that go with them — by clicking the new home construction tag.

Yesterday, they finally began construction on what will be my new home.

I blogged about the home here. It’s not a typical home by any means — I’m not the kind of person who really wants to live in a typical house. As an old ex-friend of mine would say, it’s a garage with a house attached. It’s a pole building, which is a type of construction popular here in farm country. Instead of framing from a foundation up, a pole building basically hangs the structure on a series of vertical beams or “poles” and puts a metal (usually) skin over it. They’re cost effective to build, especially for storage, and that’s primarily what this will be, with roughly 1200 square feet on the second floor for me to settle into.

I’d been working with the builder on plans for over a year. The plans themselves didn’t change much at all over that time. But I had a few delays, mostly related to the failure of my wasband to do the right thing. (Seriously: What the hell is wrong with that man?) This spring with money coming in from cherry drying contracts and the promise of a loan from a family member (if needed), I’m ready to move forward. It’s amazing what a person can save up for when she knows how to live within her means.

The earthwork for the project was mostly completed in late April, started almost right after I got home from my California contract. I see from looking at my blog archives that I didn’t blog about it — likely because I was busy with a writing project. I may as well do that now. I know I posted a lot of photos on Facebook. Here are a few of them for the folks wise enough to stay off that time-sucking social network.

First Shovel
Jeff of Parkway Excavation scooped up the first shovelful of earth on April 24, 2014. I highly recommend Jeff. He knows his stuff, is honest, and is a really great guy to work with.

Time-Lapse Setup
I set up one of my old GoPros as a time-lapse camera far above the action. (Video below.)

Penny Supervises
Penny was not afraid of the heavy equipment. She’s fearless! Of course, with all that dust, she got unbelievably dirty every day.

It took Jeff a few days to get the job done. It required him to clear out and level an area roughly 80 x 70 in size. The whole time he worked, I was sort of holding my breath, worried about him hitting rocks. I live on a sort of “shelf” at the base of some basalt cliffs. Over the past 11,000 years (since the Missoula Floods), pieces of those cliffs have tumbled down and embedded themselves in the earth. My neighbors across the road are much closer to all that broken rock and have lots of rock in their earth. But I was pleasantly surprised that I didn’t hit any at all when I dug the trench for my temporary power post in August 2013. Still, on the south side of the building site, Jeff had to dig down more than 5 feet. Would he hit rock? If he did, that would crank up the cost of his work and the cost of getting the poles for my building planted.

But I lucked out. He hit a few rocks on the south side, but nothing worth worrying about. I think even he was surprised at how nice my dirt was.

Dust Control
Dust was a real issue. I had a sprinkler going almost the entire time Jeff was working.

Digging In
To make a large, level pad, Jeff had to dig into the side of the hill. I also had him dig out a drainage ditch for water off the hillside and roof.

While I had Jeff there, I also had him move my shed, which I’d put in a dumb place. (I usually plan better, but I had lots of distractions when I took delivery of it in November. And I had him clear an area for my garden and chicken yard. And dig a trench across the driveway so I could run my RV power and water in a conduit underground, thus heading off any fears of damage to wires/hoses from construction vehicles. I worked my ass off that day and slept like the dead that night.

Dragging the Shed
Jeff used his backhoe and a chain to drag the shed into its new position on the other side of the driveway beside the garden. I’d planned to sell the shed when my building was done, but now I think I’ll keep it for garden tools.

Trenching
Jeff dug the trench and I laid in conduit with a water line and 30 amp power line. Then Jeff covered it all back up.

Gravel Delivery
Jeff delivers the second load of gravel.

The job required a lot of earth moving — actually taking dirt from the south side of the site to the north end. I’d need a driveway to access the four-car garage on the south side and the earth sloped away a bit there. Jeff fixed that right up. He then came through with a compacter and made a rock-hard surface in the ground.

Jeff finished off the job with three loads of gravel requested by the builder. He dumped them in two places on the cleared out pad. The builder had come by to check out his work earlier in the week and I think he was pleased with what he saw. I know I was.

When he was all finished, I had a huge, flat, level pad. A friend came by the next day and parked his motorhome on it for an overnight stay. The day after that, I landed my helicopter on it. Nice!

Makeshift Helipad
It fits!

Here’s the promised time-lapse:

Although the builders were supposed to start on April 30, there was a delay in the permits. They needed some sort of drainage plan. What that meant was I needed to pay someone $600 to satisfy the county. This is no real surprise. The delay didn’t really bother me. I had to go to California for a week anyway and wanted to be home when they started work. They got the permit while I was gone and showed up on time yesterday morning.

More on that in another blog post.