The workers shifted one roof and built another.
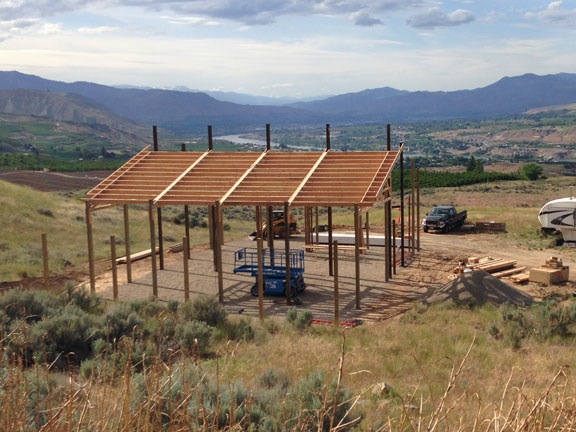
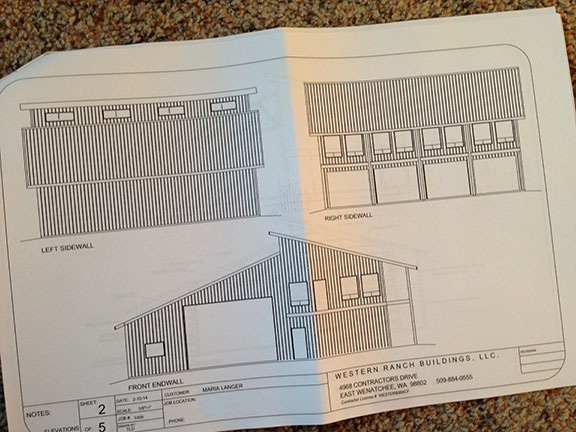
My building has two roofs covering four distinct areas. The 24 x 48 RV garage and 12 x 48 shop share one roof while the 4-car garage and 1200 square foot living space above it share another.
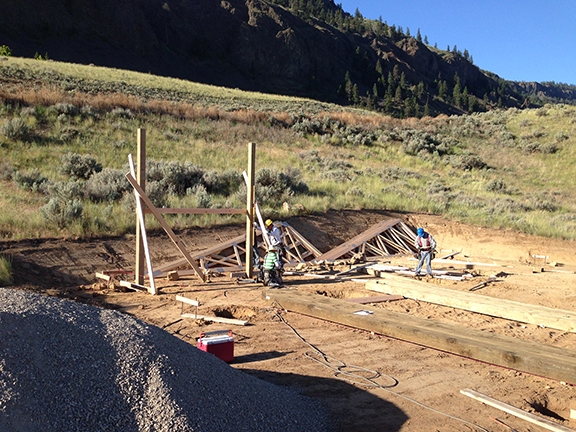
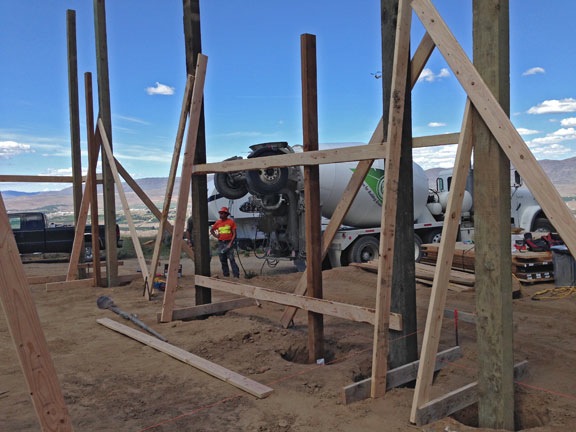
Last week, the builders raised the roof over the RV garage section of the building. Next up was the extension of that roof over the shop area.
But first they had to shift the roof trusses 1 inch down. That was determined by the boss, who stopped by on Sunday to check.
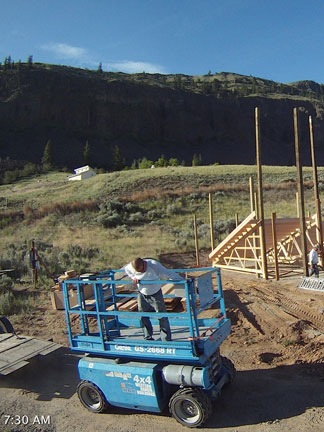
Meanwhile, when I told the workers about how I’d wanted to use the Bobcat to move some gravel, they fixed me right up. They put the bucket on and left the engine running for me. After Angel told me how to release the parking break (duh-oh!), I proceeded to make two trips to the gravel pile, driving through the building to get there and back. I dumped the gravel near the helicopter’s temporary landing zone and used the bucket, to the best of my ability, to spread the gravel. Then I shut down, got out, and did it right with a rake.
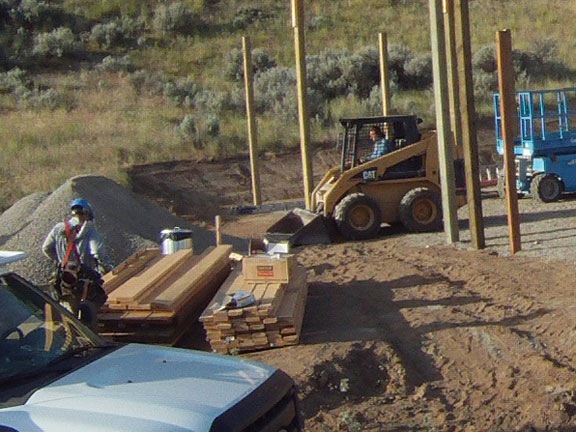
Yep, that’s me driving the bobcat to fetch gravel.
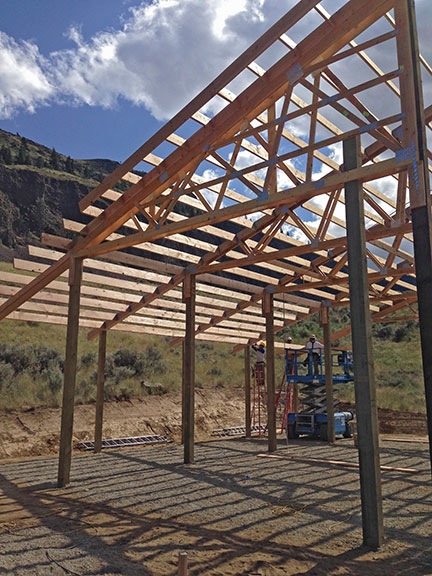
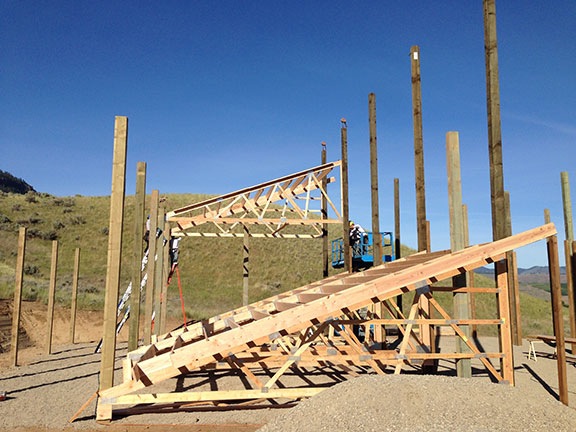
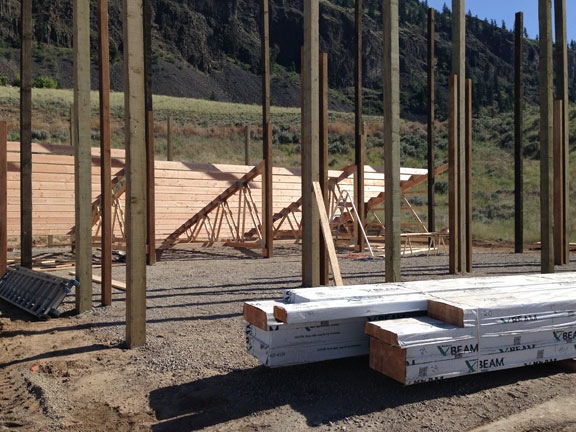
The workers are almost finished extending the roof out over the shop area in this image.
Once the guys finished shifting the roof — which you can actually see in the time-lapse video below if you look very carefully — they went to work extending that roof out over the shop area.
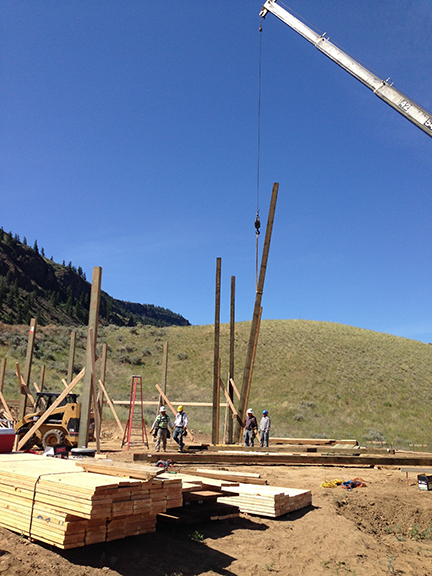
The work went remarkably quick. They’re using hangers to hang all the beams — we have boxes and boxes of them all over the place here — and they have a hammer guns that make the work a lot easier (and quieter) than constantly banging with a hammer. These guys have obviously done this many times before.
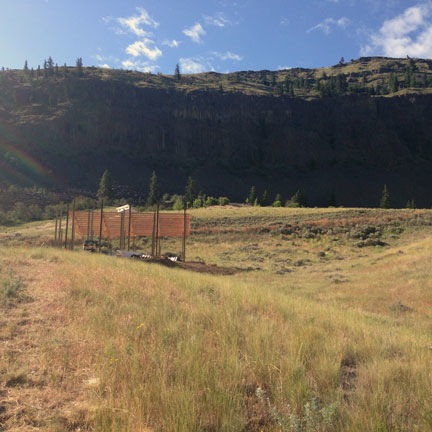
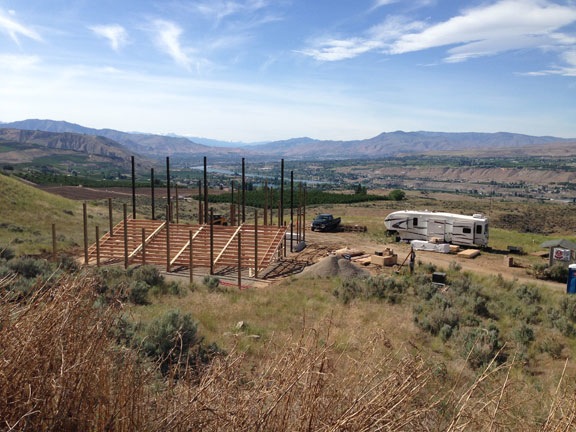
From Lookout Point halfway to the northern boundary of my 10 acres, my building doesn’t look quite so big.
While they worked, I went down to “lookout point” to paint my bench. It had come hidden away in my shed, painted with school colors — apparently orange and dark green; who thinks of these things? — and I wanted it a more sedate color that would blend in with my surroundings. That meant the same sage green I’ve been using for my beehives, which is very similar to the color of the chicken coop. (I sure hope I don’t get tired of that color.) At one point, I turned back to look at my building. It didn’t look so big from halfway to my property line.
The workers finished up on time — they always do; I’m beginning to think they pace themselves just right — and left for the day. Here’s the time-lapse, I’ve begun trimming them down to only include work done: