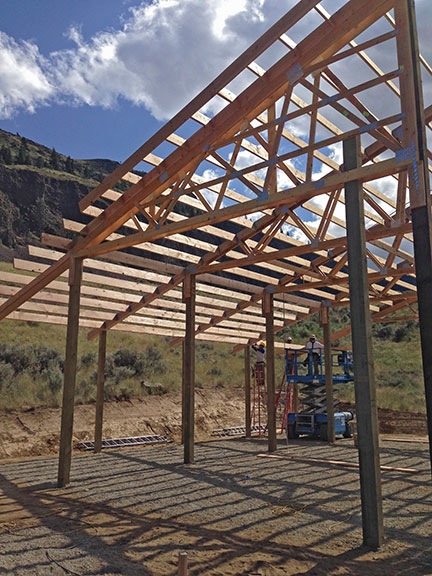
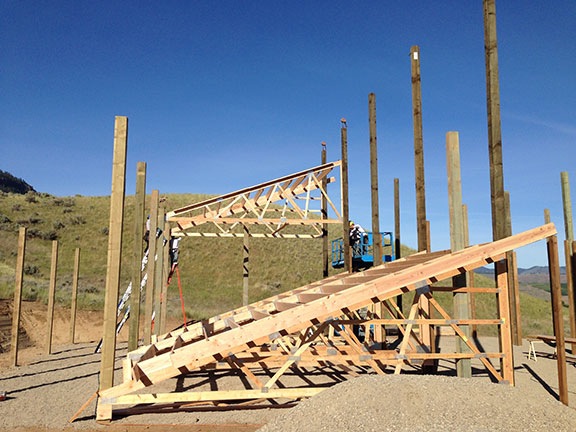
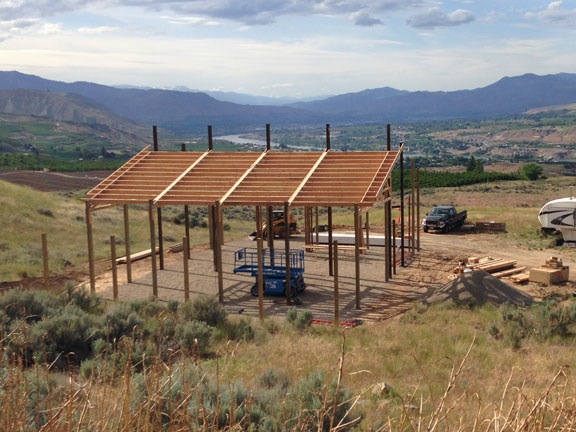
The roof is off by 1 inch.
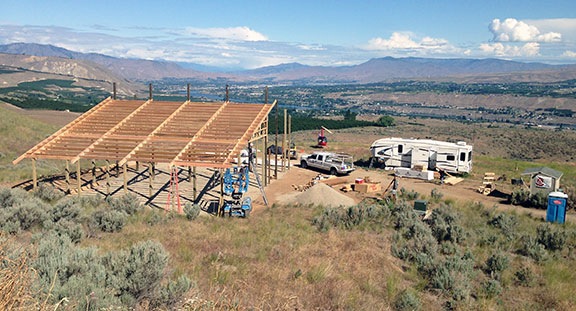
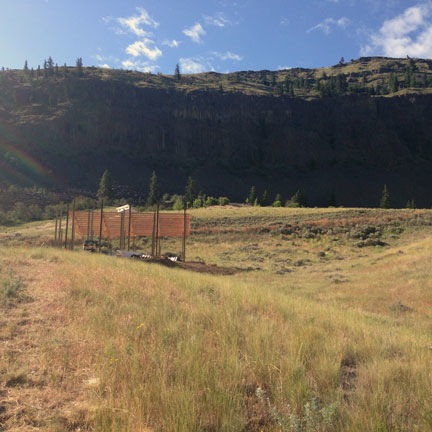
On May 20, 2014, I began blogging about the construction of my new home in Malaga, WA. You can read all of these posts — and see the time-lapse movies that go with them — by clicking the
new home construction tag.
I was very surprised on Sunday — Memorial Day Weekend, mind you — when Corey, the owner of the company building my new home, showed up in his truck with a new worker and the worker’s daughter. Corey told me that he thought there might be a 1-inch error and that he was there to make measurements and set up the work for the guys when they arrived on Tuesday. He was unable to come Tuesday because he had to be in Chelan to take delivery of some steel.
The word “error” put me on alert, but he didn’t seem too concerned. I let him do his measurements while the other guy helped him. I’d just finished work on my chicken coop and was doing odd jobs around the yard. The worker’s daughter, whose name I’ve forgotten, spent her time looking at the chickens and climbing some of the equipment.
I decided to replace the GFCI outlet on my temporary power pole. I’d never done anything like that before and although I was confident I could do it without any problems, there was something comforting about having people around in case I electrocuted myself.
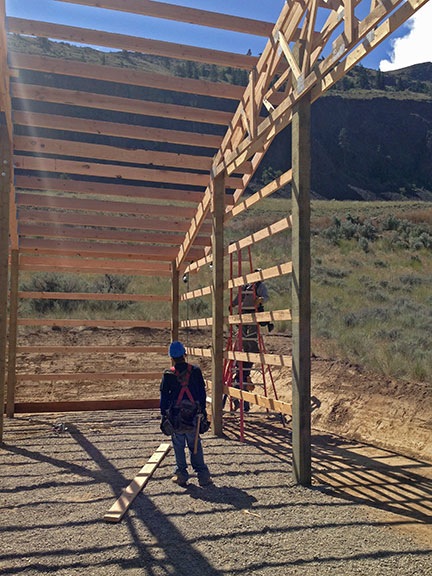
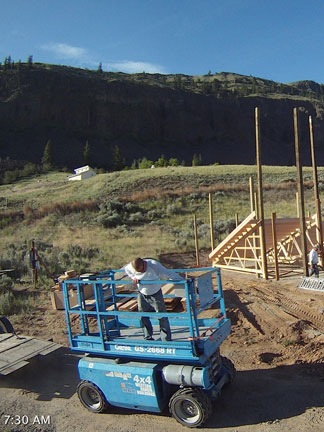
The guys did their work, with Corey climbing the ladder multiple times while his other guy mostly watched and listened to what Corey told him. I got the feeling the worker was new and being trained. I really didn’t pay attention. After a week of construction guys on the property, I can pretty much tune anything out. Then he told me that there were two ways to fix the problem, which was minor. One way made a lot of extra work. The other way was to simply shift the trusses by one inch — which is what he was going to tell the crew to do on Tuesday.
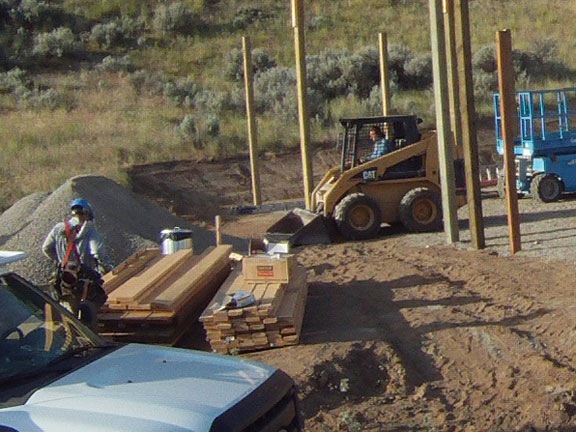
Afterwards, he and his worker started looking through the piles of wood beams that had been stacked near the building. They found what they were looking for in the middle of the stack. And then they used the bobcat to rearrange the stack of beams.
This is exactly what I didn’t want to see. You see, they’d left the keys in the bobcat — which was really a Caterpillar Skid Steer Loader (with wheels instead of treads) — and I’d been eyeing it with the idea of using it to move some of the gravel around for dust control. I knew I’d be bringing my helicopter in soon and the ground beyond the grassy landing zone I’d prepped was about a foot thick with fine dust. When I landed, I’d create a dust cloud visible from space. I wanted to spread some of that gravel over the dust and I didn’t want to use a hand shovel to move it. The previous evening, I’d even climbed aboard and gotten it started. But when I realized I didn’t know how to drive it — it doesn’t drive the same as a Bobcat, which I had a tiny bit of experience with — I shut it down and turned to Google for help. I’d found a how-to article online that explained how it worked and planned to tackle the job later that day.
Trouble is, when they used it to move the beams around, they removed the bucket and attached the forklift. Then they moved some of the beams so they blocked the path back to the bucket. Even if I could figure out how to swap the two, I couldn’t drive to the bucket. (There was no way I’d try to use the forklift to move the beams.)
So there was no earth moving for me that weekend.
After laying out the beams for the other workers, they all climbed back into the truck and drove off. They’d been at the site less than three hours.
And yes, the time-lapse was running. Because they moved stuff around, I figured I’d make a movie. Nothing too exciting and it’s really short. You can see me working at the power pole, too.