Hunting for mushrooms on a very rainy day.
– Introduction
– Day 1: Getting Started
– Day 2: The Mushroom Hunt
– Day 3: Cooking and Heading Home
I was in the Dining Hall for coffee by 6:30 AM. Later, when breakfast was served at the buffet line, I was joined by a few classmates. Because we’d be going out into the field later that day, we made sandwiches and packed them up in bags to go.
Then it was back to the classroom for a discussion of what we’d be doing out in the field. The idea was to collect as many varieties of mushrooms as we could. Later, when we returned to the classroom, we’d try to identify them using a key Lee had for us.
Or course, it was still raining. The Learning Center staff brought out a bin of orange rain coats and rain pants. I took a pair of rain pants. I’d already snagged two plastic bread bags from the sandwich bar to put over my socks and under my hiking shoes. I was determined to keep my body warm and dry.
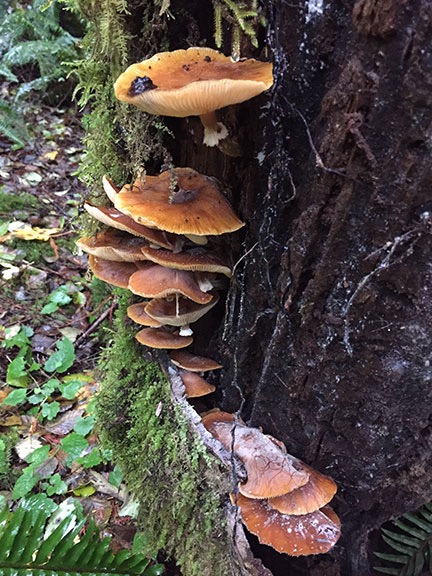
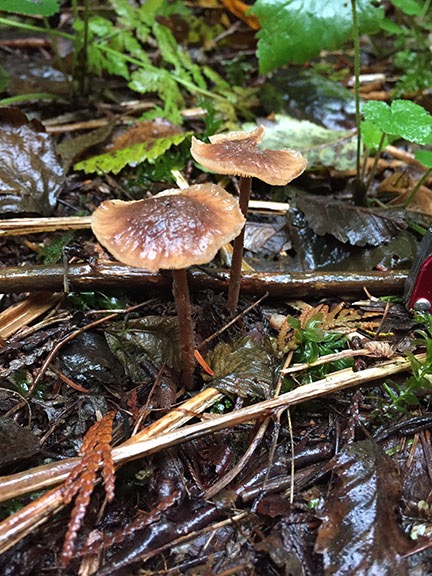
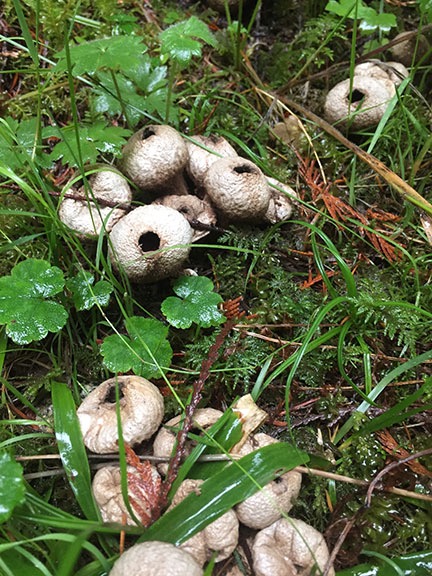
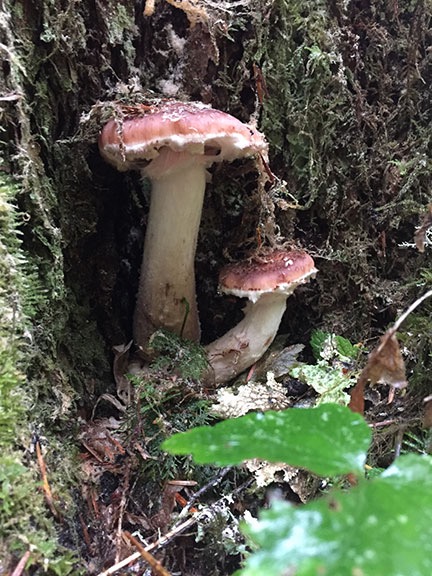
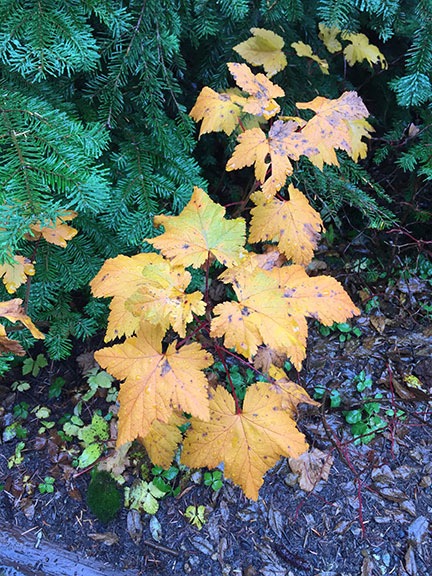
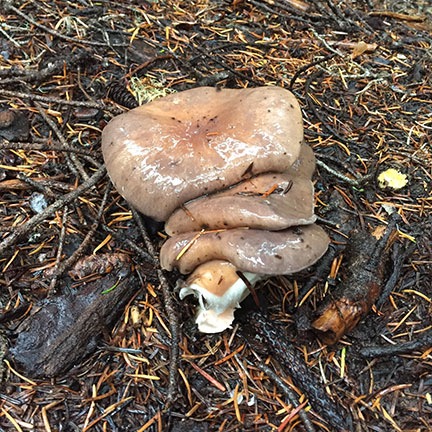
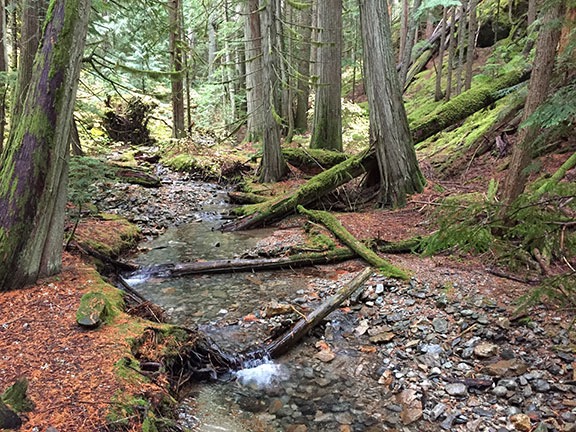
Here are some of the mushrooms I picked, in their natural habitat.
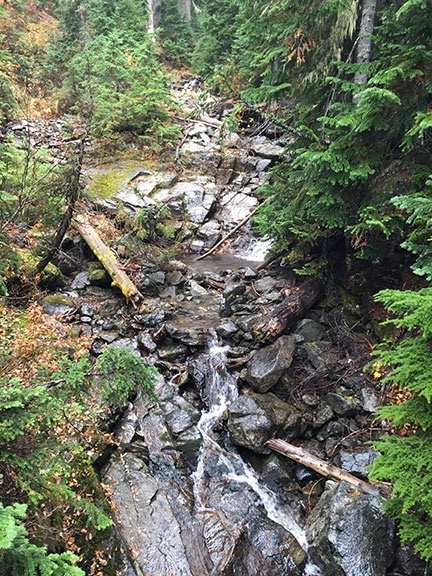
We headed down to the parking lot and loaded into a big van. Our mushroom hunt would be outside the town of Marblemount, a 45-minute drive. One of the NCI staff members — Derek, I think? — drove. We parked outside the gates for a seasonally closed campground, got out with our buckets, and, after another briefing by Lee, headed down the closed road. We would meet again at the van at 12:30.
I don’t think I’ve ever purposely walked in such a hard rain. It poured. I was warm and snug inside my raincoat and the bright orange rain pants and was really proud of my foresight to put those plastic bags over my socks. I probably would have frozen to death without them. I walked down the road, wandering into the thick, green undergrowth on either side, photographing and picking all kinds of mushrooms. Occasionally, I’d meet up with one of my classmates and spend a few minutes exploring with him or her. It was fun — believe it or not — despite the rain. The hour flew by quickly. When I checked my watch, I was very surprised to see that it was already 12:30. While my companion at the moment continued down the road, I headed back.
Some of my classmates were already there. The others straggled in. Soon we were almost all there. Almost. The one person who was missing was Derek — the guy with the keys for the locked van.
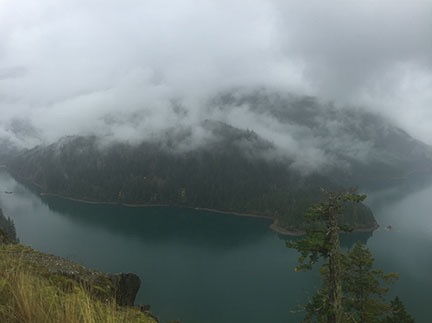
Long story short: time ticked by and Derek did not appear. We managed to flag down a car, which used its horn to try to signal Derek to return. No joy. Lee finally climbed on board for a ride back to Marblemount where there was either phone service or a phone. The rest of us stood out in the rain, speculating on what could have happened to Derek and how a search and rescue might work. The woods were too dense for us to look for him anywhere off the road and the remaining NCI staffer with us didn’t want us out of his sight. But at 2 PM, we saw an orange slicker and rain pants heading up the road, carrying a basket of mushrooms. It was Derek and he’d simply gotten lost. He’d been gone a full 2-1/2 hours.
We were so happy to see him that we didn’t give him the grief he probably deserved. (We did tease him for the rest of the weekend.) He let us into the van and we made a mad dash for our packed lunches. We ate on the way back to Marblemount, where we found Lee and canceled our rescue request with the folks at the Learning Center.
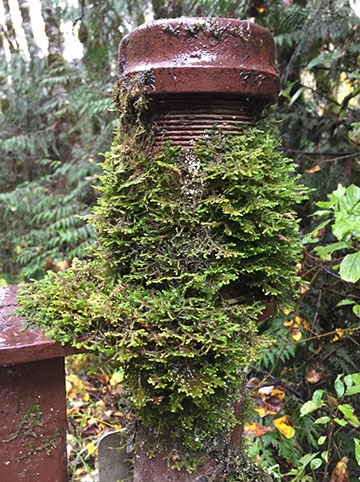
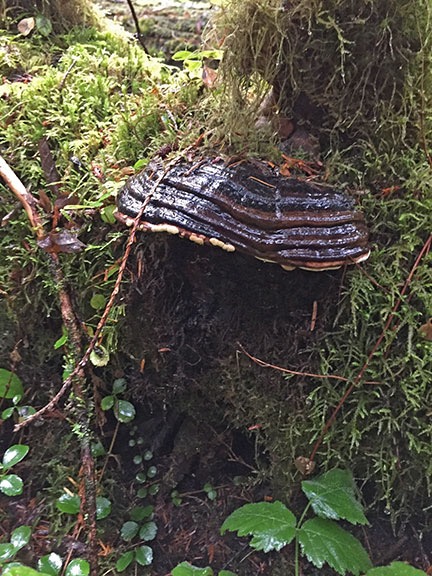
You know a place gets a lot of rain when moss can grow like this on a metal post four feet off the ground.
Meanwhile, I was quite wet, even under my raincoat. The wetness had found its way under my arms and seeped in at the seams for my sleeves. As a result, the underside of my shirt’s arms were soaked. (How weird is that?)
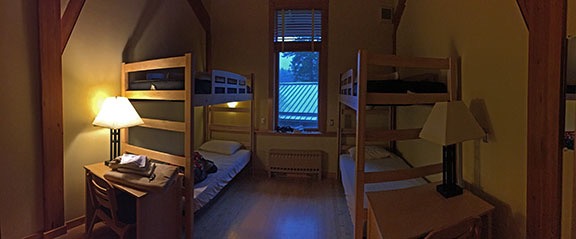
Back at the Learning Center, we went back to the dorms for hot showers and a change of clothes. It felt good to be in warm, dry clothes again. Unfortunately, I’d only brought one pair of shoes and they were absolutely soaked through. So I wore my slippers when we gathered in the classroom a while later, being careful to avoid puddles to keep them dry.
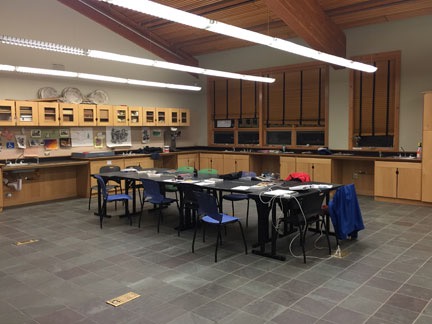
In the classroom, we laid out our finds on big sheets of white paper. I thought I had a good variety until I saw what my classmates had brought back. One of them had even managed to find a few pounds of chanterelles — a highly prized edible mushroom.

Here are the mushrooms I found.
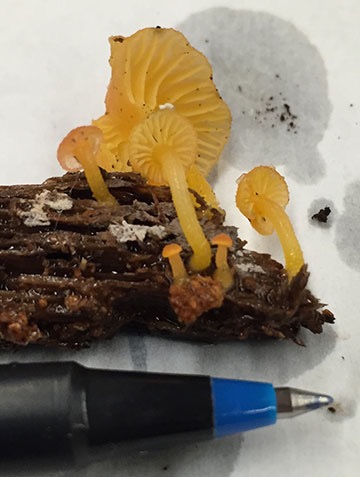
I might have won the prize for tiniest mushroom brought back. I’ve included my pen point for scale.
We walked around looking at each other’s finds. Then we worked with a key Lee had to try to identify the mushroom groups. A key is basically a decision tree in table format. You find the first identifying feature — in this case, spore color, which Lee provided — and then check other features down the appropriate column(s) to find a match for gills, stems, attachments, habitat, and textures. I wasn’t particularly thrilled with the key, mostly because you need to do a spore print to get spore color to use it, but I’m no expert (and likely never will be) and I assume it was pretty typical.
After running through a few identification exercises, the group broke up and went back to the dorm for wine. I stayed behind, mostly because I didn’t think my slippers would survive with the extra walk to the dorms and back. Instead, I went down to the Dining Hall and got comfortable with a cup of hot tea and my journal. Someone had started a jigsaw puzzle and left it abandoned on a table and I worked on that for a while.
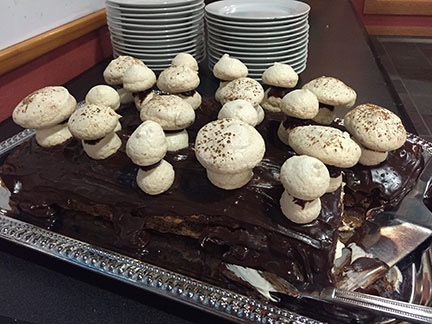
No mushrooms were harmed in the preparation of this dessert.
When the group came back, it was dinner time. Although I don’t remember the main course, I’ll never forget the dessert: a chocolate and meringue treat designed to look like a log covered with mushrooms. It was very tasty!
Afterwards, it was back to the classroom for more identification practice. We were at it until after 9 PM again. Then back to my room where I slept like a log.