Sometimes it’s nice to treat yourself to an afternoon out.
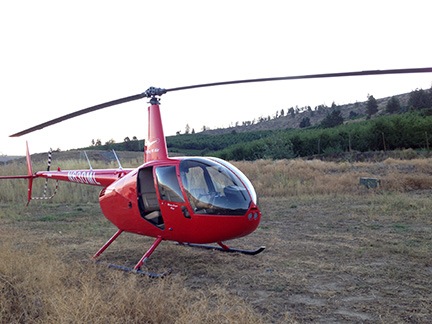
I went for a joy ride in my helicopter this afternoon.
I hadn’t been flying since last Wednesday when I finished my Part 135 check ride with an FAA inspector from South Dakota. The helicopter was sitting out on the ramp, blades tied down, gathering dust and then standing up to high winds for a week.
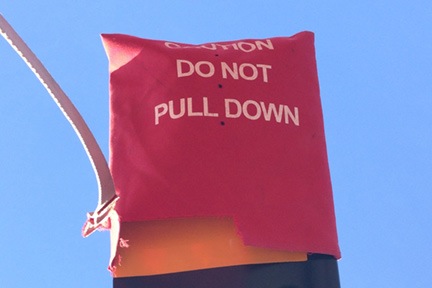
Like the helicopter, the tie-downs are now 8 years old. A strong wind earlier this week tore this one.
One of the blade tie-downs had torn and, although it was still holding, I thought I should repair it. So I untied the blades, brought the tie-downs inside, and did some mending. I looked out the back window while I was on the phone with a client, talking about work this coming summer season back home in Washington. My helicopter sat there patiently in the afternoon’s gentle breeze, less than 200 feet away, waiting for me to tie down its blades again.
Or fly it.
So I flew it.
It was very warm this afternoon — in the high 70s here in the Sacramento area. Too warm for the black T-shirt and jeans I was wearing. So I slipped into a tank top and shorts before going out with Penny and my iPad and my GoPro camera.
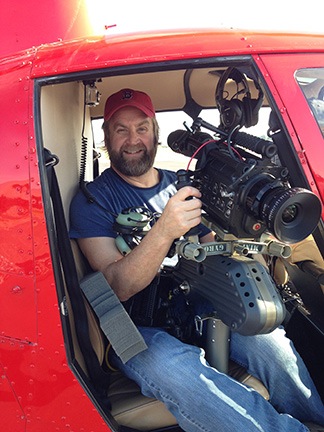
Penny waited on her bed in the front passenger seat while I preflighted and added a half quart of oil. Then I snapped the camera into it’s “BellyCam” position, turned on its wifi, and climbed on board beside Penny. A short while later, the engine was running, the camera was recording video, and I was listening to classic rock through my Bose headset. I made a radio call to the empty sky around me, eased up the collective, and lifted gently off the ground. Then I was speeding across the runway only 10 feet off the ground, gathering momentum and climbing out into the California afternoon.
As usual when I’m joy-flying, I didn’t have a specific destination. I had some vague idea of flying down to Nut Tree airport (VCB) in Vacaville, which I’ve been told has a restaurant within walking distance. Thought I’d check it out as a possible destination for when my friend George gets back from Alaska and we take turns flying his gyro and my helicopter. But that destination was too close. I wanted to get out for at least 45 minutes. Maybe I’d stop there on my way back.
I wandered south along highway 505 and turned right at Winters. I was following the road that runs to Lake Solano County Park, where I’d gone paddling the previous Thursday, and beyond that to Lake Berryessa. I was flying into the sun, though, and I knew the video wouldn’t be much good. Would it capture any decent footage of that nice canyon going up to the Lake?
Apparently, it did.
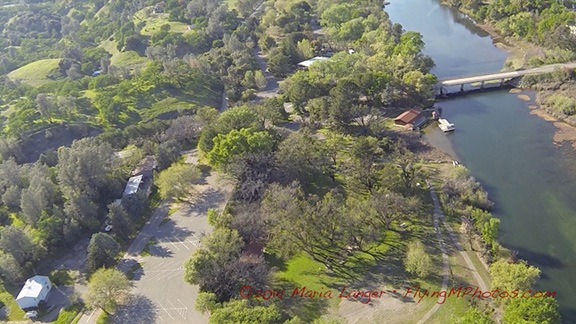
Here’s an aerial view of the Lake Solano County Park. You can see the dock where I put in my kayak last week. I paddled upstream (up in this photo) from there.
I followed the canyon up to the lake, keeping a sharp eye out for wires. There were power poles on the right side of the canyon, but none seemed to cross the canyon. I flew over the dam and headed up lake. The water level was low — California is suffering from a serious drought — but the hillsides were fresh and green from the rain we’d had two weeks ago. Without more rain, the grass would turn brown, possibly before it even got a chance to go to seed.
I saw cattle in the low lands along the lake and ranches up in the hills. Very picturesque.
I flew about halfway up the northeast side of the lake with the sun coming into the cabin from my left. Penny, who had been hot while we were flying into the sun — she hasn’t fully shed her heavy black winter coat — was now in partial shade, leaned back in her seat but still panting from the heat. I was comfortable in my summer clothes; I didn’t realize until I got home how much sun I’d gotten. (Next time I’ll wear shorter shorts and really work on my tan.)

In Napa Valley? Want an amazing experience you’ll remember for the rest of your life? Fly with these guys.
I got the idea that I wanted to see Yountville from the air. About a month ago — the day after I arrived with the RV, in fact, a hot air balloon had landed in my “backyard” here — the airport ramp. I’d introduced myself to the pilot and sent him a copy of a picture I’d taken of him landing, along with a suggestion that we swap flights. He booked me on a flight tomorrow morning at Yountville, at the Domain Chandon tasting room. I wanted to see what it looked like from the air.
Hell, I can come up with an excuse to fly anywhere if I try hard enough.
So I banked hard to the left and flew back down lake. I figured I’d follow the road toward Rutherford and then branch off to the south when I got to Napa Valley. I switched the camera from video mode to time-lapse with shots every 10 seconds. I captured this image as we flew down the lake.
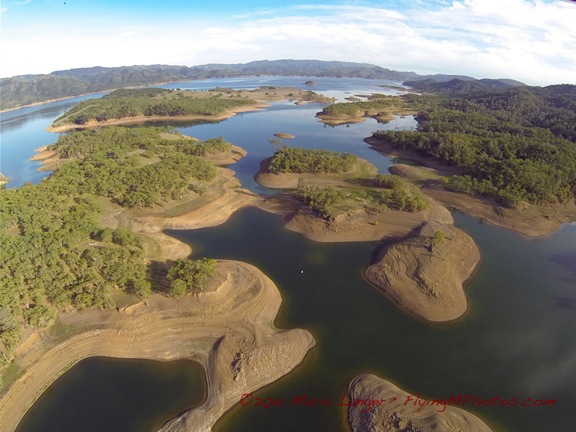
Here’s a shot of Lake Berryessa.
I followed the road I’d driven a few times before, most recently on Sunday, on my way back from Napa Valley. Then I made some turns, following valleys, watching out for power lines. Finally, I popped over some hills and dropped down into Napa Valley over the Silverado Trail.
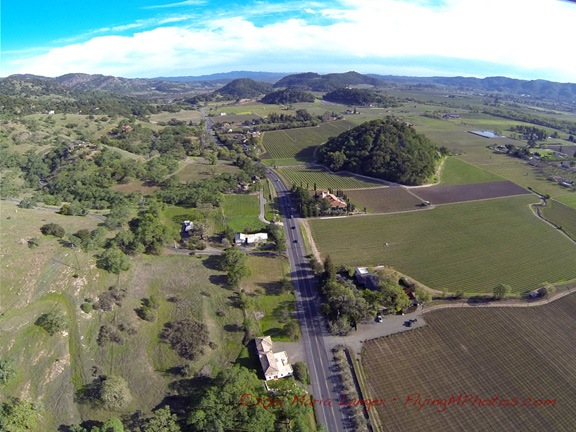
Over the Silverado Trail, somewhere near Rutherford, CA.
Below me, the homes, wineries, and vineyards of Napa Valley stretched in all directions. Although the vineyards were not yet leafing out, there was an abundance of green in the grass, trees, and hillsides. It was gorgeous.
Somewhere around this time, I started thinking of my wasband, as I often do when I have amazing experiences I think he would enjoy. We did more than a few joy-flights together over the years, exploring the desert around our home in Arizona or going further afield, perhaps on cross-country trips to Lake Powell or Las Vegas or Washington State. We shared a bird’s eye view of so many amazing things from the air: the red rocks of Sedona, the blue waters of Lake Powell, the winding path of the Colorado River, the grandeur of the Hoover Dam, the haystack rock formations of the Oregon coast.
As I flew over the vineyards, I could imagine him beside me, trying to identify things we’d seen from the ground on previous visits to Napa Valley. His memory was better than mine — at least before he became delusional — and maybe he’d remind me of things I’d forgotten. Would he spot the winery where they’d served us chocolate cake with our cabernet? Surely it was down there somewhere. He might remember where.
But I reminded myself that any fond memories of my wasband were flawed and false. Maybe he wouldn’t have enjoyed this afternoon’s flight after all. Although he always seemed to like being in the helicopter, especially when he got to take the controls, these days I wasn’t sure what he really thought of those flights. He insinuated in court that he thought they were “work” that, for some reason, he should have been paid for — even though he lacked the pilot certification to do commercial flying and I was always sitting beside him in the pilot-in-command seat. Thinking back on our last few years together, I remember all the weekends he spent in front of a television, watching DVRed car shows. Perhaps he preferred doing that to flying. (He didn’t fly his plane either.)
His loss.
I don’t think I could ever get tired of flying a helicopter, especially on days like today when I’m free to go wherever I like in such a beautiful place. Sure beats anything on TV.
I consulted Foreflight on my iPad and realized I had passed Yountville. I made a sweeping turn to the right, lining up with route 29 on the other side of the valley as I headed north. Moments later, I overflew Yountville and the site I think we’ll be departing from tomorrow in a hot air balloon.
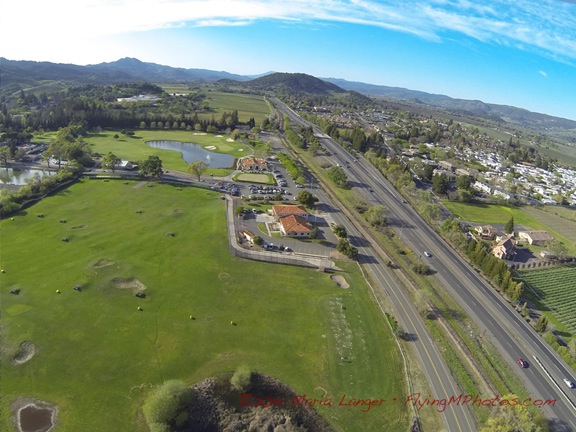
I’m not 100% positive, but I think this is where our balloon will be launching from tomorrow.
I continued up the valley, once again retracing my route, in reverse, from Sunday’s drive. Rutherford, St. Helena, Calistoga. I saw the V.Sattui Vineyard looking quiet and empty on the late weekday afternoon. I saw the main drag in St. Helena. I saw the spas and resorts in Calistoga.
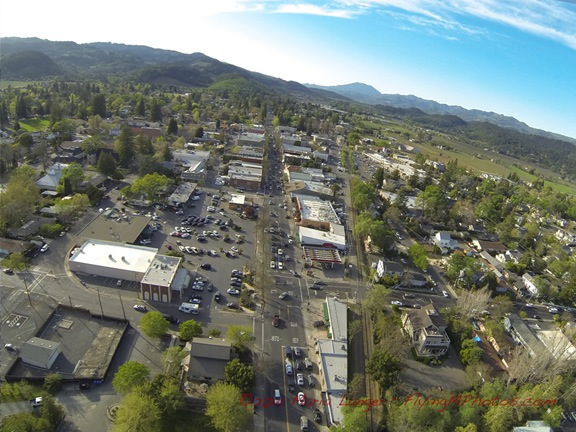
An aerial view of St. Helena in Napa Valley.
At Calistoga, I turned east again. I climbed over the mountains on the east side of the valley and dropped into a rugged canyon. I’d been flying for more than 30 minutes and was starting to think of heading back. I punched a GoTo to my base airport into the GPS and turned in the direction of the line. On Sunday I’d driven past Clear Lake, but I didn’t feel like flying out that way. I thought I’d give Lake Berryessa another flyby instead.
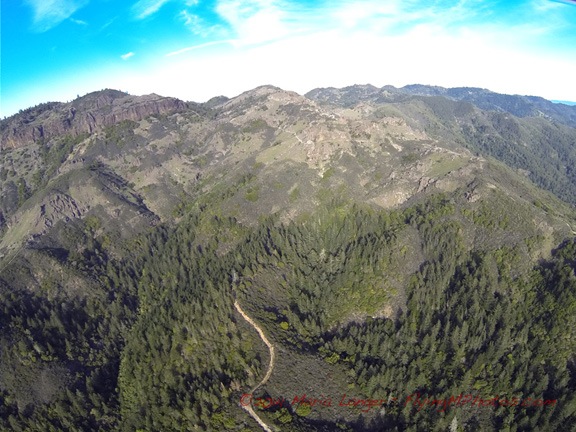
The mountains east of Calistoga are rugged, with basalt cliffs not unlike those near my home in Washington.
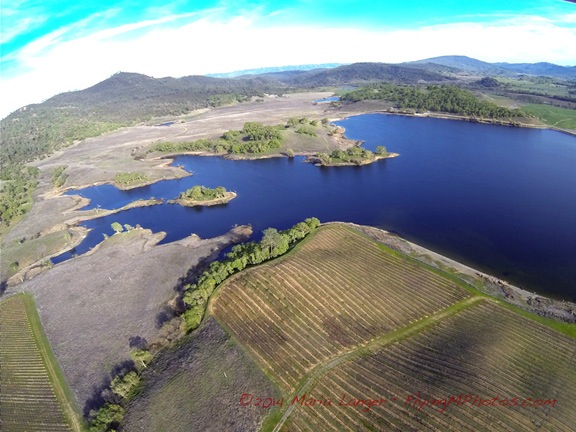
The valley east of Napa — which I think is called Pope Valley — has vineyards, lakes, and ranch land.
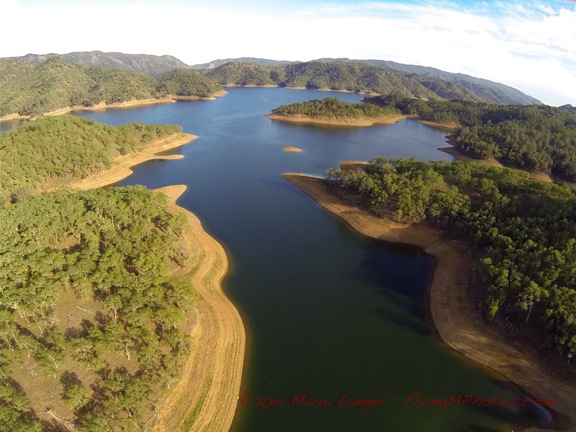
A narrow channel on Lake Berryessa. I had to be careful here; there were wires across the lake nearby.

The BellyCam just happened to capture this perfect image of the Dam at the lower end of Lake Berryessa.
I flew down the lake, over the dam, and back into the canyon leading to Winters. Then, before I reached town, I headed north in the foothills with the vague notion of overflying the Cache Creek Casino. But before I got to Esparto, I changed my mind. Instead, I turned inbound to my base airport and, after a few radio calls, landed on the runway and taxied into parking. I set it down gently exactly where it had been an hour and 10 minutes earlier.
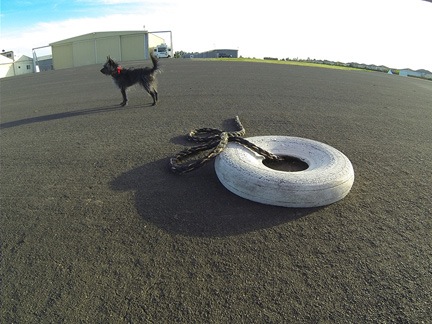
Penny waited for me while the BellyCam continued to snap photos every 10 seconds.
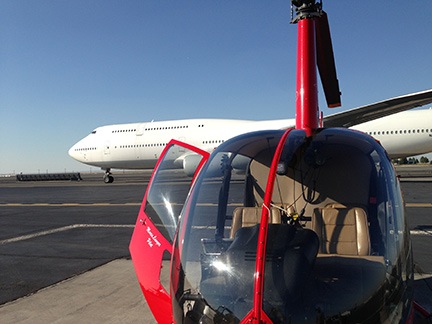
Penny stood up and looked at me, wagging her tail. She was ready to get out. I lifted her out and set her on the ground. She waited at the nose of the helicopter while I cooled the engine and shut it down. The camera caught several images of her standing on the tarmac with my mobile mansion home in the background.
Later, I used the mended tie-downs to secure the main rotor blades and locked up the helicopter.
It had been a great afternoon flight — one I’m glad I treated myself to. I’ll fly again soon — maybe with a balloon pilot beside me and two of his crew in back. Or maybe with my pilot friend George at the controls, exploring a new place. (Something tells me that he’s not very interested in television.) I’ve got a month left here and I plan to enjoy it every way I can.
I never did get down to Nut Tree airport.

 A look at the performance chart for an R44 (Raven I) makes it pretty clear why the pilot had trouble maintaining altitude at slow speed. At max gross weight on a 30°C day, the helicopter can’t even perform an out of ground effect (OGE) hover at sea level, let alone nearly 5,000 feet. That means it would have to continuously fly above ETL (approximately 25 knots airspeed) to stay in the air. At slow speed, a turn into a tailwind situation would rob the aircraft of airspeed, making it impossible (per the performance data, anyway) to stay airborne.