Good on steak, too.
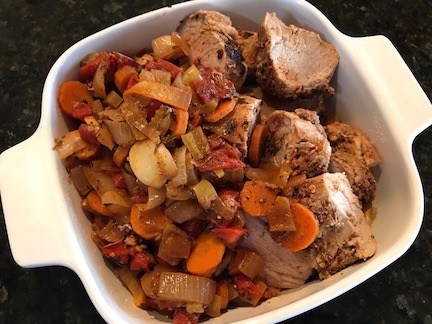
I’m going out to spend a few days with a friend at his house out on Lopez Island next week and, as usual, I’m bringing a ton of food from my garden, as well as eggs from my chickens. He has already promised me sea asparagus, which grows wild at his place, and a 13-year old bottle of wine he said he’s been saving for me. And what would be better with a nicely aged wine than a roasted prime rib? I just happen to have a small one in my freezer from the 1/4 cow I bought not long ago.
The last time I made a prime rib was years ago on my Traeger. My friend Mike had bought the meat at Costco and handed it over for me to cook. When I saw the price on it — $52! — I went into panic mode. What if I ruined this expensive cut of meat?
I had never cooked a prime rib and I went online for instructions. I was living in my Mobile Mansion at the time, so I didn’t have an oven big enough to cook it in. It had to go on the Traeger. I found a recipe for a Prime Rib Rub (see below), rubbed it on, stuck a thermometer in the meat — Mike had bought me a new wireless one; my old one was still packed in Arizona — and put it on the Traeger at whatever the recommended settings were. A few hours later, we had the most amazing prime rib dinner.
In the years since, I’ve used the rub extensively when grilling beef. As a matter of fact, I used up the last of my most recent batch on a nice filet mignon that I grilled up the other night. I went in search of the recipe to make another batch and figured it might be a good idea to just document it here for future reference. So here it is.
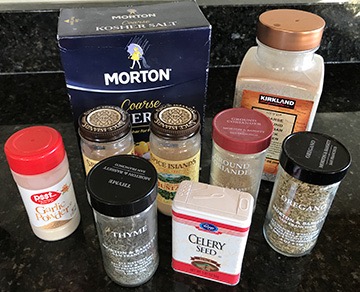
Ingredients:
- 1/3 cup coarse kosher salt or 1/4 cup fine sea salt
- 3 tablespoons dry mustard
- 4 teaspoons coarsely ground black pepper
- 1 tablespoon granulated garlic or dried minced garlic or 1-1/2 teaspoons garlic powder
- 1 tablespoon onion powder
- 2 teaspoons dried thyme, crushed
- 2 teaspoons dried oregano, crushed
- 2 teaspoons ground coriander
- 2 teaspoons celery seeds
Instructions:
- Mix all ingredients together in a bowl or jar.
- Rub on beef prior to grilling or smoking.
- Store leftover in a tightly sealed container.
I made two batches this morning: one for me and one for my friend.
Tip: For lamb or goat, try ras el hanout, which I mention in this recipe.
 Now I know what you’re saying.