The challenge was building with scrap wood I already had.
About six weeks ago, I bought eight baby chicks. I was raising them in a stock tank in my shed. You can read more about them and the chicken yard I built for them with a friend here.
The chicken yard was working well. The large feeder and automatic waterer got them through my six day absence when I went to California on a business trip in mid-May. They’d accepted the tipped over stock tank with plywood lean-to as a shelter. But I wasn’t fooling myself. They’d need a real coop — someplace they could roost at night that also had nest boxes for laying eggs.
Buying a coop was out of the question. A coop big enough for them would cost hundreds of dollars that I simply wasn’t willing to spend on chickens when I was facing monster construction bills for my new home. Besides, I had all kinds of scrap lumber and pallets lying around. Couldn’t I come up with a design that utilized them?
I spent a lot of time thinking about it. Probably a lot more time than I needed to. Finally, I just gathered up one long pallet, two matching shorter ones, and all the plywood I’d used to build my bee shelter the previous autumn. I borrowed a pair of saw horses from the builders and, on Memorial Day Weekend, I went to work.
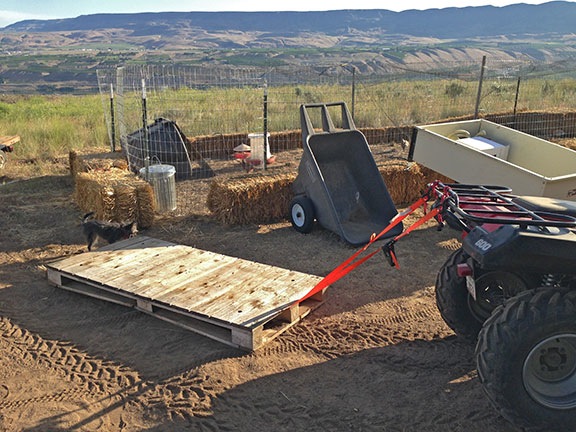
I used my ATV to drag the 36×76-inch floor pallet from the bee area to the chicken yard. The damn thing is heavy.
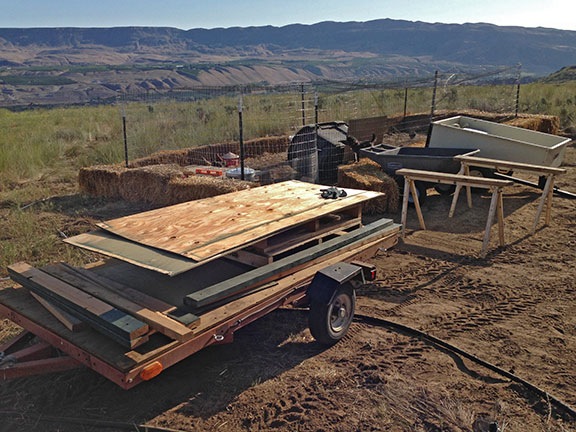
I used my Craig’s List Special flat bed trailer to move all the other pallets and wood into my work area. It also made an excellent work surface. (I’m really looking forward to having a real shop.)
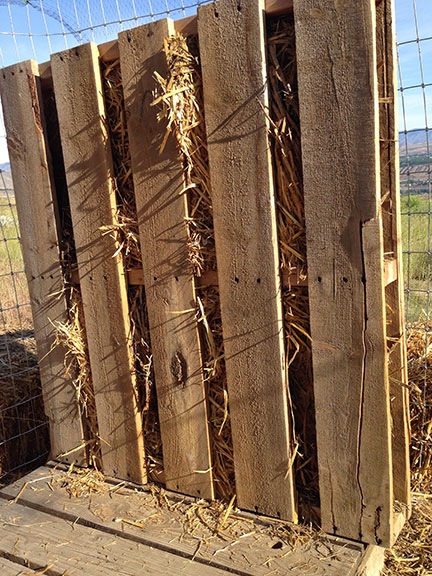
I stuffed the wall with straw, facing the side with more wood planks in toward the chickens. The outside would get a plywood skin.
The design is simple: the big pallet at the bottom for a floor and the two smaller pallets on the sides as walls. I stuffed the walls with straw — which I have absolutely no shortage of — for insulation; this was something I’d seen on the web. Then I used plywood sheets and 2x4s to make the back and roof and to cover the outside of the walls.
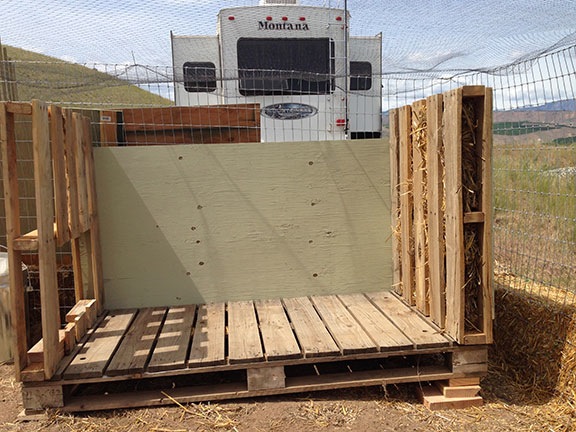
Leveling the coop floor took quite a few blocks. I painted the plywood sections before putting them in place. The paint, by the way, was a high quality, no primer needed exterior paint I bought for just $10/gallon because it was a coloring mistake.
The tricky part was the nests, which I wanted to set into one of the walls with a hinged back for collecting the eggs. I’d never built anything so complex before and I had to give it extra thought to do it without screwing up. They came out remarkably good.
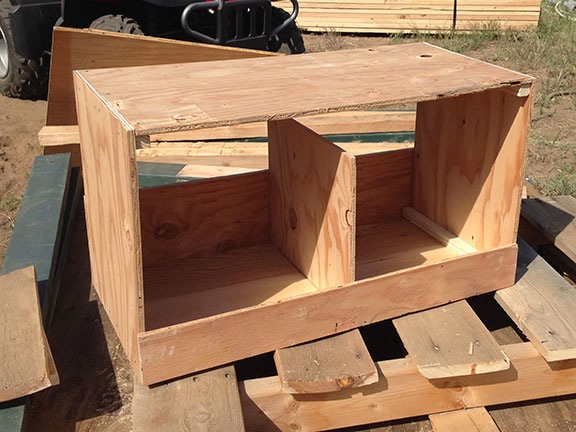
The nests were a challenge — at least at first. They came out good. I painted them before installation in the side wall.
I got to use my new circular saw for the job. I’d never used a circular saw before so I was learning by doing. My first few cuts were satisfactory, but not much better. But by the end of the day, I was making rip cuts in 1x 2s to make the 1x1s I needed for the next boxes.
While I worked, one of my chickens died. She’d been acting kind of sluggish all day long and had even let me pet her. Later on, I found her keeled over in the temporary shelter. I buried her on the far east end of my property.
I ran out of steam around 7 PM, right after putting the roof on. It had been a long, hot day. I’d get back to it in the morning.
The next day, I designed and built two perches out of one of the dozen or so 2×2 posts a friend had given me. Originally, I was going to make two tall ones but I started wondering if the young chickens would be able to jump that high. So I wound up with a tall one and a short one.
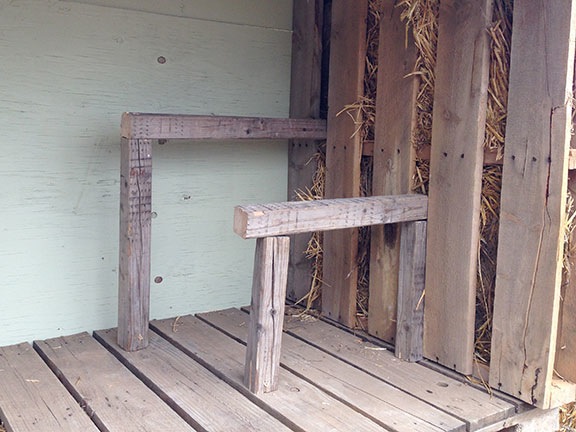
The two perches should provide enough space for seven full-grown chickens.
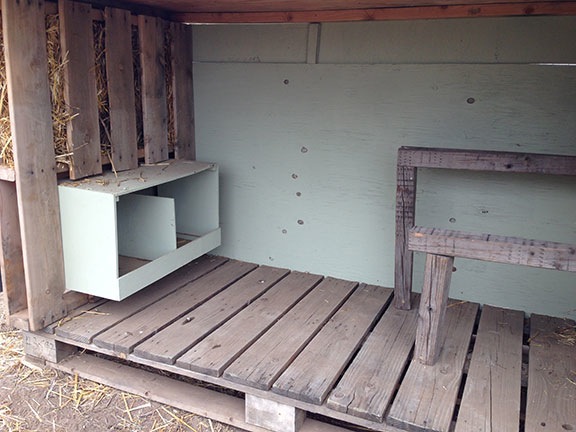
The nest boxes fit snugly into the side wall. The outer wall is hinged to provide access to the eggs from the outside.
I had just enough plywood left to put two outer panels on the front of the coop. This would provide shade in the morning and shelter from the wind on the rare instances when it blew from the east.
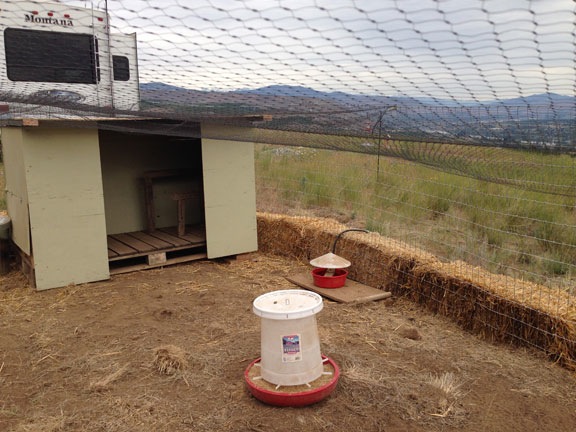
The finished chicken coop.
Although the coop is pretty much finished, I do have one more thing to do: I want to put roof shingles on the top piece of plywood. I bought the shingles and the nails; I just need to get around to it — hopefully, before the next heavy rain.
This was an ambitious project for me, requiring me to make use of a limited amount of lumber and tools that were brand new to me. I can’t tell you how rewarding it is for me to dream up a plan for a project like this and then complete it by myself. Every time I reach beyond what I think are my limitations and succeed, I prove that I’m capable of doing everything I need to do.
Too many women rely on men for even the most basic things. I’m very proud that I’m not one of them.
Discover more from An Eclectic Mind
Subscribe to get the latest posts sent to your email.

Looks like it will work out great, Maria!! Wonderful accomplishment, that’s for sure!! Fabulous.
Thanks, Shirley!
This week has been full of projects. Wait until you see my raised garden planter, also made with pallets. I just need to fill it with soil and plant the strawberries I bought before I write it up and share it here.
I look forward to seeing that raised garden planter, too. I saw mention of it somewhere (FB, twitter…). Home grown strawberries will be the best, too! Yum!!
If the wind would die down, I’d finish it now. But there are T-storms in the area today and I’ve had enough blowing dust. Wish it would rain already!
Proud of you, Maria. Not surprised, but quite pleased you are moving forward steadily.