An update to my post about exploring sous vide cooking.
Well, my new Instant Pot Accu SV800 Sous Vide Immersion Circulator arrived the other day and I wasted no time trying it out. I pulled two 1-1/2 inch thick New York strip steaks out of the freezer — they were from the quarter cow I bought last year — and defrosted them. I seasoned them with my prime rib rub (see below), which I normally use for roasting beef on my Traeger. Then I sealed each steak and about 1-1/2 tablespoons of butter in a pouch using my FoodSaver vacuum sealer.
Although my immersion circulator was supposedly designed to work with the inner pot of an Instant Pot cooker, it was too tall for mine. (WTF?) Fortunately, I have a tall Calphalon stew pot and it fit perfectly in that. I filled the pot with hot tap water to the bottom fill line of the circulator, plugged it in, and set the temperature for medium cooked beef: 135°F. Because my tap water is so hot (about 122°F in the pot, according to the circulator’s thermostat), it only took a few minutes to get to 135°F.
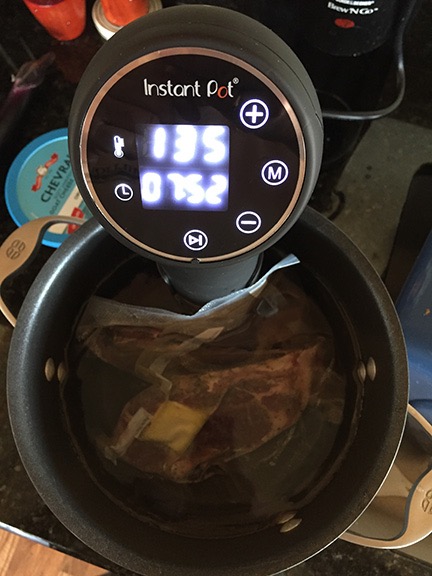
Not a very good picture, but you get the idea. The immersion circulator keeps the water at temperature. The steaks cook in the water in individual bags.
I dropped both steaks in. As I expected, the water level rose to about halfway between the upper and lower fill marks. I tried to set the circulator’s timer to 1-1/2 hours, but it reset itself to 8 hours. So I took note of the time and went about my business cleaning the garage.
An hour later, I came back. The steaks were no longer red. The butter had melted. There was juice in the packets.
I heated my propane grill to high temperate, brushed off the metal grill, and turned down two of the three burners. Then I put some cut up potatoes and beets from my garden, along with a cut up carrot, into my grill basket, set it on the grill away from the high burner, and closed the lid. I let them bake on mostly indirect heat for about 20 minutes, tossing them occasionally. I added a cut up onion from my garden.
I made a salad. For me, that usually consists of opening a bag of mixed greens and adding salad dressing. I like to cook but hate making salad.
When the onions were beginning to soften and the potatoes and beets were done, I brought one of the steaks out. I cut open the pouch and put the steak on over the burner set to high. I reserved the packet of juice.
I let the steak sear well on one side before turning it. Then it seared on the other. Total grill time was less than 4 minutes.
I plated the steak and veggies with some salad. I poured the pouch juice over the steak. I poured a glass of cabernet and sat down to eat.

My first sous vide steak with grilled garden vegetables and bag o’salad.
This was probably the most delicious, perfectly cooked steak I’ve ever eaten. Tender and amazingly juicy, it was just the way I like it: brown on the outside and pink but firm on the inside.
The interesting thing about cooking this way is that you can (with some exceptions) leave the steak in the hot water as long as you like before searing it. This makes it an extremely convenient method of cooking red meat for guests. The only drawback is that all meats in the cooker will cook to the same doneness. That means you can’t please someone who likes their meat rare while pleasing others who like theirs medium well — unless you do more than just sear those medium well steaks on the grill.
As for the other steak, I left it in its sealed pouch and put it in the fridge for another day. I would up serving it to a friend last night. I microwaved the pouch for about 30 seconds to get the juices liquified again, then put the steak on the grill and finished it up as I’d finished mine a few days before. My guest was very impressed.
Prime Rib Rub Recipe
Mix together the following ingredients:
- 1/3 cup kosher salt
- 3 tablespoons dry mustard
- 4 teaspoons coarsely ground black pepper
- 1 tablespoon granulated garlic or dried minced garlic or 1-1/2 teaspoons garlic powder
- 1 tablespoon onion powder
- 2 teaspoons dried thyme, crushed
- 2 teaspoons dried oregano, crushed
- 2 teaspoons ground coriander
- 2 teaspoons celery seeds
This is good on any beef you roast or smoke. I first used it on a rib roast I prepared in my Traeger a few years ago and it was amazing. Now I always keep a jar of it on hand for seasoning steak and even hamburgers.